WiseHouse: Difference between revisions
Plykkegaard (talk | contribs) mNo edit summary |
Plykkegaard (talk | contribs) No edit summary |
||
| Line 1: | Line 1: | ||
This tutorial isn’t just about building a house in Hammer v4, the real purpose of this tutorial is to illustrate many techniques you can use for the objects you create. | |||
===Building a House=== | ===Building a House=== | ||
The first step should always be the planning stage where you will decide what will be needed and how it will be laid out. I’ve heard of people using Lego blocks for this, whatever works best for you will be the best method. | The first step should always be the planning stage where you will decide what will be needed and how it will be laid out. I’ve heard of people using Lego blocks for this, whatever works best for you will be the best method. | ||
Revision as of 16:13, 4 February 2008
This tutorial isn’t just about building a house in Hammer v4, the real purpose of this tutorial is to illustrate many techniques you can use for the objects you create.
Building a House
The first step should always be the planning stage where you will decide what will be needed and how it will be laid out. I’ve heard of people using Lego blocks for this, whatever works best for you will be the best method.
There’s an old process called P.D.C.A. which stands for Plan, Do, Check and Action.
This is an excellent process for mappers.
First we’ll make a plan, then we’ll create what is required and finally we’ll check our work and take any actions. Your own Quality Control.
If you are having a hard time with the planning part a good resource is the Google Image Search Tool.
Stage 1
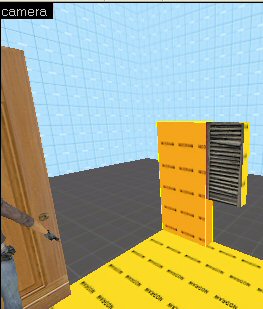
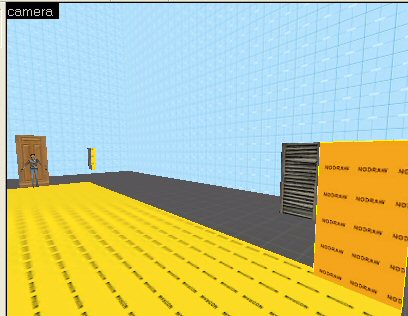
Now move this temporary brush to the opposite side of this wall.
Then clone our first window by holding the Shift key and dragging the window in the 2D Top view, when you release you should have a perfect copy of the first window.
Move the clone into place by using the temporary brush as a guide.
Your windows are perfectly spaced. Use this same method to space objects, it’s quick and simple.
For our house I want to illustrate how to create at least two types of windows in HL2 (One you can look out and one you can’t), a functional door, textured walls and a basic pitched roof.
Important: Make sure you have Snap to Grid (Shift+W) enabled and reduce your grid size. (Keep pressing the left “[“bracket key until the grid is reduced)
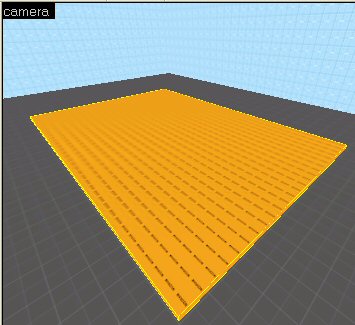
To begin let’s build the floor and with that determine our entire floor space.
1) Select the nodraw texture.
On the right side of Hammer in the Texture Group, click the Browse button and in the Filter use nodraw then double-click on the texture to select it.
2) Use the Brush tool to create a brush that is 576 units wide, 384 units long and 8 units tall.
Note: If you want your house to have block foundations create your floor in variations of 16 units, i.e. 32 or 48 units tall.
Now we need walls but we’re going to do it a little different than you might have thought.
To get the best possible walls we’ll put in our doors and windows first.
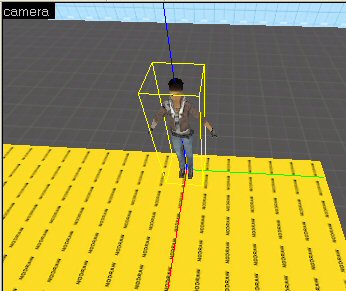
Tip: A good measuring stick for your HL2 maps is Alyx.
Let’s create Alyx and have her pose where our first door will go.
As we’re building the house we can move her around and we’ll delete her when it’s complete.
Class: npc_alyx
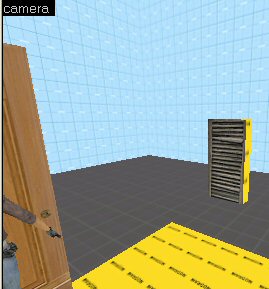
Now let’s place our front door where Alyx is standing.
Class: prop_door_rotating
Skin: 13
More information about rotating doors on WiseDoor, or if you want sliding doors, like in the Spy or SciFi movies take a look at WiseSlidingDoors.
On one wall of our house let’s build windows that are for appearance only.
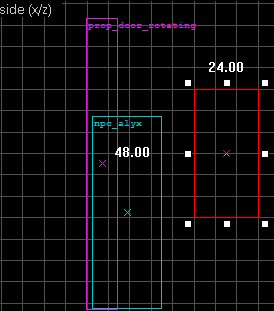
We’ll use a Wood shutters texture on a normal brush and Alyx can help us to get these set at the correct height if we watch her wireframe in the 2D view ports.
Brush size: 24 units wide, 8 long and 48 high.
Texture: wood/woodshutters001a
We’re going to put two of these windows on that wall, although it would be best with 3 to 4 of them.
To space the windows properly create a temporary brush that is the width of the window to the first edge.
Now move this temporary brush to the opposite side of this wall..
Then clone our first window by holding the Shift key and dragging the window in the 2D Top view, when you release you should have a perfect copy of the first window..
Move the clone into place by using the temporary brush as a guide..
Your windows are perfectly spaced. Use this same method to space objects, it’s quick and simple..
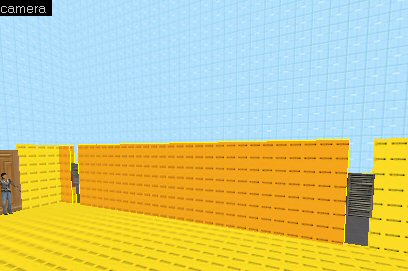
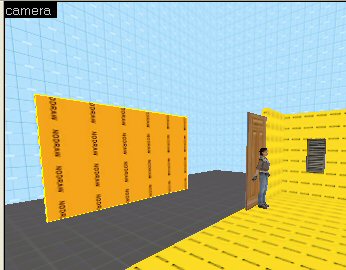
Next thing we’ll do is close up all the space in that wall and the space between that wall and the door with normal brushes.
We’ll make all of these walls 120 units tall.
Notice as you are doing this how both Alyx and the prop door are helpful.
Now with smaller brushes close up the spaces below and above the windows.
Note: When you are creating new brushes they will use the dimensions of the currently selected brush. As an example of how this can speed things up for you select the brush you just made before creating the next brush and in some cases it will have exactly the right proportions.
The file for this project at the conclusion of Stage 1.
Stage 2
Now we’re going to create a very simple type of breakable glass for a large window we’ll place in the front or our house then we’ll build the wall and finish it up with window moldings.
Note: In HL2 you may have noticed some of the windows have a frame that breaks with the glass. Those windows are out of the scope of this tutorial however I may create a tutorial soon just for that type. The frame will be a HL2 model that contains a sub model of a broken window frame.
Using the nodraw texture create the brush that will become your breakable window.
