Getting Started: Difference between revisions
Jump to navigation
Jump to search
m (Updated step 1) |
m (Increased image size) |
||
| Line 12: | Line 12: | ||
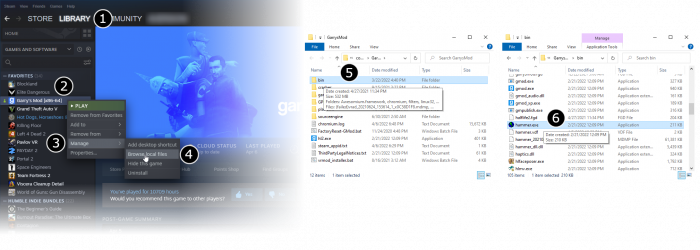
# Go to Steam's '''Library''' tab, then the '''Tools''' tab and launch the '''Source SDK'''. | # Go to Steam's '''Library''' tab, then the '''Tools''' tab and launch the '''Source SDK'''. | ||
# Select the engine version and game you want to use for your map. | # Select the engine version and game you want to use for your map. | ||
# Launch '''Hammer''', the level editor for Source:<br />[[File:Game config set.png| | # Launch '''Hammer''', the level editor for Source:<br />[[File:Game config set.png|700px|Launching Hammer for [[Half-Life 2: Deathmatch]]]] | ||
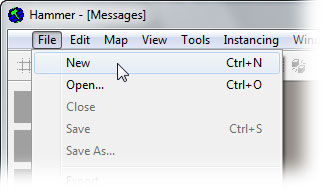
# From the '''File''' menu, select '''New''':<br />[[File:Hammer newwindow.jpg|link=]] | # From the '''File''' menu, select '''New''':<br />[[File:Hammer newwindow.jpg|link=]] | ||
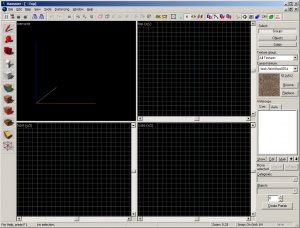
# An empty map will appear.<br />[[File:Hammer emptyworkspace.jpg|300px]] | # An empty map will appear.<br />[[File:Hammer emptyworkspace.jpg|300px]] | ||
Revision as of 13:29, 7 June 2010
- Go to Steam's Library tab, then the Tools tab and launch the Source SDK.
- Select the engine version and game you want to use for your map.
- Launch Hammer, the level editor for Source:
- From the File menu, select New:
- An empty map will appear.