Creating Angled Geometry: Difference between revisions
Thunder4ik (talk | contribs) m (→See also: clean up, replaced: See Also → See also) |
Thunder4ik (talk | contribs) m (→See also: clean up, replaced: Category:Level Design Tutorials → Category:Level Design) |
||
| Line 53: | Line 53: | ||
* [[Creating a Curved Hallway]] | * [[Creating a Curved Hallway]] | ||
[[Category:Level Design | [[Category:Level Design]] | ||
Revision as of 04:22, 6 January 2024
Introduction
Creating angled geometry in your level adds a lot more depth and realism. In addition, your level becomes more interesting when compared to the real world.
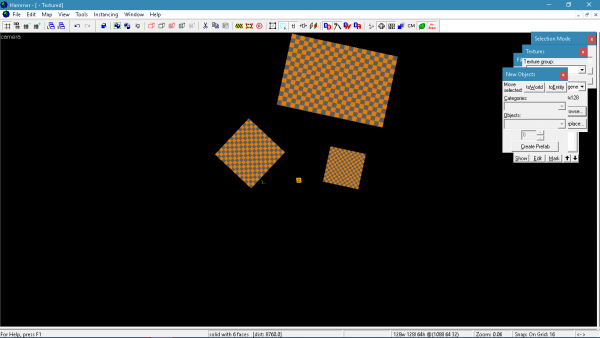
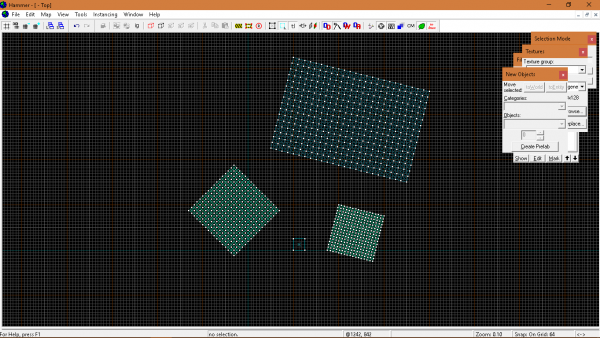
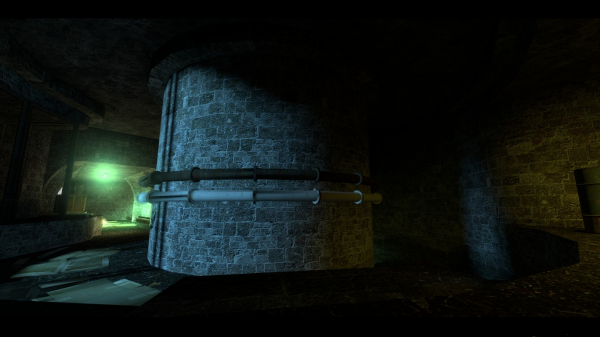
Once you understand how angled geometry works, you will get something like this.
Creating Angled Geometry
In this example, we are going to use a simple 128x128x128 block.
Once you have your block created, click on the vertex tool or use the hotkey ⇧ Shift+V.
Either click on the vertex tool again or hit ⇧ Shift+V again. We don't need the yellow dots for this, so we're hiding them.
Select the top vertex points and move them to the right.
Deselect the top vertex points and select the ones on the left and move them up.
Exit the vertex tool by clicking on the selection tool or by using the hotkey ⇧ Shift+S
Aligning The Textures
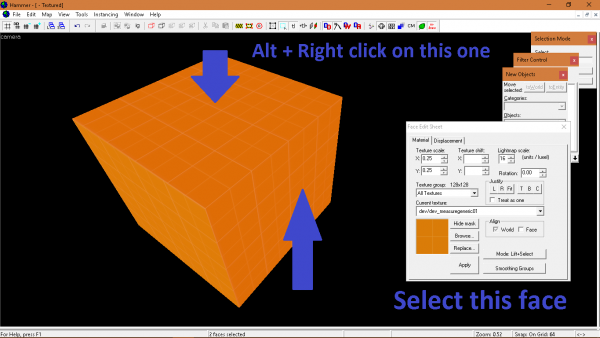
When you use the vertex tool and move the vertex points around, the texture is stationary. To have the texture properly aligned, open the Face Edit Sheet tool by clicking on the icon or using the hotkey ⇧ Shift+A. Select the side face and Alt+Right Click on the top face.
Angled Geometry Example
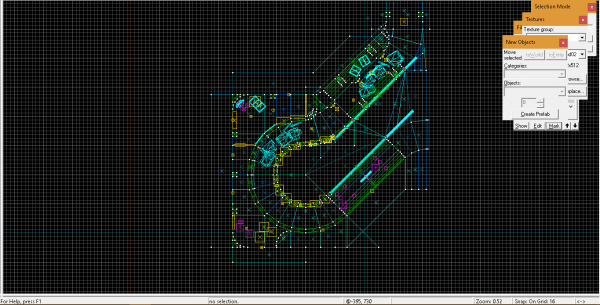
Here is a quick example of what angled geometry can do to a level.
