Getting Started: Difference between revisions
Jump to navigation
Jump to search
 Bug:You may find that Hammer's viewports are all totally black. This is because Hammer is running with a different branch of Source from the game you are working on. If you encounter this, Reset the Source SDK Game Configurations. [todo tested in ?]
m (re-fixed lang link) |
mNo edit summary |
||
| Line 14: | Line 14: | ||
# Select the engine version and game you want to use for your map. | # Select the engine version and game you want to use for your map. | ||
# Launch '''Hammer''', the level editor for Source:<br />[[File:Game config set.png|700px|Launching Hammer for [[Half-Life 2: Deathmatch]]]] | # Launch '''Hammer''', the level editor for Source:<br />[[File:Game config set.png|700px|Launching Hammer for [[Half-Life 2: Deathmatch]]]] | ||
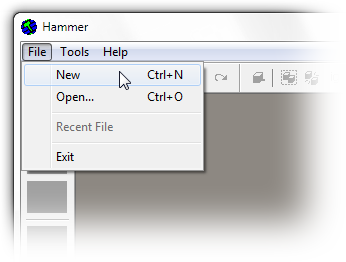
# From the '''File''' menu, select '''New''':<br />[[File:Hammer newwindow. | # From the '''File''' menu, select '''New''':<br />[[File:Hammer newwindow.png|link=]] | ||
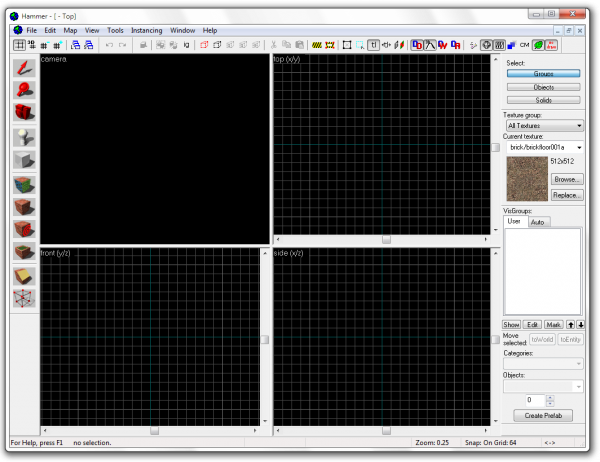
# An empty map will appear.<br />[[File:Hammer emptyworkspace.png|600px]] | # An empty map will appear.<br />[[File:Hammer emptyworkspace.png|600px]] | ||
Revision as of 18:12, 27 June 2011
- Go to Steam's Library tab, then the Tools tab and launch the Source SDK.
- Select the engine version and game you want to use for your map.
- Launch Hammer, the level editor for Source:

- From the File menu, select New:

- An empty map will appear.
