User:Dr. Orange/Victory lift
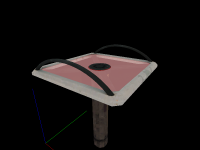
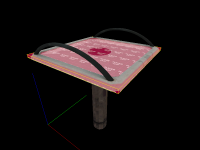
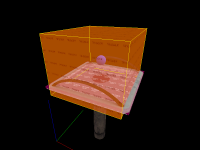
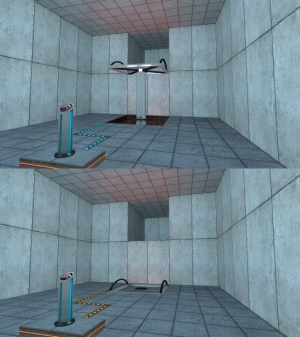
This tutorial will show how to create the complimentory victory lift seen in the Portal test chambers. The lift usually starts in its raised position, and lowers when a certain object is activated, such as an energy pellet catcher or a switch. The lift then raises when the player steps on it.
Construction
Step 1
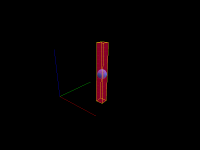
Create a 16w*16l*128h brush textured with tools/toolsinvisible. Tie this brush to a func_door entity and make sure all of its flags are unchecked. Next, set the following keyvalues on it:
| Property Name | Value |
|---|---|
| Name | lift |
| Speed | 20 |
| Start Sound | apc_engine_start |
| Stop Sound | apc_engine_stop |
| Delay Before Reset | -1 |
| Move Direction | 90 0 0 |
Step 2
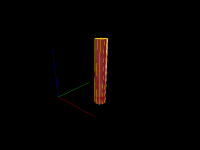
Create a 24w*24l*136h 12-sided cylinder and position it so it's in the same place as the lift brush. Tie it to a func_brush and set its Name to brush_lift and its Parent to lift.
Finally, texture the sides of the cylinder with metal/metal_lift001.
Step 3
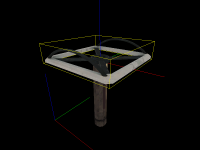
Create a prop_dynamic entity and set its Name to model_lift_platform, its Parent to lift and its World Model to models/props/lift_platform.mdl. Position it on top of the brush_lift brush so its origin is 2 units below the top of the brush.
Step 4
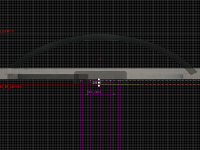
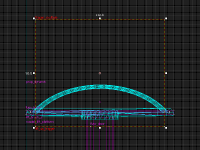
Create a 120w*120l*1h brush. Texture the top and bottom sides of the brush with glass/glasswindow_frosted_003, and texture all of the sides with [[Tool textures#nodraw|tools/toolsnodraw. Position the brush so its in the middle of the model_lift_platform entity, with its bottom side being 6 units above the origin of model_lift_platform.
Next, create a 128w*128l*4h brush textured with tools/toolsplayerclip. Position it so it surrounds the model_lift_platform entity with its bottom side being 4 units above the origin of model_lift_platform.
Now, select both the glass brush and the playerclip brush and tie them to a single func_brush entity. Set its Name to lift_brush_2 and set its Parent to lift.
Step 5
Create a 112w*128l*92h brush textured with [[Tool textures#trigger|tools/toolstrigger. Tie it to a trigger_multiple entity and set its Name to lift_up_trigger, its Parent to lift and Start Disabled to Yes. Next, add the following outputs to it:
My Output
Target Entity
Target Input
Parameter
Delay
Only Once


OnTrigger
lift
Close

0.00
No


OnEndTouch
lift
Open

0.00
No
The victory lift is now completed and ready to be implemente in a map.
Implementation
Step 1
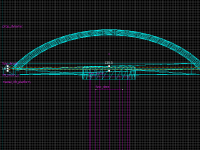
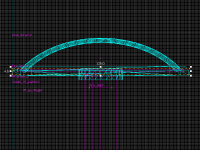
Place the lift where it should be in the map. The top of the lift_brush_2 playerclip brush should be 2 units below the floor level of the upper floor. If the lift needs to travel more than 128 units, stretch the brush_lift and lift brushes down to the lower floor level. The length of the lift brush determines how far the victory lift travels.
Step 2
Add an output to the entity that will activate the lift that sends the Open input to lift and the Enable input to lift_up_trigger.
See Also
- Piston Platform - Portal 2 counterpart
