Keyframing
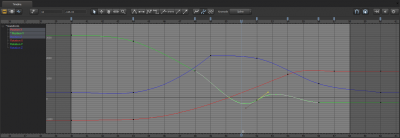
Keyframing is a way of directly modifying animation curves by marking them in specific places and then adjusting those marks directly. You keyframe in the Graph Editor.
To modify animation curves, you select a control in the Animation Set Editor, and then, in the Graph Editor, you select one or more of the control's components (such as the position along the X axis, or the rotation around the Y axis). You add keyframes to mark the beginning and end points of the animation curve you want to work with. You can then move the keyframes directly to modify your animation, or you can move a keyframe's tangent handles to modify animation curves.
As you adjust animation curves with keyframes, the viewport updates automatically to reflect your changes.
To create an animation with keyframes:
- Select the shot you want to work with.
- In the Animation Set Editor, select the control whose curve you want to animate.
- On the timeline, go into the Graph Editor.
- In the Graph Editor, select the animation curve you want to animate. For example, under transform, select Position X.
- Move the playhead to the beginning point of the animation you want to create (for example, the beginning of the shot). You can go to the beginning of the shot either by dragging the playhead to it or by pressing ↑.
- Press M to create a small blue marker at the top of the playhead. This also creates keyframes along all visible animation curves, represented by small squares in the grid. Alternatively, you can translate or rotate a selected object in the viewport directly, and the Graph Editor will both reflect those changes and automatically add keyframes for them.
- Move the playhead to the end point of the animation you want to create.
- Press M to create another marker and additional keyframes.
- Rectangle-select the second keyframe (drag around it). Note the two tangent handles that appear, one on either side of the keyframe.
- Move the keyframe up or down by dragging with the middle mouse button. As you move the keyframe, the viewport reflects the updated animation. You can also move the selected control in the viewport, and see the changes reflected in the Graph Editor.
- If you want to adjust the shape of the curve, rectangle-select one of the tangent handles, and drag with the middle mouse button to move it.
After you have created a keyframed animation, you can apply procedural presets to it.
To apply a preset to a keyframed animation:
- Apply a preset by dragging its slider (for example, Jitter).
- Go into the Motion Editor and select a region of time.
- Go back into the Graph Editor to see the effects of the slider.
| Add a marker and keyframe(s) | Press M |
| Zoom horizontally | Rotate the mouse wheel |
| Zoom vertically | Hold down Ctrl while rotating the mouse wheel |
| Pan | Hold down Alt and drag with the middle mouse button |
| Select a keyframe | Rectangle-select (drag around the keyframe) |
| Manually set a keyframe's X or Y graph values | Type a number into the X or Y number field at the top of the Graph Editor
Note that you can also type mathematical expressions to offset from the current position. For example, typing +=3 adds 3 to the selected keyframes. Typing 3 would set the value to exactly 3. You can add, subtract, multiply, or divide (+, -, *, /). |
| Scale keyframe(s) | Select keyframe(s), hold down Ctrl, and drag with right mouse button; keyframes will scale around the mouse pointer's position |
| Move selected keyframes | Drag with the middle mouse button |
| Select a keyframe's tangent handle | Select the keyframe to display the tangent handles, and then rectangle-select the handle |
Offset mode
You may want to make large-scale adjustments to animation curves while preserving the fine detail of the motion data. To do this, you can use offset mode. Click its icon (![]() ) in the middle of the top of the Graph Editor to enable it.
) in the middle of the top of the Graph Editor to enable it.
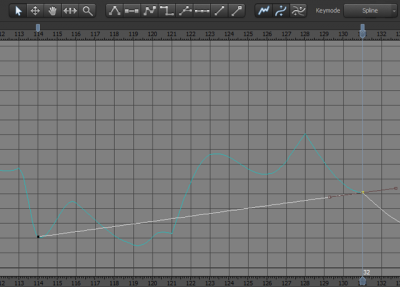
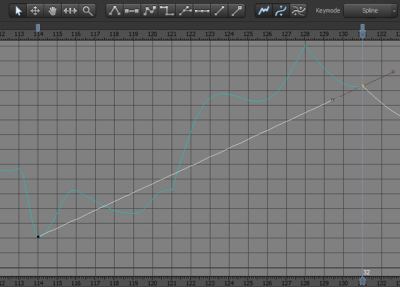
With offset mode enabled, you can manipulate a section of curves, and the detail in those curves will be preserved while you make larger modifications.
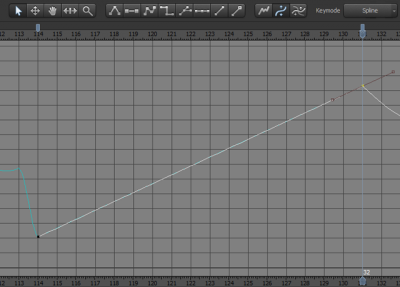
With offset mode disabled, the same manipulation will flatten out the animation curves.


