Spoiler WarningSome information on this page may contain plot spoilers. Continue reading at your own risk.
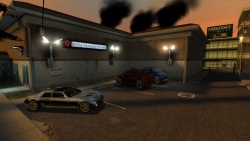
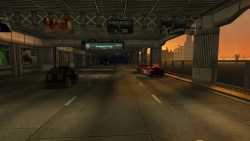
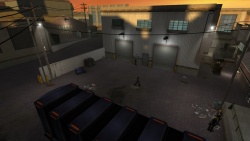
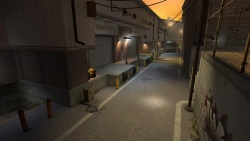
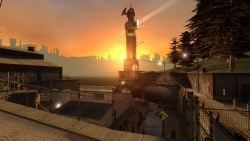
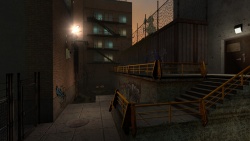
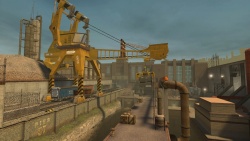
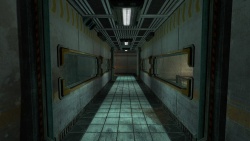
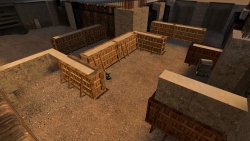
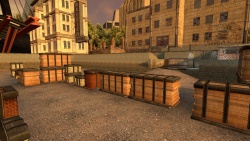
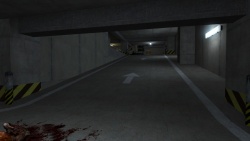
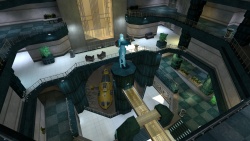
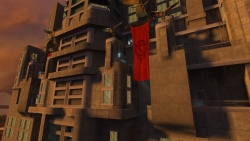
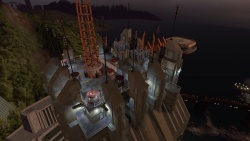
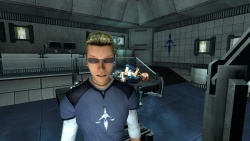
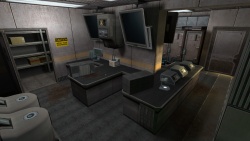
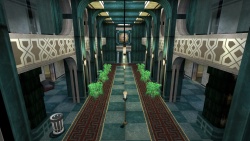
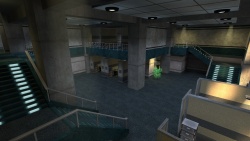
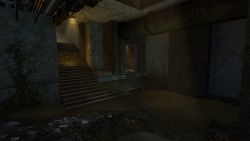
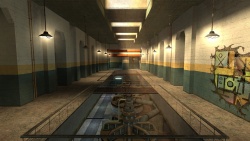
This page contains a list of all the official maps available in Sin Episodes in the order they mostly appear in the game, with the list containing the mapname of the level, the level name, a description of what happens throughout the level and an image of how a section of the map looks like. There is a total of 18 story missions (6 chapters, ~3 maps per chapter), 7 arena maps, 6 backgrounds and 1 minigame, making it 32 official levels in the entire game by default.
Intro
| Map
|
Name
|
Description
|
Image
|
| se1_intro01
|
Escape
|
The screen fades in from white only for the player to see being woken up being bound to a metal bed, looked physically looked down upon by Elexis and Radek - the main villians of the story. They are talking about and to the player about the procedure that is gonna happen following their monologue, which never happens as after Elexis leaves the room Jessica arrives, frees and gets introduces to the player through her actions as it plays out in the cutscene. Jessica and the player now has to escape the facility through its corridors as it explodes and falls apart around them; to the car located in the parkinglot which they use to drive out of their in a hurry, finalising with the player passing out in the passenger seat.
|
|
| se1_intro02
|
Pursuit
|
This level is an entire cutscene, with the player waking up from the passing earlier with Jessica now driving the car on the large bridge crossing the river telling that they are tracking Radek's movements to find his hideout, which the player later has to fight his way through. The player passes out again to be greeded by a dream in which being in a pool of water surrounded by thick greyish fog, with Elexis confronting in a bikini (censored version which includes the steam version, fully nude in the uncensored version of the game) informing that what she has done, she believes is the right thing to do for the world. The player awakes from the dream to a SiNTEK cheakpoint that ultimately ends with Jessica driving through its gate at full speed when being called out on what their business is in this sector of the city.
|
|
| se1_intro03
|
Arrival
|
Arriving at the industrial area of the docks the player awakes from a passing yet again, with Jessica talking about what they are doing there until JC interrupts trying to talk Jessica out of them trying to find Radek's hideout right after what has happened beforehand and that they instead should return to HQ immediately. Jessica does not listen of course and shuts him down with the 'There is bad connection' cliche, informs yet again why they are there and drives off from the player in the personal section of the cargoship part of the docking area, now free to explorer and learn how to interact with objects and people.
|
|
Docks
| Map
|
Name
|
Description
|
Image
|
| se1_docks01
|
Trapped
|
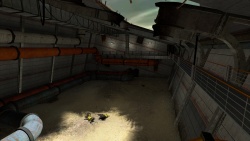
First off the player is allowed into the docks by employee Martin, making sure the player is in no possession of any firearms as that would block the player from entering the area in the first place. Meeting up with Garrison at the end of the dock a monologue occours and the player is briefly told the location of Radek's hideout in greater detail, but not until interrupted by a shipping container being dropped, preventing them from escaping the area. Martin detones some explosive barrels allowing the player to escape through the dock's underside while being continuously shot at by grunts through the floorboards, with this section also acting as a movement tutorial while building the intensity of the situation and sudden change in pace. Saved by Jessica yet again in a sewer controlroom, then given the magnum gun and a tutorial on how the health system works in the game, she dissapears through a door and the player is now on his own.
|
|
| se1_docks02
|
Lighthouse
|
Leaving a warehouse a short physics puzzle where an explosive barrel will have to get shot for a large metal beam cluster to smash open a fence gate, giving the player acces to a else normal busy ship docking station with a lighthouse being the dominant view of the scenery. The path goes through docking houses, the lighthouse where the jetpack grunt gets presented and a larger warehouse earlier shown through a window in prior map; attacked by grunts all throughout the course of the advanture. Finally a deadly robotic deathmachine gets unleased in an open warehouse room that instakill the player if not careful, with grunts spawning at the floor above and trying to shoot the player down at the same time. The objective of the room is to with grenades explode a set of barrels behind a door which will open it for good, allowing the player to progress to the next level.
|
|
| se1_docks03
|
Generators
|
Now in an office area of the docks right beside where the player was first giving access to the magnum gun, and will get attacked by lots of grunts in various ways while scaling a fire escape staircase, entering an office complex and the highest floor of the building. This part is filled with grunts firing out of the large windows that lets the use of grenades supplied beforehand much easier to use with its too a sized small room. Afterwards some more office halls gets trespassed to dropdown into a dirty backyard leading to an open large interior powerstation, gets attacked by grunts on higher catwalks inside the building. The player now has to go around where he came from to a pipe filled utility backroom on top and down a long arounded stairwell to the main turbines located in the basement, swim beneath them in the water below and open a bridge and gate while getting heavily shot at by lots of grunts comming at verious sides from the floor up high.
|
|
| se1_docks04
|
Trainyard
|
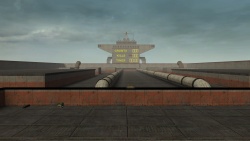
Now entering a very large cargoship shipping area with a crane, a small bridge and a fueling pipe filled bridge for the ship, the player will go around the complex and into the earlier trepassed powerstation but now at the opposite side of the fence with the fuilding silos. Going up a ladder and out on the pipe catwalk bridge, Jessica acknowledges the player's arriving and is ready to take the player across the water in a container to the traintracks below on the other side. Following the tracks, Radek's hideout in the form of a stranded oiltanker, will appear on the horizon and can be entered by going onto the seabed below and then into the red warehouse behind the concrete fencing, with the elevator down into its hull being at the end of the ramp opened by operating screen in the controlroom.
|
|
Druglab
| Map
|
Name
|
Description
|
Image
|
| se1_u4lab01
|
Infiltration
|
When entering Radek's hideout by the lift, the player will be trapped in an entrance hallway by two active force fields located on each end. The player will then be tasked with placing a spike on a control panel responsible for the force fields, so that JC can hack one of them for the player to pass through into the interior of the lab itself. While this is going on, an intense ambush sequence will occur in which vertical sliding windows, perpendicular to the hallway's force fields, will open/close in different patterns to allow enemies and the player to shoot trough. Afterwards the player will have to pass through different rooms throughout the ship, including a lunch room with a kitchen, a holding area, the ship's bilge filled halfway with water, a hot boiler room and various miscellaneous hallways and storage areas while battling enemies and solving puzzles underway, to try to reach the end of the ship where Radek is located.
|
|
| se1_u4lab02
|
Laboratory
|
Halfway through the ship they will reach a giant old holding area, now used for pipes to pass through, where a row of floating platform bridges secured to the ceiling will be dropped to the ground by blowing up their cables and as so the player has to go around instead while Jetpack Grunts will enter by the hole in the ceiling and attack the player. Afterwards there will be a larger multilevel storage area containing a lot of druglab grunts and U4 barrels, with the goal being to reach the attic located at the upper most platform of the room. Then the player will see the lab itself and try for themselves how SiNTEK used U4 gas chambers to be able to convert ordinary people into monsters of different types (this interactive element is censored in the German version of the game) to continue into an security checkpoint where another ambush sequence will take place. Then they take a high speed cart that will ram through a heavy loading door leading into the final area of the ship where the player will be forced to listen to a monologue individually with Radek and hologram Elexis, spilling their plans and moving the plot forward.
|
|
| se1_u4lab03
|
Catastrophe
|
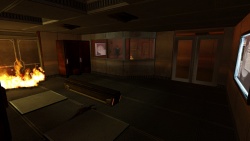
Radek has at this point escaped the ship with his private sub and at the same time activated the 'auto-destruct sequence' as JC puts it and suggest that the player leaves the druglab area as fast as possible before everything blows up. They will then go through roughly the same areas in reverse order from then they entered the ship, however this time the environment will be dark and lit up red and an alarm is heard in the background, while everything around them is on fire with both mutants and grunts combatting both the player and each other. The level will end when they reach the research lab and the end of the giant storage area, which is the same area from which they started out then going the other way around then starting the previous level.
|
|
| se1_u4lab04
|
Hunted
|
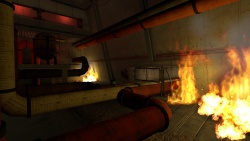
While continuing trying to find an exit out of a ship on the brink of total destruction, the player will go through the various rooms previously inaccessible or structured differently due to the ship being in an emergency state and the grunts trying to keep Blade out. Everyone are now escaping in full force, all while explosions are heard all around the player with everything being on fire, the alarm being heard constantly and everyone being in a panic all while combatting mutants now able to escape the lab without any security in place. The player will find an escape route, now accessible, by a blown up fence door located inside of a concrete tunnel providing a mean for the chemical pipes located throughout the ship to enter its hull.
|
|
| se1_u4lab05
|
Minigame
|
A secret minigame called 'Whack-A-Grunt' that can only be accessed by the use of the console, where the rules of the game reads as follows:
Kill all grunts. Grunts spawn in progressively larger waves over time. Total grunts in game: 150.
- Kill all the grunts (pigeons flying over the stadium can also be killed, counts seperately).
- Use any gun, but no grenades (assault rifle not available for whatever reason, only magnum and scattergun)
- Player with the highest score when all grunts have spawned wins (players taking turns locally).
- In the event of a tie, player with lowest time display wins.
|
|
Pit
| Map
|
Name
|
Description
|
Image
|
| se1_pit01
|
Descent
|
The player has just left the selfdestroying ship through the utility tunnels and will now have to witness the horrors the tests conductet there, has released upon the world in the process of destroying the ship itself. After going through countless dark and dirty sewers fighting mosters the player will end up in an arena and will have to fight an quadralex for the first time in preperation for the finale fight and also be given the assault rifle right in the room beforehand, having to learn its strong and weak points.
|
|
| se1_pit02
|
Emergence
|
Following the fight against the quadralex, a small simple labyrinth section covered in prop_u4_barrel and grunts everywhere appears, with Jessica arriving in the car being chased by an attack helicopter when reaching the end of the maze. The player will enter the vehicle, open a gate by a control room by the end of the arena and then arrive at Supremacy Tower by driving at full speed through its doors.
|
|
Highrise
| Map
|
Name
|
Description
|
Image
|
| se1_highrise01
|
Entry
|
With the car being rammed through the front doors of the building, the player will now be located in the main entry hallway of Supremacy Tower with Jessica as their companion at this time around, while grunts located in the hallway and on higher platforms will be ready to attack. When all the enemies are dead, JC will tell Blade and Jessica to continue higher up into the building until they reach the Network Operation Center (NOC) as this location is seen as important since it is filled with data. Following this, the player will continue through an indoor parking lot with a ramp where from a van, burning exploding barrels will be thrown down, which can be stopped by either shooting the barrels or destroying the van itself. The game from here on out will also become much more difficult with elite grunts and security drones spawning more frequently with many more enemies in general from this point forward.
|
|
| se1_highrise02
|
Search
|
The player will continue up a large staircase and through hallways until they reach the visually larger and more important parts of the building, including the atrium where the sub Radek escaped in can be seen with the goal from the player's perspective to move around on different leveled platforms until a door on the highest platform is reached which is blown open, and the office spaces filled with breakable cubicles to be used as cover and also on some way as a small labyrinth to make it harder to find the correct way while being stomped by enemies coming from all directions. In between these parts there is a small sequence with hologram Elexis addressing the player and Jessica alike, resulting in another enclosed combat sequence where the lift doors on either side of the hallway will open one by open while grunts arrive from the lift cars and by rope from the ceiling platforms.
|
|
| se1_highrise03
|
NOC
|
Jessia and the player finally arrive at the NOC. JC praises their efforts of reaching location and says Radek is still at Supremacy Tower and will be leaving by helicopter with a sample of mutagen which was injected into Blade at the start of the game, which is an important piece of biotechnology that could be used to research a cure by HardCORPS to save Blade. From here the lifts will become active by Jessica and the player can use them to reach a higher point on the building or reaching different floors of interest for supplies and secrets, while being attacked by standard grunts and jetpack grunts. Then the lifts cannot go any higher, traversing by the outside ledges on the exterior of the building to get further to the top becomes necessary with the use of ladders to climb and banners reach over gaping holes in the environment, all while getting attacked from all sides from different types of grunts and a druglab attack helicopter.
|
|
Finale
| Map
|
Name
|
Description
|
Image
|
| se1_finale01
|
Finale
|
The finale battle in the game for the player to overcome with what has been learned throughout, starting with a short cutscene of Jessica getting, presumably mutagen, injected into her by Radek and thereby losing the sample. Following the route around the top of the tower the player will end up on the roof of the building and has to fight against an quadralex and a druglab attack helocopter. The map will end by walking to the end of the destroyed helipad where a helicopter is waiting and the screen will fade to black.
|
|
| se1_finale02
|
Finale
|
This map is one entire cutscene that begins by letting the player know of what is going to happen in the next episode - the situations that are currently unfolding in the game's world by the actions taken throughout the game's story. Afterwards the credits about the people creating the software will rollover the screen, with a hidden gem with bloopers before returning to the main menu.
|
|
Arena
| Map
|
Name
|
Description
|
Image
|
| arena_behindzeebeaker
|
Behind Zee Beaker
|
Set in an enlarged open lab area.
|
|
| arena_lobby
|
Highrise Lobby
|
Uses the theme of the elevator lobby in Supremacy Tower.
|
|
| arena_office
|
The Office
|
Set in the Supremacy Tower office section of the campaign.
|
|
| arena_pit01
|
The Pit
|
Themed after and uses a repurposed enclosed part of the pit01 map.
|
|
| arena_turbine
|
Turbine
|
Set in a very open turbine area with a lower and top floor.
|
|
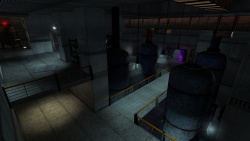
| arena_u4factory
|
U4 Processing Station
|
A dark enclosed factory setting with multiple cramped levels.
|
|
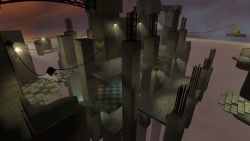
| arena_vertigo
|
Vertigo
|
A weird floating platform in the middle of nowhere with teleporters.
|
|
Backgrounds
| Map
|
Name
|
Description
|
Image
|
| background01
|
none
|
Used as the background map on the main menu during chapter 1: "Emergence"
|
|
| background02
|
none
|
Used as the background map on the main menu during chapter 2: "Docks"
|
|
| background03
|
none
|
Used as the background map on the main menu during chapter 3: "U4 Laboratory"
|
|
| background04
|
none
|
Used as the background map on the main menu during chapter 4: "Pursuit"
|
|
| background05
|
none
|
Used as the background map on the main menu during chapter 5: "Supremacy Tower"
|
|
| background06
|
none
|
Used as the background map on the main menu during chapter 6: "Showdown". Identical to background05.
|
|

