Blender Modeling Walkthrough (3.6.1)
This tutorial covers creating a model in Blender and exporting it to the Source Engine. The model we will make is a soda can.
This tutorial was created on version 3.6.1 of Blender for Windows. If you still need the old 2.48 version, you can find it here:
Blender Modeling Walkthrough (Outdated)
Contents
Tools Used
The tools used for this tutorial are as follows:
Blender for creating a mesh and texture mapping.
Blender Source Tools for exporting the model from Blender.
Crowbar for compiling the model into a .mdl for source games.
VTFEdit for converting textures into VTFs for source games.
| Key Reference | |
|---|---|
| Select / Confirm Action | |
| Rotate Camera | |
| Context Menu / Cancel Action | |
| MW | Zoom In/Out |
| S | Scale Selection |
| G | Grab Selection |
| Num5 | Toggle Orthographic View |
| Num3 | Orthographic Right-Side View |
| Shift+A | Add Object |
| Tab ⇆ | Edit Mode |
| Ctrl+R | Loop Cut and Slide |
Quick Overview
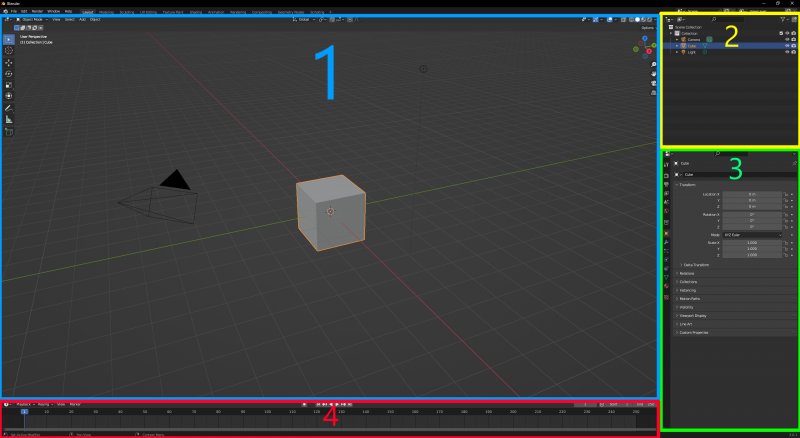
Now, if you haven't already, open Blender. You should have the default screen, seen below.
For a brief overview, Blender's workspace is divided into different areas called viewports. Each viewport contains a different "Editor Type" that can be changed by clicking on the Editor Type icon. Also, every "Editor Type" has a header that can be relocated to the top or bottom of the window, or be removed entirely by clicking on it with the RMB and unchecking "Show Header". This can be undone by clicking the small down arrow icon that appears at the top-right of the viewport. Blender starts with four viewports open by default:
   1. 3D Viewport
   2. Outliner
   3. Properties
   4. Timeline
These will be covered in more detail as we use them.
Cleaning Up the Workspace
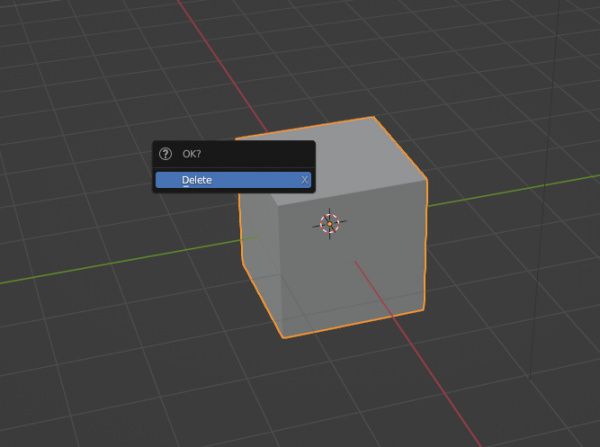
To get started, we will need to delete the "Default Cube". This is the first critical step in any 3D modeling adventure. First, select the cube with ![]() , then press X to delete it.
, then press X to delete it.
Since we will not be needing the camera or the light objects for making a Source model, we can delete those too. Pressing A will select everything in the scene. Then press X to delete them as well.
Now we should have a clean workspace to start creating our model.
Creating our Model
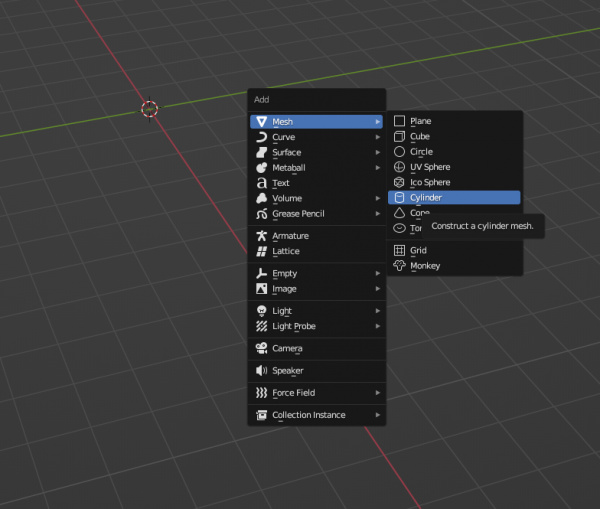
Now we need a cylinder to create our can from. We can add prefab objects to the scene with Shift+A
Hover your mouse over the "Mesh" category at the top of the opened menu, then click the "Cylinder" option to add one to the scene.
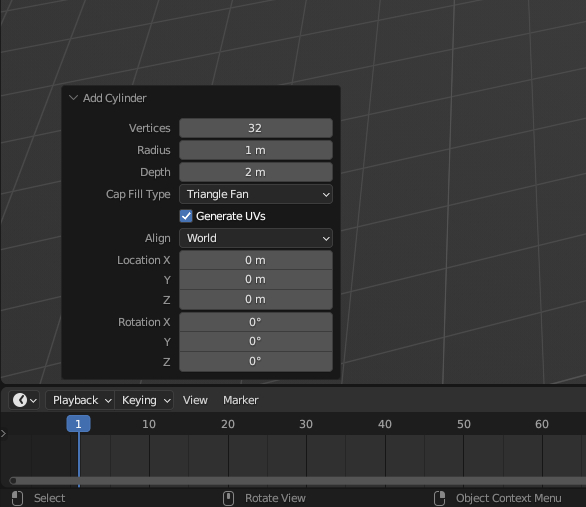
For the mesh to have triangles on top, pop up the cylinder menu in the bottom-left, and change the cap fill type to "Triangle Fan".
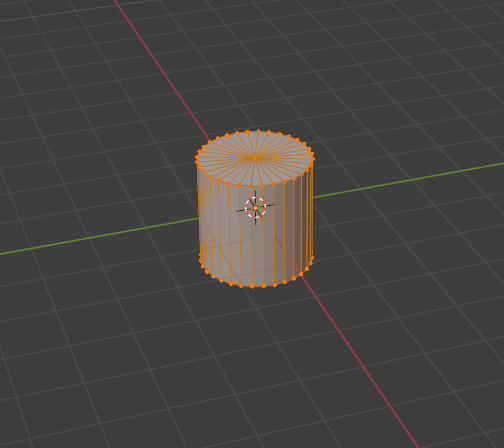
Now we have a wonderful cylinder that does most of our work for us.
Editing the Cylinder
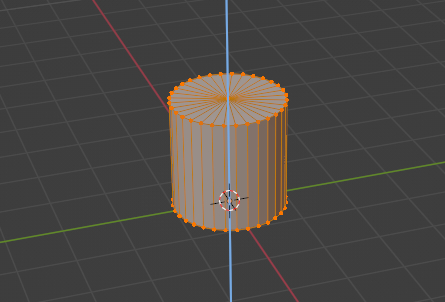
First order of business is to align our model with the standard of source engine by having the object origin at the bottom. The origin is indicated by the orange dot in the middle of the cylinder. We don't want to move the origin from the center of the scene, but rather move the object upwards.
Your cylinder should be selected already, as shown by the orange highlight around it. If not, select it with ![]() .
Now we can enter "Edit Mode" with Tab ⇆. This will allow us to select each vertex that makes up the mesh. Each vertex is connected to each other with an "edge", and 3 or more edges can form a "face"
.
Now we can enter "Edit Mode" with Tab ⇆. This will allow us to select each vertex that makes up the mesh. Each vertex is connected to each other with an "edge", and 3 or more edges can form a "face"
Moving the Origin
In edit mode, we can hit A to make sure we have all the vertices selected. Next, press G to "grab" the vertices and move them.
While we can freely move the cylinder how we want, we should keep it centered, and only move it upwards. By pressing Z, we can snap our movement to the "Z" (Up and Down / Blue) axis.
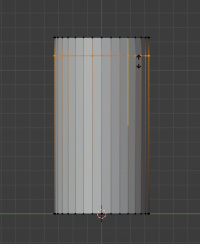
To align the bottom of our object perfectly with the origin, we can press 1 to move it 1 unit along the currently selected axis. Confirm your changes with either ![]() or ↵ Enter. If you need to cancel an action, you can press
or ↵ Enter. If you need to cancel an action, you can press ![]() .
.
If you have a cylinder that looks like the above photo, congrats! Now we can move on to making it more soda can-shaped.
Setting the Dimensions
Currently our cylinder is a little too stubby to be a good soda can, so let's increase its height to a more reasonable number. Source Hammer Units are typically a 1:1 scale for blender units,
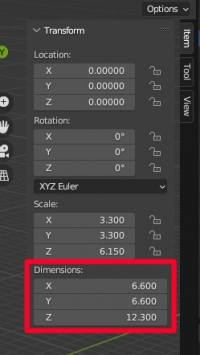
though some games vary. A typical can has a height of 12.3cm, and a diameter of 6.6cm. We can achieve these dimensions quite easily in Blender by adjusting the dimensions directly. The first step is to exit "edit mode" by pressing Tab ⇆. Next, turn your attention to the context panel in the right of your 3D view (Shown below). If you can't see it, press N to toggle its visibility.
At the bottom is the "Dimensions" category. If you see apostrophes for imperial/feet or an "m" for metric/meters next to the numbers, please see "Changing the Blender Units." If the numbers already have no designation (meaning regular Blender units), we can go ahead and change the X and Y axes to 6.6 for the diameter, and the Z to 12.3 for the height.
Adding Loop Cuts
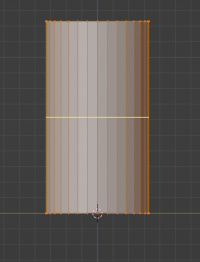
Next, let's add the actual shape of the can. Enter edit mode again Tab ⇆, so we can modify the mesh. In order to get the shape we want, it would be easier to have a flat side-view of our can. We can enter an orthographic side view with Numpad 3
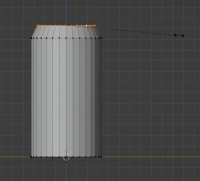
The next tool we'll use is the "loop cut and slide" to add the top and bottom. Press Ctrl+R to create a loop cut, then ![]() to apply it to our mesh, and finally move the cursor up and down to place it where you want. Do both steps a second time to create the other bend.
to apply it to our mesh, and finally move the cursor up and down to place it where you want. Do both steps a second time to create the other bend.
Now let's shrink the top and bottom of the cylinder to form the shape of the can. We need to de-select everything with Alt+A, then select just the top loop with Alt+![]() on one of the top vertices. Scale the loop by pressing S, and moving the mouse cursor closer to the selection, until it's at a good size.
on one of the top vertices. Scale the loop by pressing S, and moving the mouse cursor closer to the selection, until it's at a good size.
If you want it to be accurate, the top of a soda can has a 5.41cm diameter lid. With a little math, we can choose how much to scale it to get that size:
Lid Diameter / Can Diameter = Scale
5.41 / 6.6 = 0.8196...
If we press S and then type 0.82 on the keyboard, we'll scale the loop to that size, and press ![]() to confirm.
to confirm.
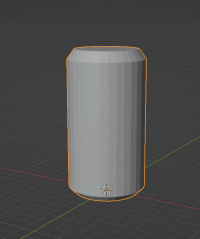
This is as in-depth as we need to go for our model. Either press Numpad 5 or simply turn the camera with ![]() to exit the orthographic view.
to exit the orthographic view.
Adding Some Texture
It's time to add a texture to our can, which means we're nearly done! Textures are applied to models with a "UV Map", which is essentially a flattened version of our model that we can easily match up to the texture.
Marking the Seams
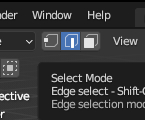
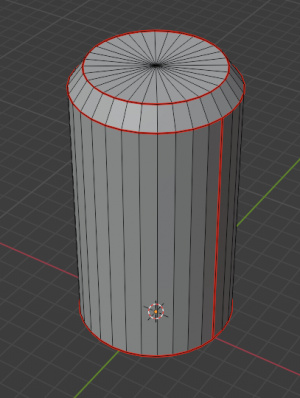
If we were to unwrap our model right now, the UV map would look skewed, or overlap itself a lot. This is because the editor doesn't know how to cut up the texture. We can give it some help by marking "seams" along some of the model's edges. I imagine it as splitting the model into sections you could easily cut from sheets of paper and bend into shape. The top and bottom are easy. Ensure you're still in edit mode, and change our selection mode to "Edge Select" from the options at the top-left.
Next, loop-select Alt+![]() one of the circular loops around the can. Now press Ctrl+E to open the edge editor, and click "Mark Seam". The edges should now turn red indicating them being a seam. Do the same thing for all 4 of the loops.
one of the circular loops around the can. Now press Ctrl+E to open the edge editor, and click "Mark Seam". The edges should now turn red indicating them being a seam. Do the same thing for all 4 of the loops.
Finally, select one edge on the side of the can, and mark that as a seam as well. Now we have 5 distinct parts of the can that can easily be "unwrapped" into a UV mesh.
Unwrapping the Mesh
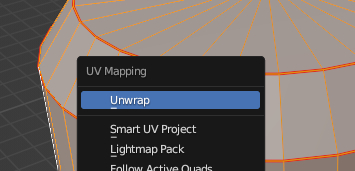
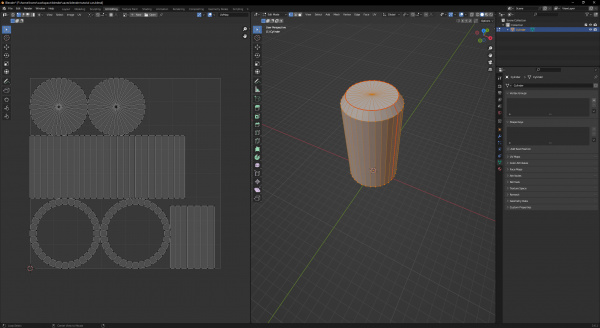
To create the first layout for the UV map, we need to "Unwrap" the mesh. In edit mode, press A to select the whole mesh, then press U to open the UV Mapping menu. Press the "Unwrap" option, and Blender will generate a (usually) clean layout of the UV mesh. More complex meshes may require some tweaking, but you can find plenty of tutorials on that on YouTube.
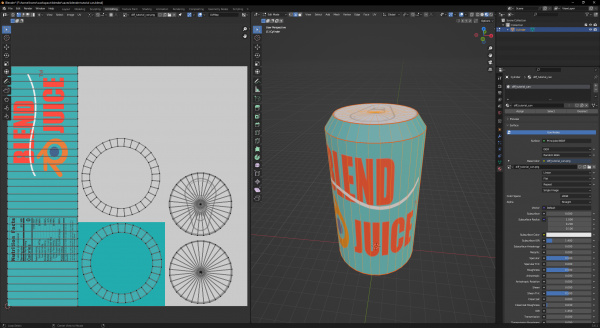
With the UV unwrapped, we can change our workspace to the "UV Editing" tab at the top. You should now see the 3D model on the right, and the UV layout on the left.
Applying a Material
We now need to setup the actual material for our mesh.
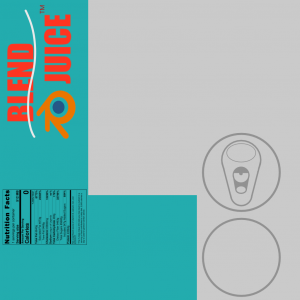
I have provided a quick material I made for the purpose of this tutorial. Feel free to use it:
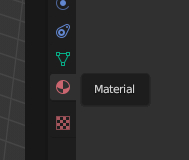
Of the tabs along our properties panel, select the ball with the checker pattern. Then, press the "New" button to create a new material on our object.
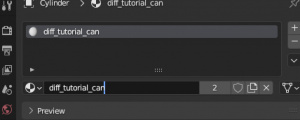
With the new material added, click the text box with "Material" in it and change it to "diff_tutorial_can" This name will need to match the name of our eventual VMT (Material) file we'll be providing our source game for the model.
While technically this is all that's necessary for source to recognize the texture, if we want to be able to see it in Blender so we can UV-Map, we'll want to make the material into an image texture. Make sure the "Use Nodes" button is highlighted in the material panel, then go to the "Base Color" option (with the white color next to it) and press the yellow dot.
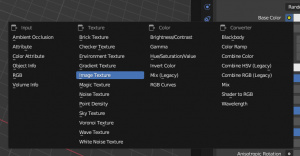
Then, under the "Texture" column, select "Image Texture".
Some new options will appear. Press "Open", and navigate to the texture location.
Now we should have the texture on our can, but you may not be able to see it in the model view in Blender. Ensure your mouse is hovering over the 3D view, press Z, and then press "Material Preview". It will look a little messed up right now, but we'll fix it in the next step.
Adjusting the UV Map
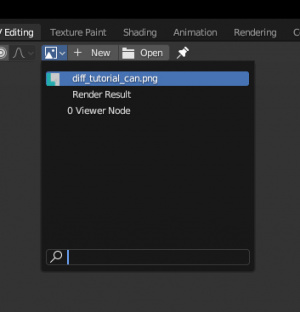
Now in the UV screen, we need to pull up our newly added texture to compare our UV map to. Press the Image Button at the top of the UV Editor, and select the image we've applied to the can.
With our texture in view now, we can move our UV map around to match the texture. You can "Island Select", or select all connected vertices with L. Then use G to move the sections around as you want. Remember to clear your selection whenever you want to move a new island by either tapping A until nothing is selected, or by pressing Alt+A.
Once you have the UV mesh in an appropriate location on the texture, our can should look good enough for the source engine!
