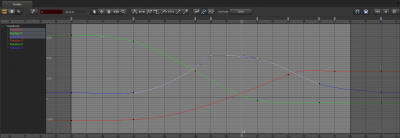
The Graph Editor
In the Graph Editor, you can work with individual animation curves directly by keyframing them, which gives you fine control over the animation curves. Instead of explicitly selecting time, as in the Motion Editor, in the Graph Editor, you implicitly work with a time selection based on where you place your keyframes.
To create or modify animation curves, you select controls in the Animation Set Editor, and then, in the Graph Editor, you select one (or more) of those controls' components (such as the position on the X axis, or the rotation around the Y axis). You add keyframes to mark points along an animation curve that you want to modify. You can then move the keyframes directly, or you can move a keyframe's tangent handles to modify the shape of the curve between two keyframes. You can also drag markers to move all the keyframes associated with them.
To add keyframes:
- Move the playhead to where you want the keyframes.
- Press M. A keyframe will be added to each control at the playhead's location, along with a marker just above the playhead to show where the keyframes are.
- In the viewport, move a control. The Graph Editor will automatically add keyframes for that control at the playhead.
As you work, the viewport updates automatically to reflect your changes. If you move or rotate a selected object in the viewport directly, the Graph Editor will likewise reflect those changes, and will automatically add keyframes for those changes.
