How To Take Artistic Screenshots
Introduction
Taking screenshots is thought to be a very simple process. Which is why everyone gets it wrong.
In fact, it's a much under-appreciated skill which involves aspects of photography, art and (most importantly) persuading one's inadequate hardware to give the best picture possible. So, how would you do that?
Graphics quality
Modern graphics hardware is often capable of much higher quality rendering than what it commonly runs at, as gaming usually involves a compromise between image fidelity and rendering cost. Various tricks such as antialiasing can help hide jagged, step-like boundaries at the edges of polygons, but at the expense of lowering the framerate on less expensive hardware. However, taking screenshots is not about performance. Instead of rendering images perhaps thirty or forty times a second, the aim is to render a single image which is to be displayed for perhaps minutes at a time - so the aim is to jack your graphics card's settings up as far as they'll go.
NVIDIA
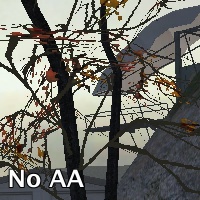
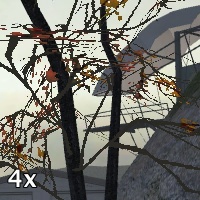
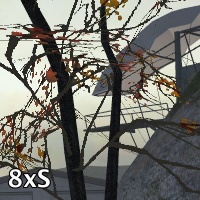
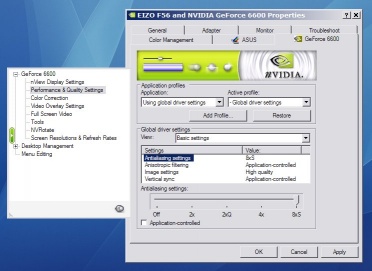
NVIDIA graphics cards command around half of the market, up against arch-rival ATI. On an Nvidia GeForce 6600, for example, there are graphics settings which are not directly accessible through Half-Life 2's in-game configuration screens - there is an additional '8xS' antialiasing setting which is definitely worth pursuing for taking screenshots, due to the significantly improved image quality when rendering masked textures such as foliage, fences and gratings. Examples of some of the antialiasing levels available are shown below:
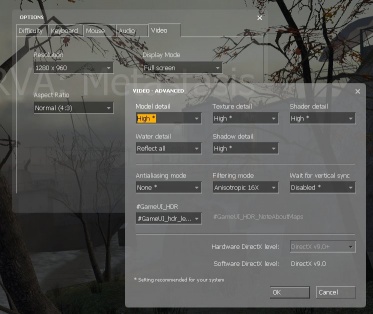
First of all, start up Half-Life 2 with the mod of your choice and set everything except antialiasing to as high as it will possibly go; Model detail, Texture detail and Filtering mode will make the most visible differences. An example screenshot is shown below:
Next, quit the game, right-click on the desktop and bring up your Display Properties settings window, then click on the Settings tab. Now click on the Advanced button near the bottom, then on the GeForce tab. We now want to select the highest antialiasing mode available, so click on Performance & Quality Settings to the left, uncheck Application-controlled then drag the slider as far right as it will possibly go. In the author's case, this is to '8xS'. Another example screenshot is shown below:
Click on various OK buttons, and restart the game. In the author's case, bringing up the console and typing "mat_antialias 8" appears to be necessary to enable the '8xS' antialiasing. Once this is done, there should be precipitous drop in framerates, so type in "sv_cheats 1" and load your map - the game is now ready for screenshots!
Targa (TGA) screenshots
Removing the crosshair and HUD
Sometimes when taking screenshots, the aim is to give a visual, near-photographic impression of the map without the presence of any game interface elements. In single-player Half-Life 2 (and most other games and mods), the primary elements are the HUD (head-up display), the crosshair and the weapon model. Fortunately, there are console commands to remove all of these - "cl_drawhud 0", "crosshair 0" and "impulse 200".
