Converting brushes to models with XSI: Difference between revisions
Jump to navigation
Jump to search
Craziestdan (talk | contribs) m (a quick note...) |
TomEdwards (talk | contribs) (rewritten up to the point at which XSI crashes every time...) |
||
| Line 1: | Line 1: | ||
[[Category:Level Design]] | [[Category:Level Design]] | ||
[[Category:Tutorials]] | [[Category:Tutorials]] | ||
[[Category:XSI]] | [[Category:XSI]] | ||
This tutorial | Not all geometry is suitable for [[brush]]es. Anything that needs to be repeated over and over, be lit dynamically or be highly detailed is generally better off as a [[model]]. This tutorial will guide you through the process of exporting a brush from [[Hammer]] into the [[XSI Mod Tool]] and then out again to a compiled model ready for use as a prop. | ||
*1 unit in Hammer = 1 unit in XSI | *1 unit in Hammer = 1 unit in XSI | ||
*You'll have to set Texture UV in XSI again, so don't spend much time tuning texture in hammer. | *You'll have to set Texture UV in XSI again, so don't spend much time tuning texture in hammer. | ||
==Hammer== | == Exporting from Hammer == | ||
With the geometry you want to convert selected, press {{key|Ctrl+R}} or click the "Create Prefab" button (in the [[:Image:Hammer newprefab.png|New Object toolbox]]). It doesn't matter which tool you have active. | |||
Save the file somewhere accessible. | |||
== Importing to XSI == | |||
In XSI, click {{key|Main menu > ValveSource > VMF Tools > Import VMF}} and select the prefab file you just saved from Hammer. Ignore the Texture Path option. | |||
:{{note|You must also do the following in order for the model to work correctly.}} | :{{note|You must also do the following in order for the model to work correctly.}} | ||
Revision as of 04:33, 6 January 2009
Not all geometry is suitable for brushes. Anything that needs to be repeated over and over, be lit dynamically or be highly detailed is generally better off as a model. This tutorial will guide you through the process of exporting a brush from Hammer into the XSI Mod Tool and then out again to a compiled model ready for use as a prop.
- 1 unit in Hammer = 1 unit in XSI
- You'll have to set Texture UV in XSI again, so don't spend much time tuning texture in hammer.
Exporting from Hammer
With the geometry you want to convert selected, press Ctrl+R or click the "Create Prefab" button (in the New Object toolbox). It doesn't matter which tool you have active.
Save the file somewhere accessible.
Importing to XSI
In XSI, click ValveSource > VMF Tools > Import VMF">Main menu > ValveSource > VMF Tools > Import VMF and select the prefab file you just saved from Hammer. Ignore the Texture Path option.
 Note:You must also do the following in order for the model to work correctly.
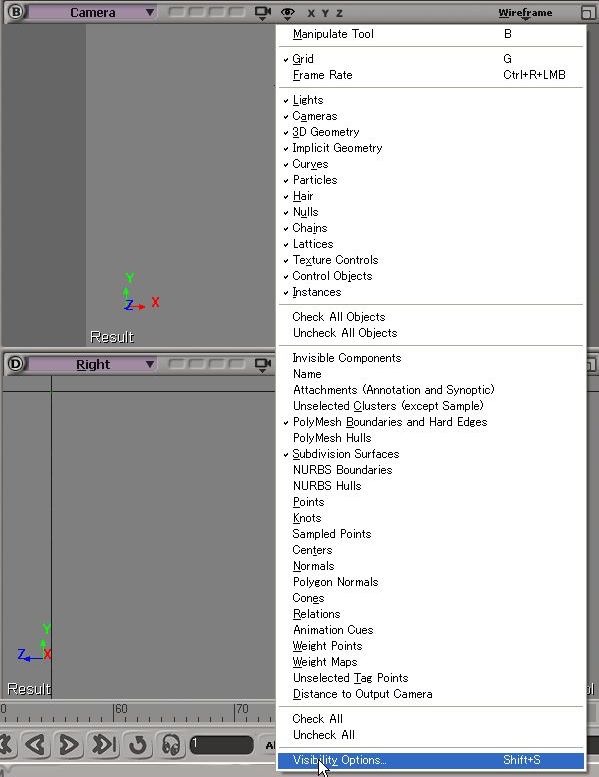
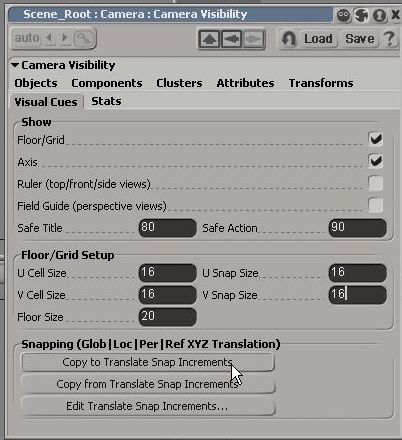
- Go to visibility options(click eye icon in each view), select the Visibility options button, then in its pop up window, select the Visual Cues Tab, then set U/V Cell/Snap Size to 16 or 32 in Floor/Grid Setup, then click Copy to Translate Snap Increment.
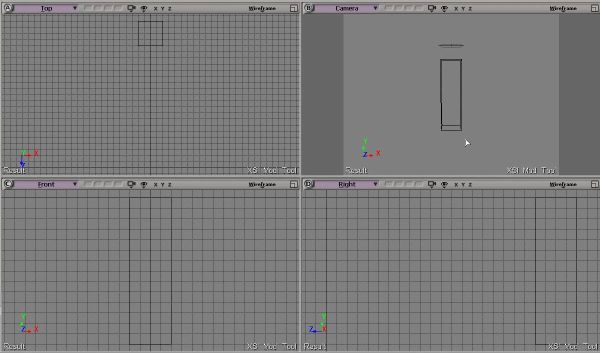
- In the Snap panel, click ON and grid icons.
- Now XSI works like Hammer's Snap to Grid.
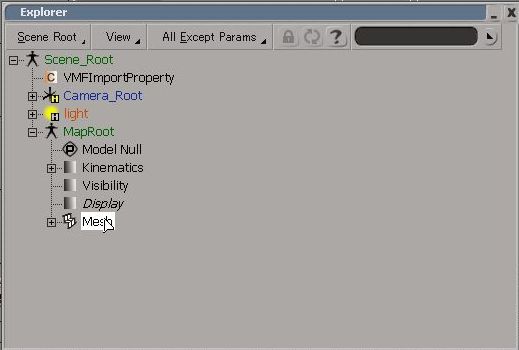
- Move loaded mesh to the world origin. The world origin in XSI will be the pivot point in Hammer. See Animators Guide to Scripted Sequences for details.
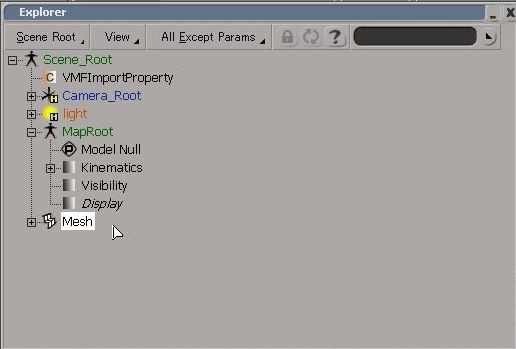
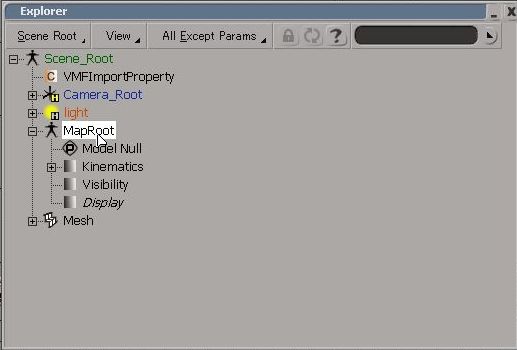
- Select the mesh, then click cut button in the Constrain panel. This will free the mesh from MapRoot which has rotations.
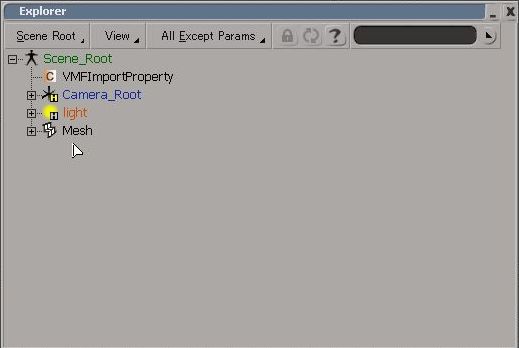
- Delete MapRoot.
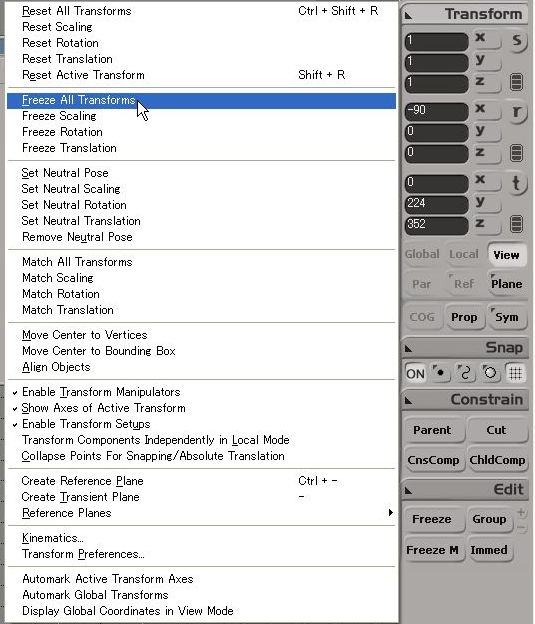
- Select the mesh, do Freeze and Freeze All Transformation.
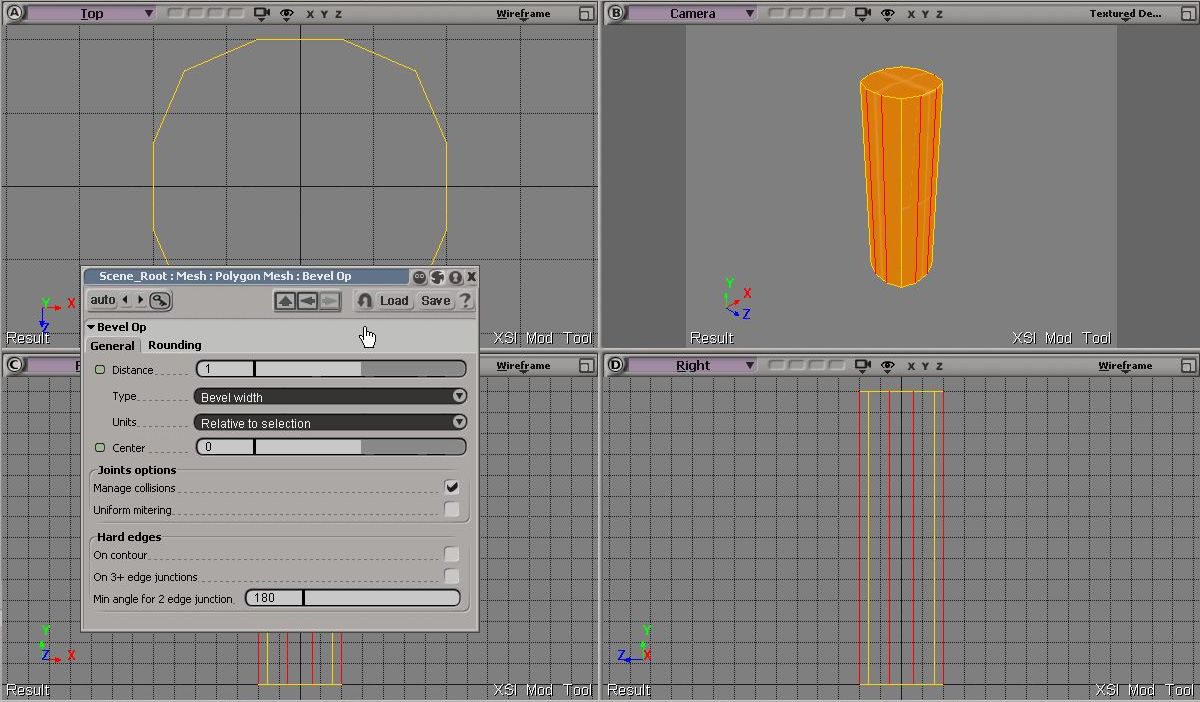
- Now you can edit it as you like, give it more detail, etc. Don't forget to texture it, for SMD exporter only export mesh with material and UV informations.
- If you are happy with your mesh, Freeze and Freeze All Transformation again, then click ValveSource>Export SMD, and export as a reference SMD.
Compile
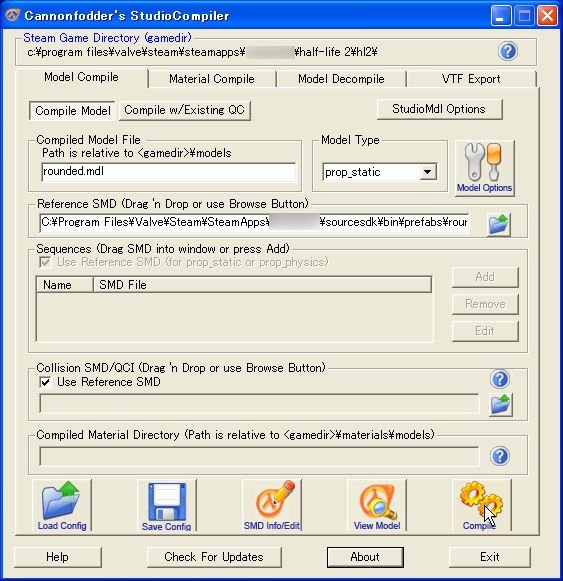
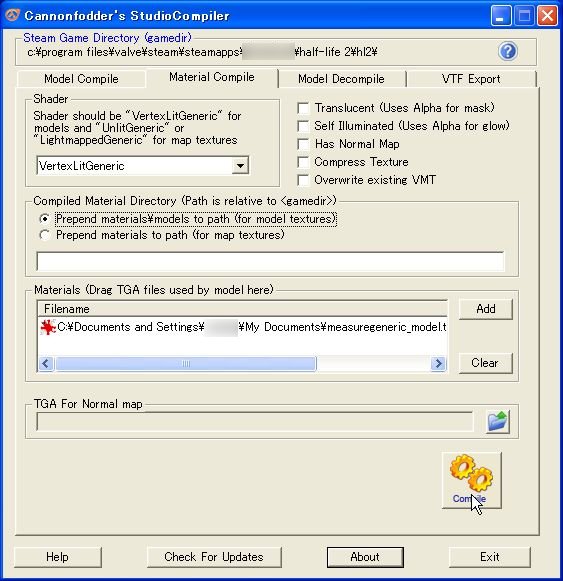
- Now compile the model and textures. Here Cannonfodder's StudioCompiler was used for compiling prop_static model and texture.
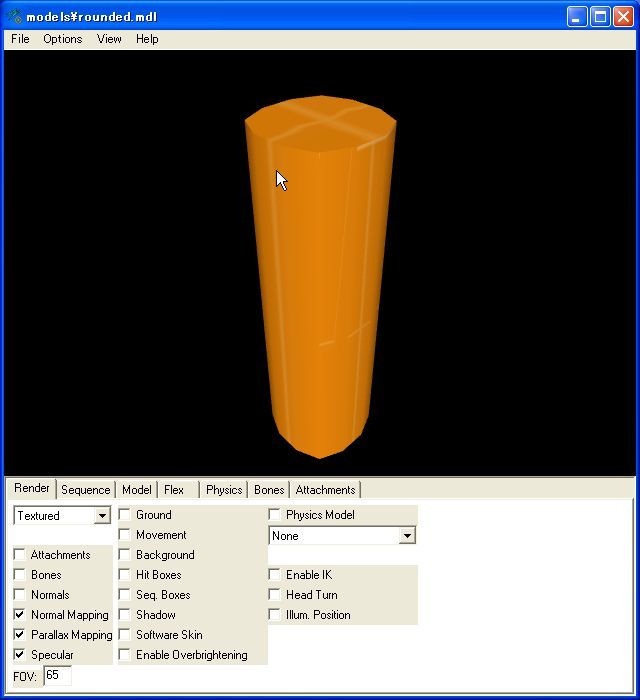
- Preview the compiled model in HLMV
Hammer again
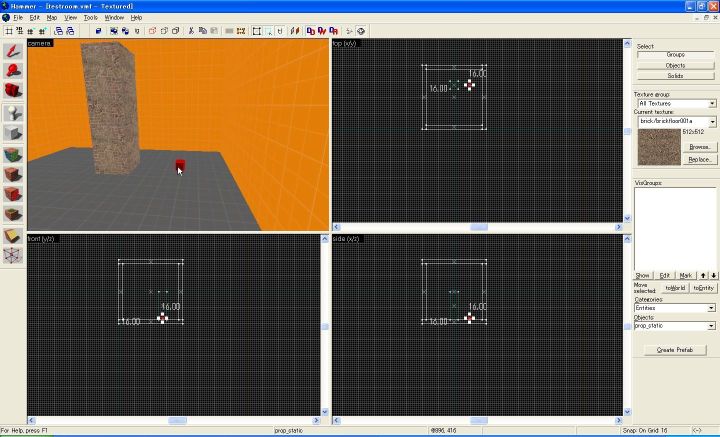
- Place it as prop_static in hammer.
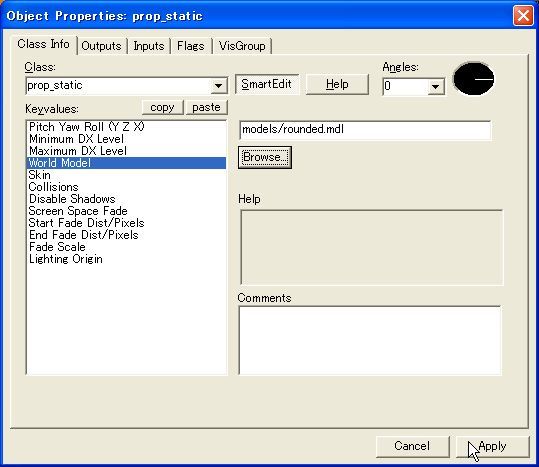
- Set the World Model in entity properties.
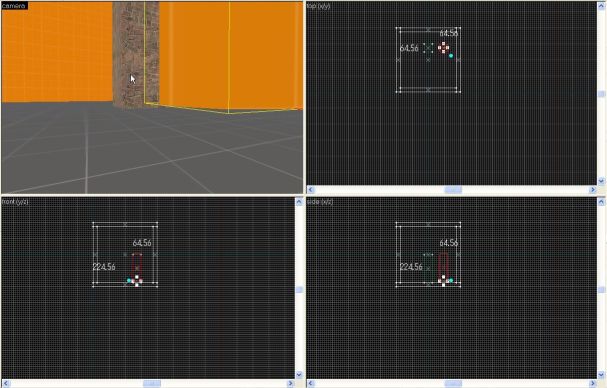
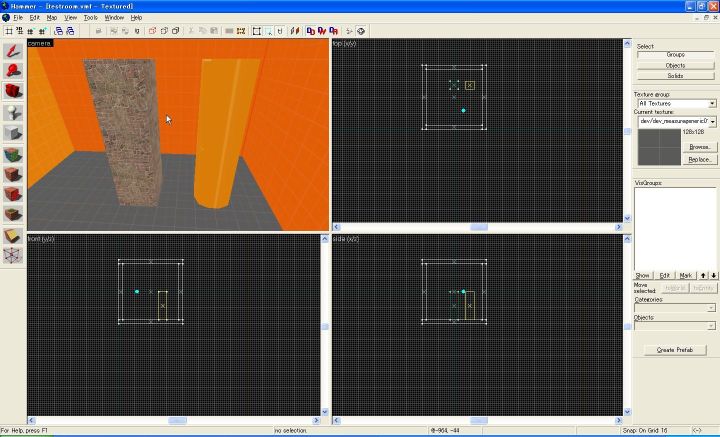
- Now place the model as you like.
