Rock Textures Creation: Difference between revisions
Brad Newsom (talk | contribs) |
Brad Newsom (talk | contribs) |
||
| Line 22: | Line 22: | ||
==Finding the Right Texture for the Job== | ==Finding the Right Texture for the Job== | ||
<div id='gameplay' {{CategoryBox}}> | <div id='gameplay' {{CategoryBox}}> | ||
There are two ways of getting this step done. One is by searching for a texture using any image search, then checking to see if its publicly available and free to use, unless you get special rights to the image. | There are two ways of getting this step done. One is by searching for a texture using any image search, then checking to see if its publicly available and free to use, unless you get special rights to the image.<br> | ||
<font color="#ff0000">'''REMEMBER:''' You must make sure that the image you choose give you the right to use it freely. If not, the original owner can bring on legal actions to your project.</font> | <font color="#ff0000">'''REMEMBER:''' You must make sure that the image you choose give you the right to use it freely. If not, the original owner can bring on legal actions to your project.</font> | ||
Revision as of 17:11, 20 April 2006
Skill Level: Easy
What will you accomplish in this tutorial
In this tutorial, I'll take you through a step by step detail on how to create a rock texture, and producing a bumpmap/normal map that will bring out depth to the texture.
Requirements
- The Internet (Preferably Firefox, lol)
- Photoshop w/Nem's VTF Plugin
- Notepad
The Tutorial
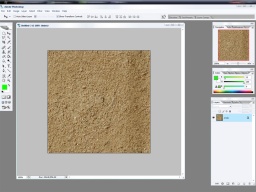
Finding the Right Texture for the JobThere are two ways of getting this step done. One is by searching for a texture using any image search, then checking to see if its publicly available and free to use, unless you get special rights to the image. OR You can check out the Free texture resources here on VDC to download a texture pack or hand pick a good seamless dirt texture from the links. For tutorial purposes we will use this one: Putting the Texture to UseNow that we have the dirt texture we will use, please either right click it to copy, or save it to the hard drive.
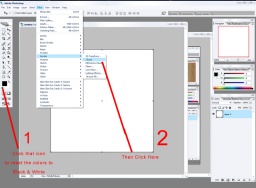
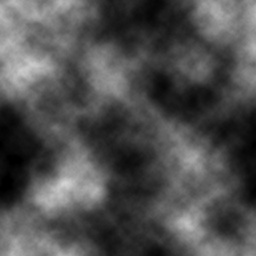
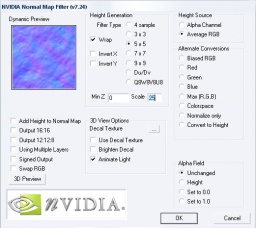
Creating the Normal MapNow that the file has saved successfully, create a new image file with the same dimensions at the dirt image, then click 'New'. Now do everything as said in the next image: Putting It All TogetherNow we got the diffuse and normal map finished. Now whats next? Well we need to create a vmt file which tells the game that the texture files are here. So now, open up notepad, and copy and paste the following into it:
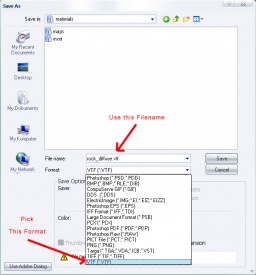
Now save as 'rock_texture.vmt' in the same folder you save the vtf's. Now it should be useable ingame. Open up Hammer and Add the texture to a wall or a terrain surface. Enjoy! What it looks like in the end? |

