Hammer Make Hollow Dialog: Difference between revisions
Jump to navigation
Jump to search
m (Replaced JPEG image) |
No edit summary |
||
| Line 4: | Line 4: | ||
[[Image:hammer_makehollowdialog1.png]] | [[Image:hammer_makehollowdialog1.png]] | ||
The '''Make Hollow''' dialog will ask you to supply a value for wall thickness. Positive numbers will create the walls | The '''Make Hollow''' dialog will ask you to supply a value for wall thickness. Positive numbers will create the walls inward, and negative numbers will hollow outward. Each of walls that are created as separate solid objects, and are grouped together as one. You can '''Ungroup''' them to select and edit them individually. Several objects can be selected to '''Make Hollow''' at once, and the command will make separate hollow groups out of each of them. | ||
To make an object hollow: | To make an object hollow: | ||
Revision as of 19:39, 30 April 2012
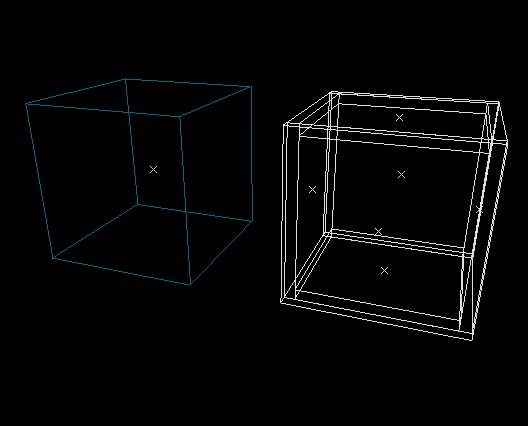
The Make Hollow command takes a selected object and generates walls out the shape, making it a hollow room.
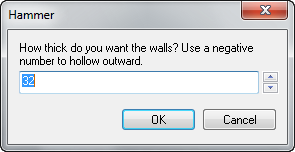
The Make Hollow dialog will ask you to supply a value for wall thickness. Positive numbers will create the walls inward, and negative numbers will hollow outward. Each of walls that are created as separate solid objects, and are grouped together as one. You can Ungroup them to select and edit them individually. Several objects can be selected to Make Hollow at once, and the command will make separate hollow groups out of each of them.
To make an object hollow:
- Select an object or objects to Make Hollow.
- Choose Make Hollow from the Tools Menu, or press CTRL+H.
- Enter in a thickness value that you want the walls to be and click OK. A negative value will hollow outward.
- Ungroup the objects if you wish to edit the walls individually, or use the Toggle group ignore button.

