Ru/Elevator (Portal 2): Difference between revisions
No edit summary |
(Translated some text) |
||
| Line 10: | Line 10: | ||
[[Image:Elevatortutorial1.jpg|thumb|right|Both instances just after copying]] | [[Image:Elevatortutorial1.jpg|thumb|right|Both instances just after copying]] | ||
2) | 2) Чтобы сделать вещи проще, и не создавать два func_instances и потом искать второй экземпляр, просто зажмите Shift и перетащите "Arrival_Elevator", чтобы скопировать первый func_instance, и перетащите копию точно над оригиналом. | ||
{{note| | {{note|Этот шаг обязателен, т.к. два func_instance должны распологаться точно друг над другом.}} | ||
{{note| | {{note|Если заготовка с лифтом не загружается, то сохраните свою карту и перезапустите редактор hammer.}} | ||
{{note|If you look at the tall blue "skip"-textured column, you can easily align the two items. Simply ensure that the columns line up in all three 2d windows. Also make sure the bottom of the columns are aligned. If you need to select one of the two parts, ie the elevator or the logic, you can click one of the cubes attached to the column.}} | {{note|If you look at the tall blue "skip"-textured column, you can easily align the two items. Simply ensure that the columns line up in all three 2d windows. Also make sure the bottom of the columns are aligned. If you need to select one of the two parts, ie the elevator or the logic, you can click one of the cubes attached to the column.}} | ||
Revision as of 19:28, 2 July 2011
Лифт используются в Portal 2 для перехода игрока между уровнями. Не путайте с Разборщиком (Disassembler), который используется для перехода игроков в кооперативном режиме.
Добавление лифта на карту
Вход в лифт
1) Выберите инструмент entity tool и создайте с помощью него func_instance. В поле name введите - "Arrival_Elevator",а в поле file name - укажите путь к следующей заготовке лифта: "instances/turbine_elevator/arrival_elevator_a4_base.vmf"
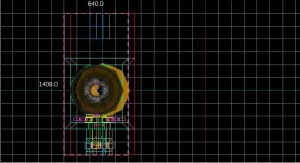
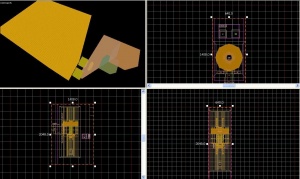
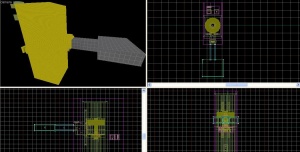
2) Чтобы сделать вещи проще, и не создавать два func_instances и потом искать второй экземпляр, просто зажмите Shift и перетащите "Arrival_Elevator", чтобы скопировать первый func_instance, и перетащите копию точно над оригиналом.
3) Double-click either one and change the name to "Arrival_Logic" with the VMF file name "instances/turbine_elevator/arrival_elevator_a4_logic.vmf"
You can use one of the other elevators to use a different theme; just make sure you have both the elevator and the logic instances.
Transition manager
4) Create one more func_instance entity anywhere; a convenient place is right behind the elevator model (but not inside the arrival elevator!). Name this one "Arrival_Departure_Trans" with the VMF file name "instances/transitions/arrival_departure_transition_ents.vmf". This instance covers the transition for both the Arrival AND Departure elevators, but does not cover the vmf's for the departure elevator(read below)
You can set the videos on the elevators by setting the variables in this instance; e.g. try setting $arrival_video to media/animalking.bik.
Exit elevator
5) To create the exit elevator, simply repeat steps 1-3 but instead of "arrival_elevator" you will choose "instances/turbine_elevator/departure_elevator_a4_logic.vmf" and "instances/turbine_elevator/departure_elevator_a4_base.vmf" both of which are located in the same folder. Name these "Departure_Elevator" and "Departure_Logic" respectively.
Connection to map
6) You will notice that sticking out of the middle of the elevators on one side is an extension that looks like a hallway. You must connect this passage to your map. A door would look good here.
Now your elevator is complete, congratulations!


