Zh-tw/Getting Started: Difference between revisions
< Zh-tw
Jump to navigation
Jump to search
Cstony0917 (talk | contribs) mNo edit summary |
Cstony0917 (talk | contribs) mNo edit summary |
||
| Line 2: | Line 2: | ||
{{first room menu:zh-tw}} | {{first room menu:zh-tw}} | ||
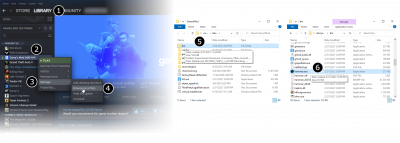
# | # 啟動Steam並且找到'''工具''' 標籤然後啟動'''Source SDK'''. | ||
# Select the engine and game you wish to use with your map. | # Select the engine and game you wish to use with your map. | ||
# | # 啟動地圖編輯器'''Hammer''' [[Image:game_config_set.png|thumb|left|400px|Launch the Hammer Editor in Half-Life 2: Deathmatch mode by following these steps.]]{{clr}} | ||
# | # 從 '''File''' 選單裡面選擇 '''New''' | ||
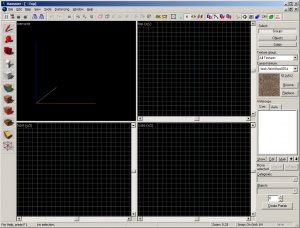
#An empty project will appear. | #An empty project will appear. | ||
| Line 12: | Line 12: | ||
{{clr}} | {{clr}} | ||
{{NavBar|:Category:Level Design|Your First Map|View Navigation}} | {{NavBar|:Category:Level Design|Your First Map|View Navigation}} | ||
Revision as of 03:52, 21 June 2008
- 啟動Steam並且找到工具 標籤然後啟動Source SDK.
- Select the engine and game you wish to use with your map.
- 啟動地圖編輯器Hammer
- 從 File 選單裡面選擇 New
- An empty project will appear.


