De/Getting Started: Difference between revisions
< De
Jump to navigation
Jump to search
mNo edit summary |
(Find SDK in Tools menu if missing in Play games) |
||
| Line 4: | Line 4: | ||
# Double-click '''Source SDK''' from the Steam '''Play Games''' Menu. | # Double-click '''Source SDK''' from the Steam '''Play Games''' Menu. | ||
# If '''Source SDK''' does not show up in the '''Play Games''' Menu, go to the '''View - Tools''' menu and install it there. | |||
# Next you must choose the correct '''Current Game''' from the Source SDK Launcher. Pick '''Half-Life 2: Deathmatch'''. | # Next you must choose the correct '''Current Game''' from the Source SDK Launcher. Pick '''Half-Life 2: Deathmatch'''. | ||
# Now double-click '''Hammer''' to launch the '''Valve Hammer Editor'''. | # Now double-click '''Hammer''' to launch the '''Valve Hammer Editor'''. | ||
Revision as of 06:24, 5 December 2005
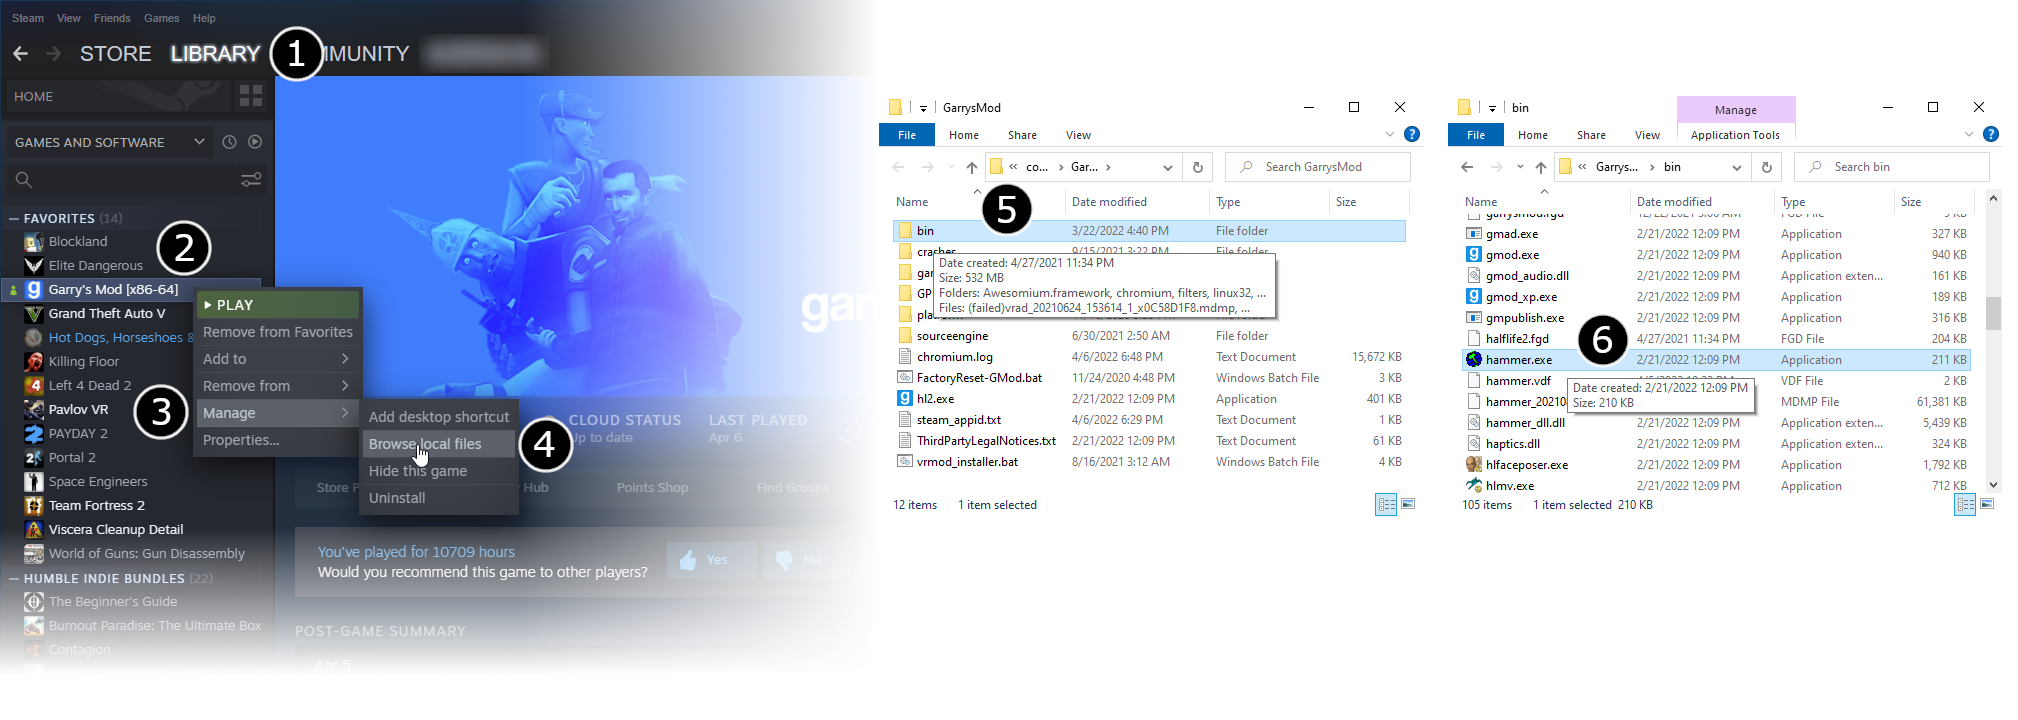
The first thing to do is launch the the Hammer Level Editor from the Source SDK:
- Double-click Source SDK from the Steam Play Games Menu.
- If Source SDK does not show up in the Play Games Menu, go to the View - Tools menu and install it there.
- Next you must choose the correct Current Game from the Source SDK Launcher. Pick Half-Life 2: Deathmatch.
- Now double-click Hammer to launch the Valve Hammer Editor.
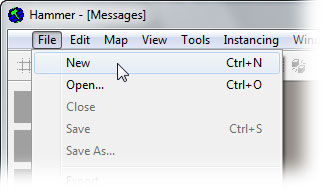
The Hammer editor should now launch, and start with a blank window, ready to use. Pick New from the File Menu to create a empty map.
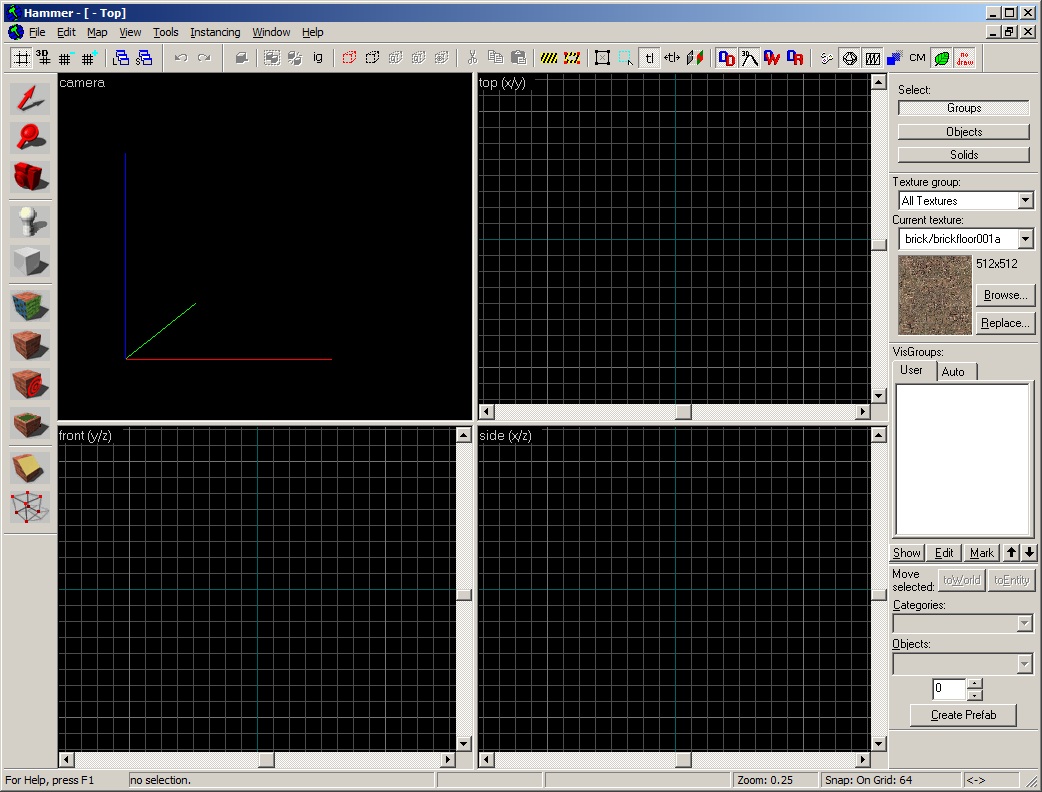
An empty, blank map is created, ready to start building:
Now onto Basic Construction!


