Creating an Observation Hallway: Difference between revisions
m (General cleanup for consistency) |
No edit summary |
||
| Line 1: | Line 1: | ||
{{cleanup}} | {{cleanup}} | ||
This is a tutorial for '''[[Portal]]''. | |||
== Introduction == | == Introduction == | ||
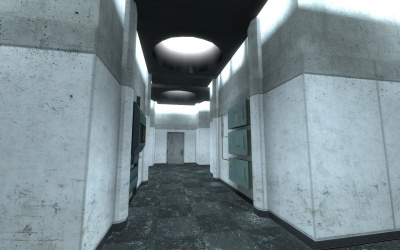
Making bts style | Making ''bts'' (behind the scenes) style observation halls is a simple job. It takes little time, especially with prefabricated items. | ||
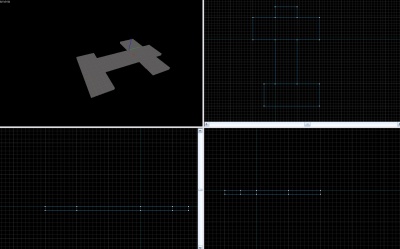
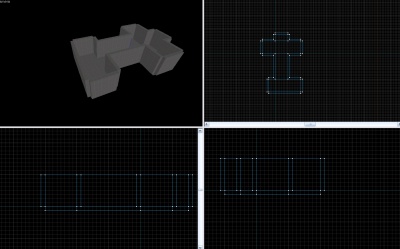
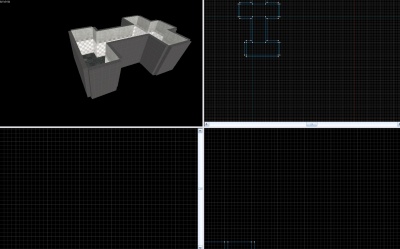
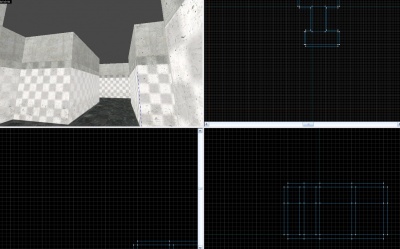
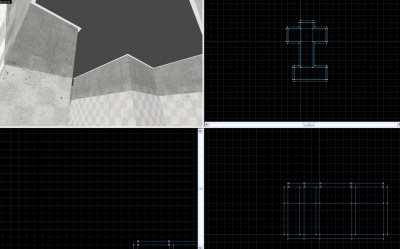
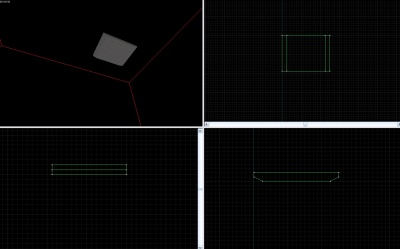
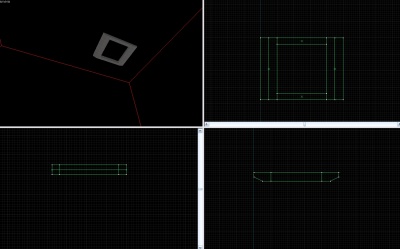
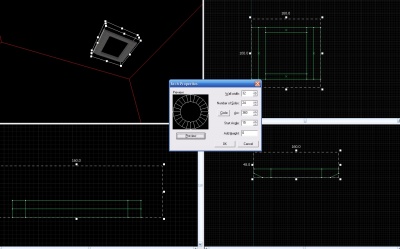
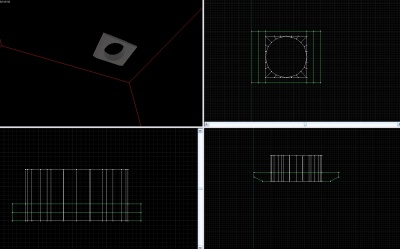
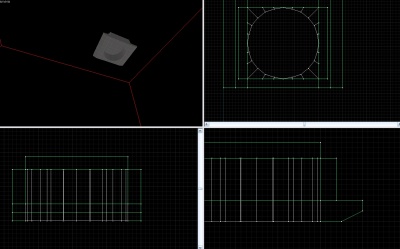
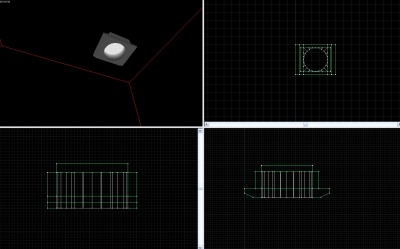
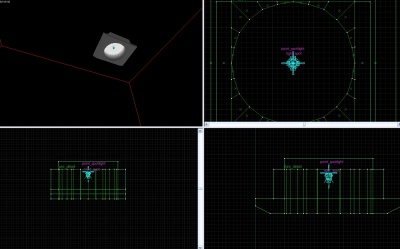
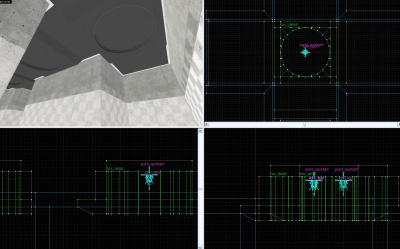
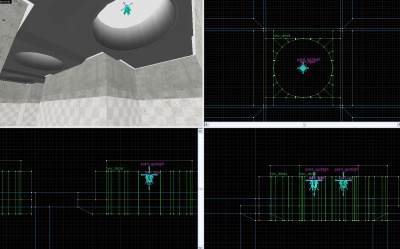
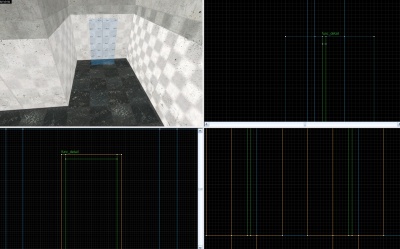
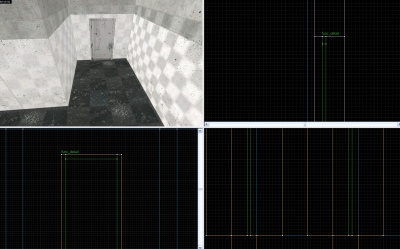
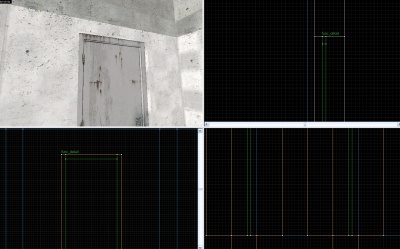
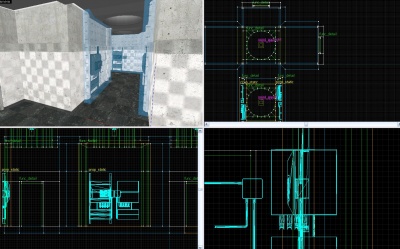
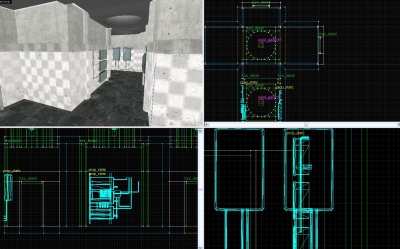
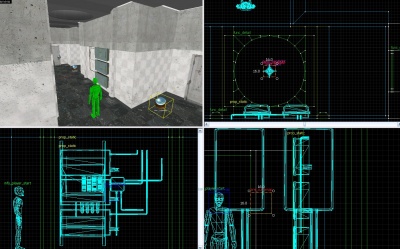
Due to the highly detailed nature of observation rooms, this tutorial will be provided in images. | Due to the highly detailed nature of observation rooms, this tutorial will be provided in images. Reading order is left to right, then down. | ||
{{note|The circular ceiling light can be copied and pasted from the example Portal map included with the [[Source SDK]] | |||
== Tutorial == | == Tutorial == | ||
Revision as of 17:08, 1 October 2010
For help, see the VDC Editing Help and Wikipedia cleanup process. Also, remember to check for any notes left by the tagger at this article's talk page.
This is a tutorial for 'Portal.
Introduction
Making bts (behind the scenes) style observation halls is a simple job. It takes little time, especially with prefabricated items.
Due to the highly detailed nature of observation rooms, this tutorial will be provided in images. Reading order is left to right, then down. {{note|The circular ceiling light can be copied and pasted from the example Portal map included with the Source SDK
Tutorial
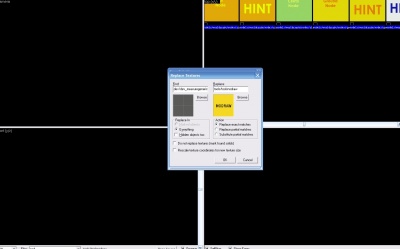
Texture the floor and walls, then copy the walls, re size to 64 and re texture (floor texture: tile/observation_tilefloor003a. wall textures: concrete/observationwall_001a for the wall that matches with the ceiling, concrete/observationwall_001b for the wall that matches with the floor. Typing only "observation" will show a more general list of observation hallways skins.)
