User:Repox
Sculpting
Opens the Displacement Sculpt panel. This tool is unique as it has on-the-fly changes to the size with with you modify the displacements.
Hotkeys
Use Right-Click and drag to the right to increase the size of the brush, and drag it to the left to decrease the size of the brush. Ctrl + click works in the same fashion as right click on the Paint Displacement tool. Shift + click will attempt to even out the area you are clicking over. Alt + Right-click
Settings
Two major ways of editing displacements, Push, and Carve. Both of these are more powerful than the original Displacement tool.
There are a number of settings that are present on both editing tools, and they have the exact same usages in both tools.
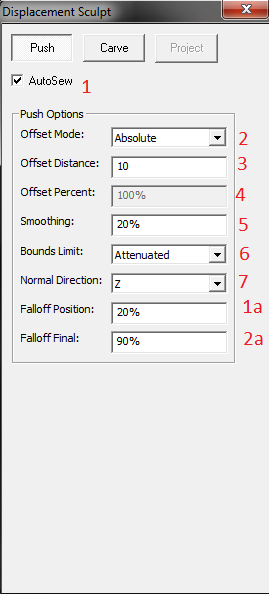
- AutoSew - Fairly self-explanatory. It automatically sews any two displacements together when editing if enabled.
- Offset Mode - There's two major offsets; Absolute, and Adaptive. Absolute adds any value you set to the X,Y,Z axis or any combination thereof. Adaptive, however, adds a certain % value of the brush you modify the displacement with.
- Offset Distance - Only applicable when using the Absolute Offset Mode. This is the distance, in units, in which the point(s) will be moved when they are edited.
- Offset Percent - Only applicable when using the Adaptive Offset Mode. This is the percentage of the size of the brush that the point(s) will be moved when they are edited.
- Smoothing - How much smoothing is added to the modified area.
- Bounds Limit - Has two settings; Additive and Attenuated. Additive applies the offset every time you go over a brush with your modifier. Attenuated applies the offset to each point once. Very useful.
- Normal Direction - Which direction should the offset be applied to. Has X, Y, Z, Brush Center, Screen, and Selected. Brush center will move the brushed area in the direction of where the center of your brush is. Screen will move the brushed area towards the camera, or away from it. Selected works by taking the line perpendicular to the face you Alt + Right-Click on.
Push Settings
- Falloff Position - Percentage of the interior of the brush where the entire offset will be applied.
- Falloff Final - Percentage of the offset of where the fallout will not go below. For example, if offset distance is 10, and falloff final is 90%, the areas where falloff will be applied will not go below 9.
Carve Settings
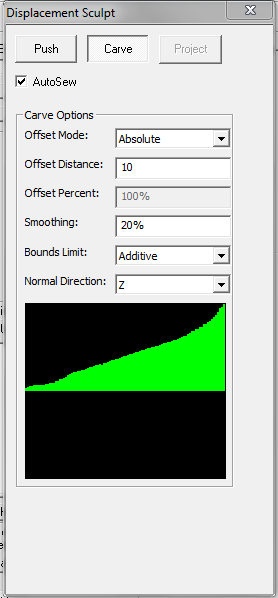
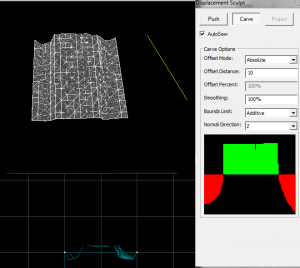
Carve is different from Push because instead of a circle, you are given an editable graph. By modifying the graph's shape, you can change the shape of the area you modify. This tool is extremely fickle, so go slowly and smoothly.


