SteamVR/Environments/Lighting Setup for Photogrammetry Scenes
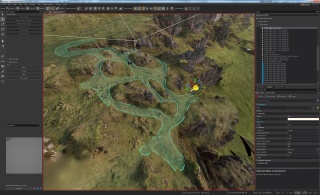
So now you have your exquisitely scanned environment in VR, but you'd like dynamic objects (such as player avatars, tools and physics objects) to look part of the scene. Setting up lighting for your map is a straightforward enough process, it's just a little esoteric in places. I'll be using the scene created in the Advanced Outdoors Photogrammetry tutorial as an example.
Unlit Material Setup
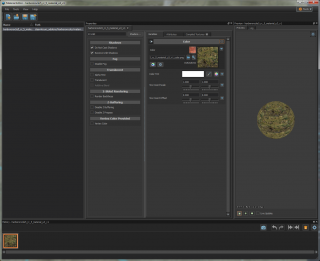
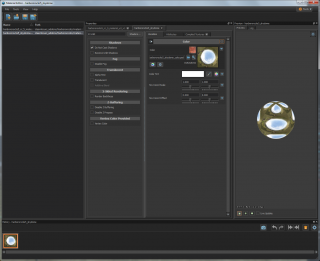
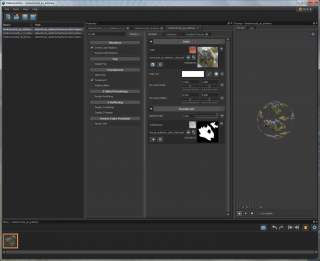
To better show when dynamic objects are touching the world, shadows are enormously useful. The scanned environment is being rendered using an unlit textured mesh, but we can set it to receive shadows. Go through all the foreground unlit materials and set them to Do Not Cast Shadows (to prevent unnecessary self-shadowing) and Receive Unlit Shadows. Save each one as you do so.
For the skydome mesh material, if you're using one, set it to only Do Not Cast Shadows - we don't want it casting shadows on to the world beneath. Finally, for any translucent materials used in your photogrammetry scene, set those to to Do Not Cast Shadows.
It can be useful to select the mesh in Hammer and, inside Render Properties, set it to Disable Shadows as well. (While you're at it, make sure Bake To World is also checked. This can dramatically improve performance with larger meshes, as well as help with sorting translucent objects, at the cost of longer map compilation times.)
Sunlight and Other Direct Lights
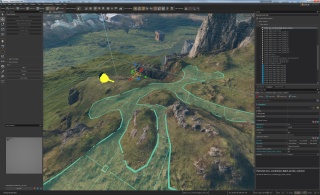
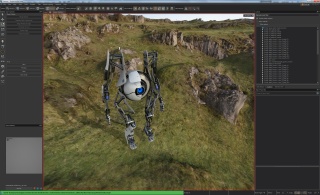
Our world is now ready to receive some light. Place a light_environment entity in the scene. You can also temporarily place a prop in the scene to test your new lighting - models/props/toys/mini_atlas.vmdl is a useful object to test lighting with. Adjust the angle and brightness of the new light to taste - be aware that this will be contributing direct lighting only. If your materials are set up correctly, the world should be receiving shadows from the sun.
For an indoors scene, an alternative lighting setup can involve a single, dim light_environment pointing directly downwards, to give a single, simple shadow for dynamic objects, with additional light_spot and light_omni light sources placed to mimic lights present in the scanned mesh. (Make sure shadows for any light_spot entities you placed are switched off!) Again, be aware that you are setting up direct lights only - ambient light will come next.
Ambient Lighting
This section begins to touch on the improved lighting systems present in SteamVR Home - a more complete tutorial on lighting more computer-generated worlds is forthcoming.
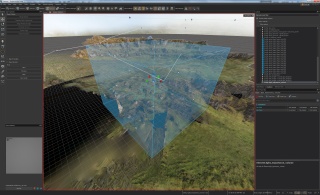
First, place a light_importance_volume entity in the centre of your scene, and move the bounds out to contain all areas dynamic objects are likely to reach. Exact placement is not critical; it is here mainly to reduce light building times - the presence of the mesh-based skydome can confuse the lighting process.
Now place an env_combined_light_probe_volume entity roughly near the centre of your scene, somewhere representative of the overall lighting and at roughly eye level. For an outdoors scene, change the bounds so that they either butt against large effective walls, floors or other boundaries, or are at a reasonable distance from the navigable areas. (Cubemap reflections are projected as if from a box - for an expansive outdoors scene, you don't want the walls of this box to be too close.)
For an indoors scene, adjust the light probe volume bounds so that they match the size of the containing room. You can rotate these entities to better match room shapes, and you can place multiple ones for greater effect. More details on indoors scenes are available in the Advanced Indoors Photogrammetry tutorial.
For a photogrammetry scene, it is a good idea to check the Calculate Diffuse Lighting Using Cubemap setting for each light probe volume. This will use the cubemap snapshots to calculate ambient lighting rather than averaged texture colours.
Building Lighting
Once you have everything set up, it's time to build lighting. With the light_importance_volume entity in place, this should take a few minutes at most.
Go to the 'Baked Lighting menu at the top of the Hammer window, then select Bake All Lighting. This will bring up various progress bars and a command window - wait until it is complete.
You may have to deselect a selected light probe volume to get Hammer to start Hammer using the new lighting, but once done the strange shiny black spheres will become mirrored spheres reflecting the surrounding environment.
Now save the map, and compile and run it in VR. If everything has been done correctly, your controllers should now be responding to direct and ambient light, and any physics objects you place should look much more part of the world!
