Normal Map Creation in Maya
This page will help you creating a normal map in maya based of an high resolution and an low resolution mesh model.
If you simply wan't to create a normal map out of a texture, we suggest you using CrazyBump (or any other Normal Map creation tool like NVidia's normal tool) for this task!
Creating Normal Maps with Transfer Maps
You can "bake" a normal map from an high resolution mesh to an low poly mesh using the "transfer maps" feature of maya.
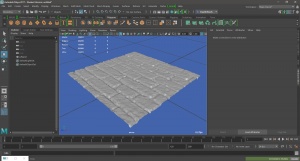
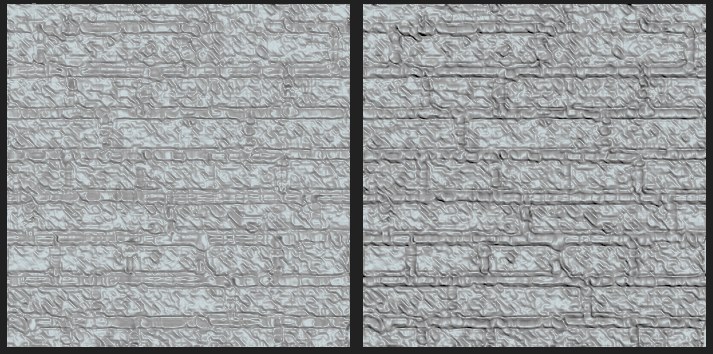
In this tutorial, I created a mesh plane with a subdivision level of 100x100. This plane was sent to Mudbox and edited/sculpted there with Masks to achieve a brick looking mesh.
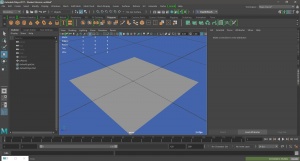
This mesh was sent back to Maya and duplicated. Reduce the amount of one plane by using the "Reduce" tool. I went with a flat plane.
Actual Baking
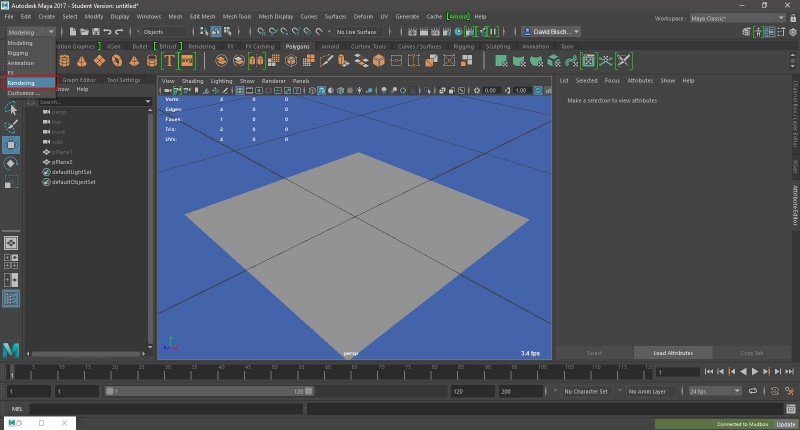
Select "Rendering" in the menu to get access to the rendering menu bar.
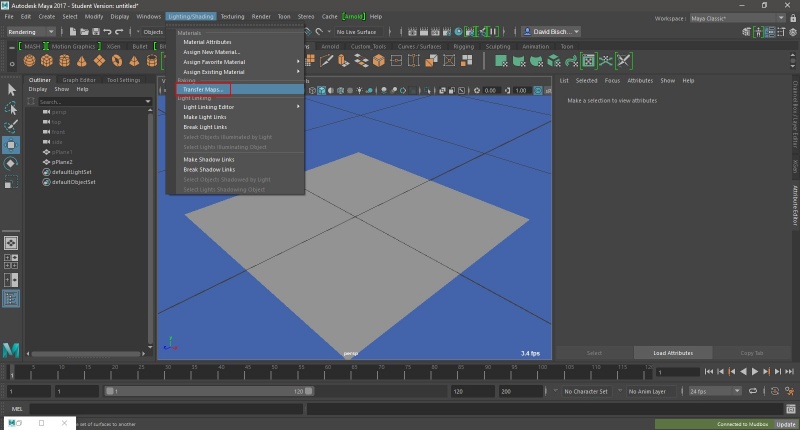
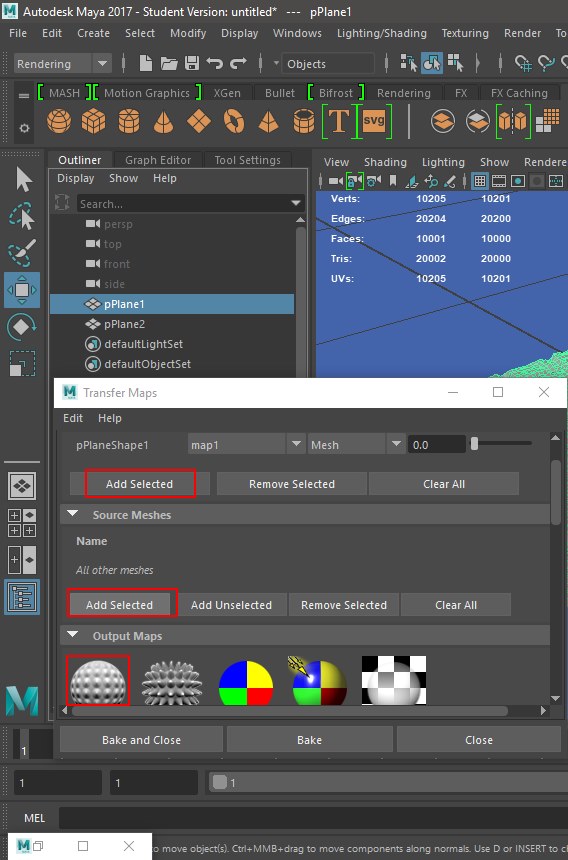
Go to "Lighting/Shading" and select "Transfer Maps".
A window will pop up, you have to select your target mesh (low poly version), your source mesh (high poly mesh) and your transfering method (there are "normal map", "displacement maps", "diffuse maps", "lightning maps" and "alpha maps"). Use the outliner or viewport to select meshes!
|
uses tanget spaces, to simulate detail rich surfaces with propper lightning
Actually deform's the mesh and creates an realistic representation, may use much more computing power than Normal Maps
Transfers a texture from a highpoly mesh to an lowpoly mesh.
Simulates light and bakes it to the corresponding texture.
Bakes the alpha channel of an object into its texture for a clean transition from e.g. black to fully transparent) |
You now can click Bake or Bake and Close. The latter will close the menu after baking.
Settings & Notes
Note:
- Make sure your taregt mesh's faces are bigger/above the source mesh!
- Make sure texture's are enabled in your viewport!
- Dont bake meshes, that contain 90degree angle's, this will mess up the renderer!
- Arnold (Maya's built in raytracing renderer) support's baking, but MtoA.mll (Maya to Arnold) currently DOES NOT utulize it!
Settings:
- Select a destination for your normal map or you have to look it up in Hypershade.
- For preview purposes, select a small resolution under the Maya Common Output Tab, baking normal maps with high resolution meshes can get very expensive very fast!
- The Filter type defines which type of blurring is being used, standart is a gaussian blur with a value of 3, for unfiltered texture, use a filter size of 1.
