Making lights turn on and off with a "trigger multiple"
January 2024
You can help by
January 2024
In this section of the tutorial, we'll be making a light turn on when you walk into a room and turn off when you leave it.
Setting Up The Trigger.
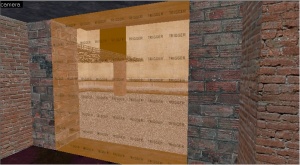
Create a brush using the trigger texture in the doorway of the room you want to apply this effect to, Whilst selecting the brush that we just created, Press "Control T" tie it to an entity and select trigger_multiple. After creating the entity, name it what ever you want, I chose to call it "Trigger". Next, set the time before reset to "0" (This will come in handy later).
| Property | Value |
|---|---|
| Name | Trigger |
| Parent | Blank |
| Origin | Depends on the location of the Trigger |
| Start Disabled | No |
| Global Entity | Blank |
| Filter Name | Blank |
| Delay Before Reset | 0 |
Setting Up The Light.
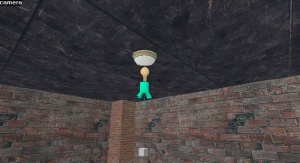
Create a "Light_Spot" entity and name it what every you want, I've named it "Light_Spot".
You can edit any of the properties of the light that effect how it looks in game.
Next, navigate to the "Flags" tab and set "initially dark" to yes.
Setting Up The Input's And Outputs.
Open the properties window of the "trigger_multiple" we created earlier and navigate to the outputs tab, then click on the "add" button. Here is a table showing what you need to do.
| Parameters | Value |
|---|---|
| My Output Named | OnEndTouch |
| Target entities named | Light_Spot |
| Via This Input | Toggle |
| Parameter Override | None |
| Delay This Output | 0.00 |
| Fire Once Only | No |
Assuming that you followed the tutorial correctly, A light should turn on when you enter an area and turn off when you leave it.

