Creating a basic map (Source 2)
As a courtesy, please do not edit this while this message is displayed.
If this page has not been edited for at least several hours to a few days, please remove this template. This message is intended to help reduce edit conflicts; please remove it between editing sessions to allow others to edit the page.
The person who added this notice will be listed in its edit history should you wish to contact them.
This is a short, generalised tutorial for creating a basic map in Source 2's Hammer 5 tool. We will cover: Setting up player spawns, Skyboxes, Basic map geometry, lighting and other effects.
Getting Started
First we will open Hammer in our game of choice, for today's example I will use s&box, Click File>New and File>Save we will be naming the map "test_map1", it should save as test_map1.vmap, .vmap is the file for maps in Source 2's Hammer.
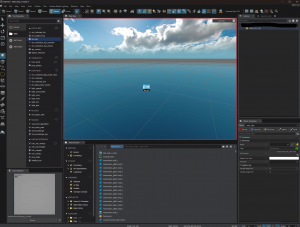
In the center in the Hammer application is the viewport (Shows a 3d Version of your map), to the left is the tools (Moving, adding and texturing entity's,) and to the right is the property's and item list (Entity and map management)
Adding a skybox
We will start by clicking the Entity tool (represented by a lightbulb in the left tools section) and in the search bar env_sky, click on env_sky when it shows up and click anywhere on the viewport to place it
To set a sky texture go to the bottom right and click on "Sky Material" choose your skybox from the file selector and once it loads it should look something like the below image.
