Adding Mesh To Existing Viewmodels
This tutorial assumes you are using Autodesk Softimage Mod Tool 7.5
In this tutorial, you will learn how to add mesh to the Gordon hands viewmodel that comes with the SDK. You will merge and attach a cube to the hands, which will let you animate it in any way - for example by throwing it, or striking with it to act as a weapon.
Cube Preparation
First, get the cube ready:
- Click Get -> Primitive -> Polygon Mesh -> Cube
You must then assign a texture to the cube. The smd exporter seems to not export anything that doesn't have a texture assigned. Specifying the actual texture (.tga) is optional.
- Press the 3 key to switch to the render module panel and while the cube is selected, click Get -> Texture -> Image
- Under "Texture Projection" click New -> Cubic. This UV maps the texture cubically.
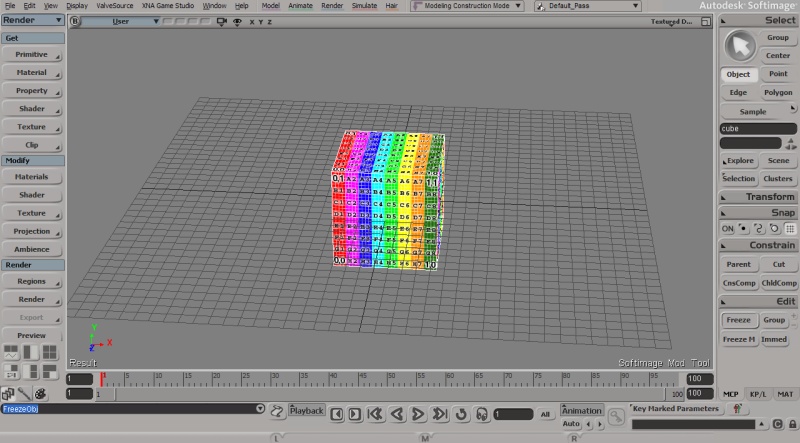
- Go ahead and free up some memory by selecting the cube, then clicking the "Freeze" button under the "Edit" panel options which is to the right in the MCP panel (you may need to right click the "Transform" button to minimize its contents so the "Edit" panel options show).
Here's what the frozen cube and minimized "Transform" panel option look like -
Scene Merge
Now merge the hands viewmodel source scene file into the current scene. It's practically importing.
- Click File -> Merge...
- Navigate to the SteamApps\(acount name)\sourcesdk_content\hl2\modelsrc\weapons\v_hands\scenes folder and go ahead and click the Hands_reference.scn and click OK.
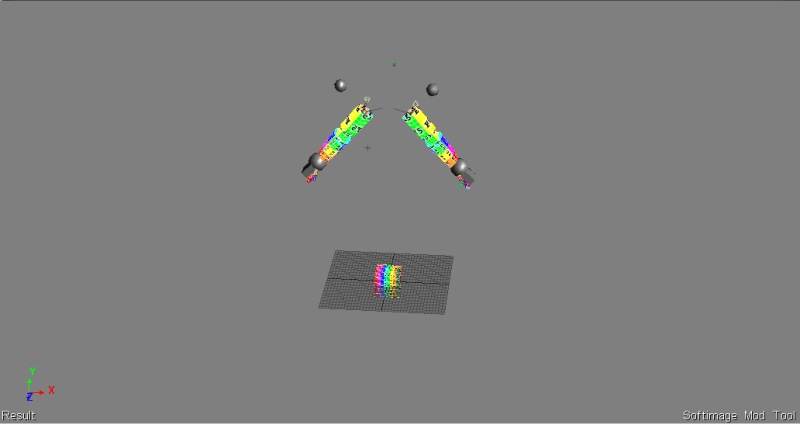
You should now have the hands and the cube in your scene like this -
Enveloping
Next you must make a bone for the cube and parent it to the Valve hand control bone on the hands viewmodel.
You could make one normal +(plus) bone with create -> skeleton -> 2d chain, but it can be difficult to select. Let's make something else that is more selectable.
- Press 1 to switch to the model module mode.
- Click Get -> Primitive -> Curve -> Square
- In the dialog that comes up, make the length higher until the square curve is bigger than the cube.
- Move the square curve over the cube.
You can make the square curve act as a bone for the cube.
- Press the 2 key to switch to the animate module mode.
- Near the top of the mod tool you should see "Modeling Construction Mode", click it and change it to "Animation Construction Mode", this lets us envelope properly.
- Now select the cube, and click Deform -> Envelope -> Set Envelope
- Select the square curve, then right click. The cube is now enveloped to the bone (in this case the square curve). This makes the cube "Parented" or "Fused" with the bone.
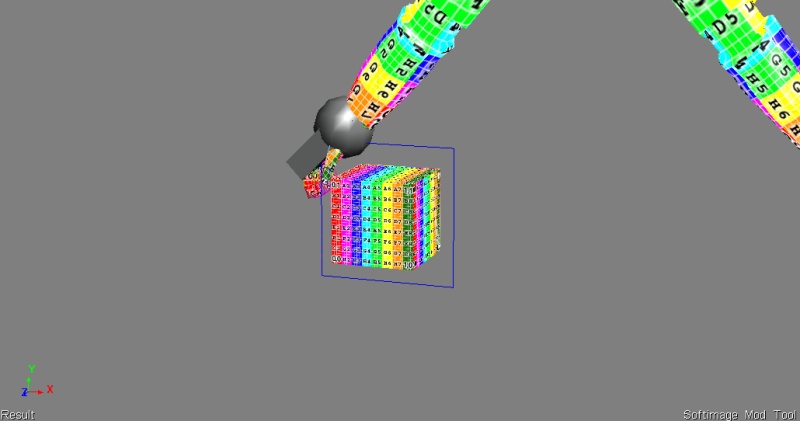
Here's what you should have so far -
Parenting
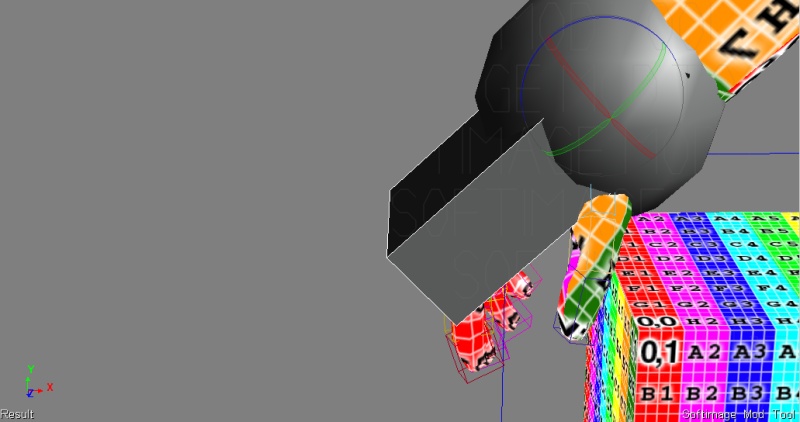
Next parent the cube's bone, the square curve, to one of the hands viewmodel's "ValveBiped.HandControlRot" bone, which is the big squared shaped kind overlapping the hands of the hands viewmodel. It looks like this -
- Select one of the ValveBiped.HandControlRot bones on the hands viewmodel.
- To the right on the MCP panel, under "Constrain", click the "Parent" button. This makes the bone be the "Parent" to the bone that you will select next, which will be the "Child".
- Select the cube's bone (square curve) and right click. The cube's bone is now parented to the hands viewmodel's hand control bone.
If you try to move the hands viewmodel's hand control bone, the cube will move along with it.
Mesh Merge
Now that everything is rigged, you must merge the meshes. For some reason the SMD exporter will only export one mesh.
- Go ahead and switch back to the "Modeling Construction Mode"
- Press the 8 key to open up the explorer.
- Navigate to Hands_reference -> ValveBiped
- Click "mesh"
- Hold ctrl and left click your "cube" mesh probably at the very bottom of the explorer.
- Press the 1 key to switch to the model module mode.
- Click Create -> Poly. Mesh -> Merge
- Click the "Merge" button under "Materials,UVs,VertexColors,WeightMaps". This merges and separates the textures from the old, separate meshes to the new mesh.
- Click the "Merge" button under "Shape Animation, Envelope Weight". This merges and envelopes the bones from the old, separate meshes to the new mesh, keeping everything intact.
- Click "Delete" to delete the old, separate meshes.
You're Done!
Go ahead and export the Model SMD before you start making keyframes for animations. Make sure you untick "Remove all unused bones" when you do export the Model SMD and/or Skeletal Animation SMDs. Then feel free to make some animations.


