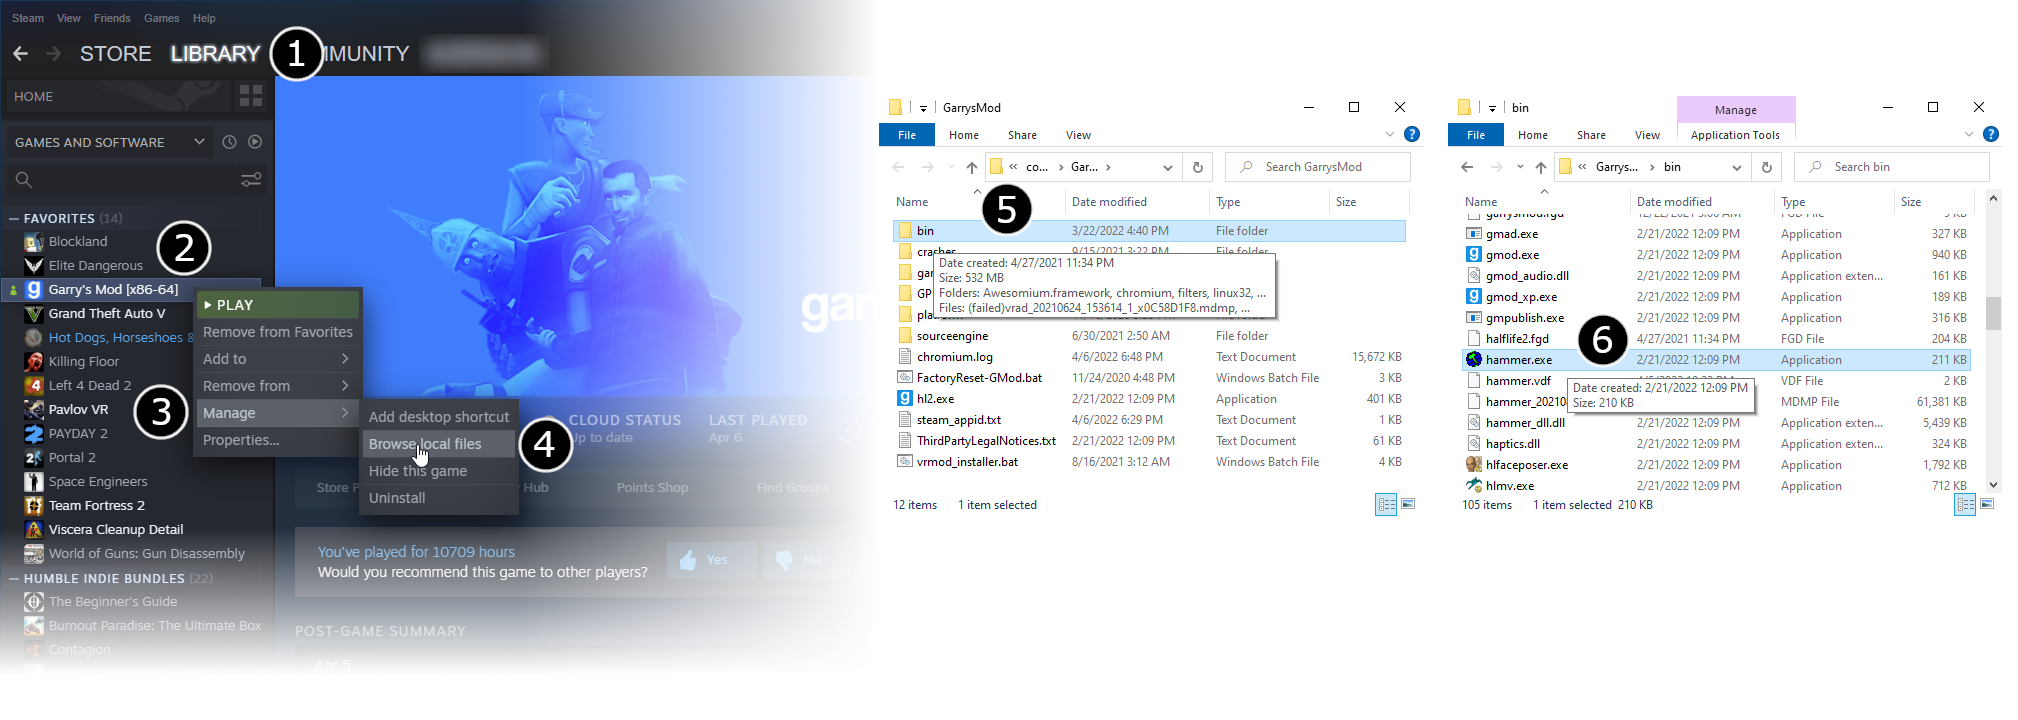
Ru/Game directory
Крайне важно создать перед работой над модификацией и контентом для движка Source подходящую среду для игровой разработки. В создании этой среды важнее всего определить расположение директории игры. Этот документ объясняет, что из себя представляет директория игры и как ее использовать.
Что из себя представляет директория игры и зачем она нужна?
Директория игры это та папка, к которой обращается инструментарий, когда ищет на компьютере контент игры. К примеру, Hammer Editor'у нужно знать, где искать ваши материалы, чтобы он мог их отобразить. Studiomdl скомпилирует вашу модель, но он должен знать, куда следует записать скомпилированные файлы. Программа Vrad.exe рассчитывает освещение уровня, а для этого она должен знать, где можно взять модели prop'ов, чтобы загрузить их и определить, как они заслоняют свет от источников на уровне. Ни один инструмент из SDK не запустится, если не найдет вашу директорию игры.
Примеры папок с игрой для основных Source-игр:
| Half-Life 2 | C:\Program Files\Valve\Steam\SteamApps\username\half-life 2\hl2
|
| Counter-Strike: Source | C:\Program Files\Valve\Steam\SteamApps\username\counter-strike source\cstrike
|
| Half-Life 2: Deathmatch | C:\Program Files\Valve\Steam\SteamApps\username\half-life 2 deathmatch\hl2mp
|
В последующих примерах мы будем упоминать игровую директорию как C:\Program Files\Valve\Steam\SteamApps\SourceMods\MyMod\Blasters . Такой она будет, если выбрать в SDK-launcher'е опцию Create a Mod, и вести в качестве директории C:\Program Files\Valve\Steam\SteamApps\SourceMods\MyMod, а в качестве имени мода — Blasters.
Один из способов определить игровую директорию вашей игры — найти файл GameInfo.txt. Папка, в которой он лежит, и есть директория игры. В примере выше, если создать C:\Program Files\Valve\Steam\SteamApps\SourceMods\MyMod\Blasters, в этой папке на вашем жестком диске будет файл C:\Program Files\Valve\Steam\SteamApps\SourceMods\MyMod\Blasters\GameInfo.txt . Как только вы нашли директорию, нужно указать инструментам SDK, где она находится.
За информацией по поводу того, как можно создать GameInfo.txt для своего мода, и как используется содержимое этого файла, обратитесь к статье Структура файла GameInfo.txt.
Setting the current game directory
The active game directory is set so that all the tools know how to find the game content without having to specify it each time. The Current Game drop-down list on the Source SDK Launcher is the primary way to set the active game directory.
Using the Source SDK Launcher to set the game directory
To set the active game directory with the Source SDK Launcher:
- Double-click Source SDK from the Steam Play Games Menu.
- Next you must choose the correct Current Game from the Source SDK Launcher.
- Now launch one of the SDK tools, such as the Hammer Editor, by double-clicking it.
Using VConfig to set the game directory
The VConfig application can also be used to set the active game directory. It provides a similar function to setting the Current Game in the SDK Launcher.
The vconfig.exe application is found in the \sourcesdk\bin directory.
For example, if you installed Steam at C:\Program Files\Valve\Steam, VConfig would be found here:
C:\Program Files\Valve\Steam\SteamApps\username\sourcesdk\bin\vconfig.exe
To set your active game directory with VConfig:
- Double-click the
vconfig.exeapplication. - Next you must choose the correct Current Game from the drop-down list.
- Click OK.
- Now launch one of the SDK tools, such as the Hammer Editor, by double-clicking it.
Alternately, you can specify the game directory you wish to use without launching VConfig and choosing from the menu. To do this, simply run VConfig with the command-line parameter -game [directory]. This can be especially useful for setting the game directory in a batch file or other automated process.
For example, the following command would set the game directory to the default Half-Life 2 install path without having to actually launch VConfig:
vconfig -game "C:\Program Files\Valve\Steam\SteamApps\username\half-life 2"
Specifying the game directory on the command line
An alternative method to set the current game directory is to directly specify the directory location on the command line when running each SDK tool. All of the SDK tools support the -game <directory> command line parameter. The advantage to specifying the game directory on the command line is that you are being explicit about where your game's content is to be found.
Here are some examples of running tools where you specify the game directory explicitly:
%sourcesdk%\bin\studiomdl -game C:\Program Files\Valve\Steam\SteamApps\SourceMods\MyMod\Blasters mymodel.qc
%sourcesdk%\bin\vrad -game C:\Program Files\Valve\Steam\SteamApps\SourceMods\MyMod\Blasters mymap
%sourcesdk%\bin\hammer -game C:\Program Files\Valve\Steam\SteamApps\SourceMods\MyMod\Blasters
%sourcesdk%\bin\hammer -game "C:\Program Files\Valve\Steam\SteamApps\username\counter-strike source\cstrike"
%sourcesdk%\bin\vrad -game "C:\Program Files\Valve\Steam\SteamApps\username\counter-strike source\cstrike" MyCstrikeMap
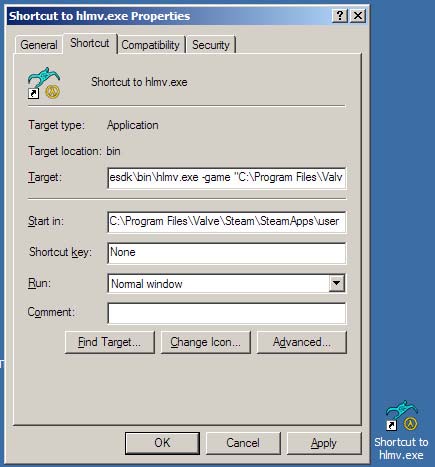
Using the -game command-line parameter to specify the current game directory gives you the advantage of being able to work on multiple games or MODs at once, and change you configurations for each. This can be easily done by making shortcuts to tools such as vtex with the -game parameter built-into the shortcut. When doing this, make sure to add quotes around the game directory path, if the path contains spaces.
Template:Otherlang:ru Template:Otherlang:ru:en, Template:Otherlang:ru:es, Template:Otherlang:ru:pl


