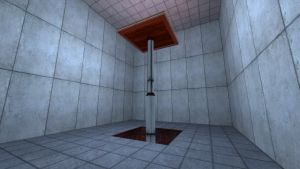
Portal - Tutorial - Piston Panels
Introduction
This guide will show you how to create Piston Panels. These are one of the most seen objects in Portal.
The Hole
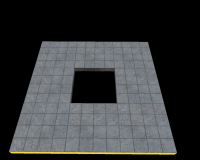
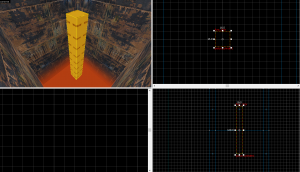
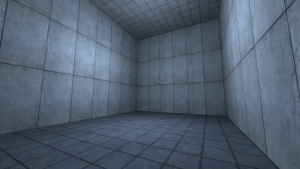
First, make sure you have a hole the area you want to put a piston in. The hole should be at least 64 and 128 units long in width, length or height. Texture the sides of the hole with metal/metalwall061f.
Piston Pit
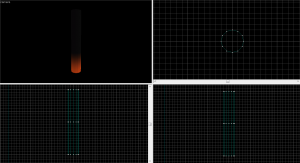
Orange brush
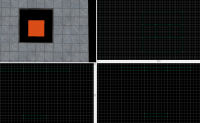
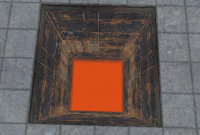
Create a 128w*128w*16h with the nodraw texture. Texture the visible face with lights/light_orange001
Piston Pit Walls
Create two 16w*128l*128h brushes and 128w*16l*128h brushes with the nodraw texture.
Change the texture of all visible faces to metal/metalwall_bts_006b_gradient. Use the Face Edit Sheet dialog and set its rotation to 180, realign the texture if necessary.
Create two 16w*128l*112h brushes and 128w*16l*112h brushes with the nodraw texture.
Change the texture of all visible faces to metal/metalwall_bts_006b and put these brushes on top of the other 2 brushes.
Piston Pit Grate
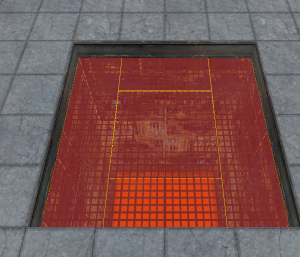
Create 2 32w*128l*1h brushes and 2 64w*32l*1h brushes with the nodraw texture. Set the front face texture to /metal/metalgrate018.
Create a 64w*64l*1h brush the nodraw texture. Set the front face texture to metal/metalgrate018c.
Position these brushes right below the beginning of the brushes that create the hole entrance. Remember to tie these to a func_detail.
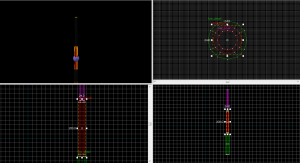
The Piston Brushes
Base brush
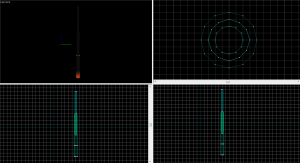
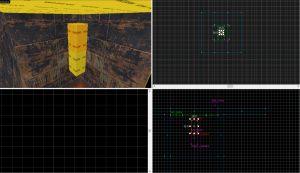
First, create a 12-sided cylinder with a size of 32w*32l*192h. Texture the sides with metal/metal_lift001 and metal/metal_lift001_gradient, and the top and bottom with nodraw.
Inner cylinders
When creating the inner cylinders, be sure to duplicate the existing cylinders, due to the fact that creating new smaller cylinders will align them to the grid differently, which will cause the joint pieces to have illegal geometry.
Every successive inner piston cylinder should be 8 units smaller in diameter than the previous one. Texture all successive cylinders with metal/metal_lift001. Note that the length of the piston cylinders should be less than the one before it. The size of these piston brushes need to add up to at least the target extension height of the piston. In this guide, the panel will have a target extension of 256 units. Once at the full height, resize the top cylinder to be 16 units below a major gridline (32, 64, 128 units), so you have room for the panel on top.
If you require the pistons to extend farther, you can make the largest piston cylinder wider and/or longer to accommodate. Note that you may need to increase the depth of the pit as well.
Joint pieces
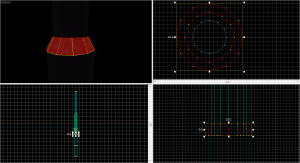
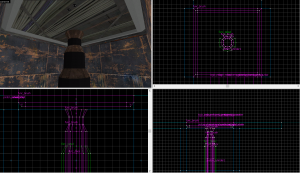
To create the joints between pistons, create a 32w*32l*8h 12-sided cylinder brush. Texture the sides with metal/metalwall_bts_005a. Position it directly on top of the base brush.
Next, use the vertex tool to move the top vertices to the next smallest piston size. Select the vertices in the 3D view before moving them.
Repeat this process for all the smaller pistons, except the last one. For the last one, simply duplicate the last one and flip it over. Position it at the top of the cylinder.
Finally, for each piston piece, select the brush and the joint above it, and tie them to a func_brush. For the bottom one, as it is not going to move, you can simply tie it to a func_detail.
Creating the panel
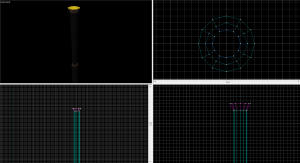
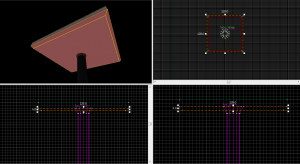
For the panel, create a 128w*128l*8h brush textured on the top with your floor or wall texture, on the sides with signage/hazard_orange_03b, and on the bottom with metal/citadel_metalwall060a. Position it on top of your top piston cylinder.
Panel Details
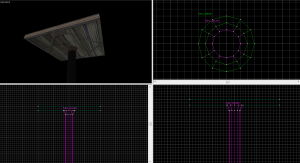
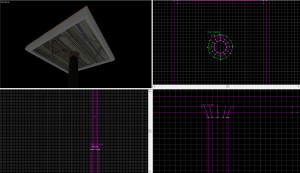
The panel details can be created by creating a 128w*128l*4h brush textured with plastic/plasticwall001b. Use the clipping tool to remove the corners on the bottom (as seen in the image below)
Next, use the clipping tool to carve out a 112w*112l hole in the detail brush. The sides of the detail brush should be 8 units wide, as seen in the image below. Then, tie it, along with the panel surface itself, to a func_brush.
Making it Move
If all you need is a static panel that doesn't move, you can simply stop here. If it doesn't move, tie all the panel pieces to func_detail entities instead of func_brush.
Making the panel move in and out uses a series of func_door entities. If you only have one moving piston cylinder, however, you can accomplish this using a func_movelinear entity instead. However, due to a bug with the func_movelinear entity, parenting doesn't work. This is why this tutorial is going to focus on the func_door implementation.
For the sake of this tutorial, the panel will move from fully recessed to 256 units extended.
Creating the func_door entities
For the process of creating the func_doors, it can get cramped with all the entities overlapping, so it is recommended to hide all the piston cylinders for now.
Since the target extension distance is 256 units, that means that each piston cylinder must move 128 units, since we have 2 inner cylinders.
For the first extension, create a 16w*16l*128h brush textured with nodraw. Tie this to a func_door. Set the following property values:
| Property Name | Value |
|---|---|
| Name | piston_cylinder1 |
| Speed | 15 |
| Delay Before Reset | -1 |
| Move Direction | -90 0 0 |
Set the speed to the desired movement speed divided by the number of piston segments. For a speed of 30, the speed values in this case need to be 15.
Be sure to also uncheck the Touch Opens flag.
For the second extension, duplicate this entity, and change the following property values:
| Property Name | Value |
|---|---|
| Name | piston_cylinder2 |
| Parent | piston_cylinder1 |
Repeat this for however many extensions you have. Note that the position and height of these func_door entities is not super important, however, if you want to make them different heights so they don't overlap, then simply change the Lip property value to be the entity height minus the desired extension distance. In this case, the height of the func_door entities are 32 units each, so the Lip value is 32 - 128 or -96.
Adding Moving Logic
This is where this tutorial can get a little bit difficult. This setup moves all the cylinders simultaneously, and is easier than the alternative of extending one after the other.
Firstly, create 2 ambient_generic entities. Set the property values to the following:
| Property Name | Value |
|---|---|
| Name | piston_sound_start |
| Sound Name | apc_engine_start |
| SourceEntityName | piston_cylinder1 |
| Property Name | Value |
|---|---|
| Name | piston_sound_stop |
| Sound Name | apc_engine_stop |
| SourceEntityName | piston_cylinder1 |
On the piston_sound_start entity, make sure to uncheck the Is NOT looped flag.
Next, create a math_counter entity, and set the following property values:
| Property Name | Value |
|---|---|
| Name | piston_counter |
| Maximum Legal Value | 2 |
On the math_counter entity, set the following outputs:
Now, create a logic_relay entity. Name it piston_extend and give it the following outputs:
Similarly, create another logic_relay entity. Name it piston_retract and give it the following outputs:
Lastly, on each of the func_door entities, set the following outputs:
| My Output | Target Entity | Target Input | Parameter | Delay | Only Once | |
|---|---|---|---|---|---|---|
| OnFullyOpen | piston_counter | Add | 1 | 0.00 | No | |
| OnFullyClosed | piston_counter | Subtract | 1 | 0.00 | No |
Parenting brushes
Now we need to parent the piston brushes we created earlier to thefunc_door entities.
First, move the piston brushes into place in a retracted state.
Next, select each piston cylinder and parent it to its respective func_door entity. Parent the piston panel to the last cylinder door.
Usage
Simply send a Trigger input to the piston_extend and piston_retract to extend and retract the piston, respectively.
