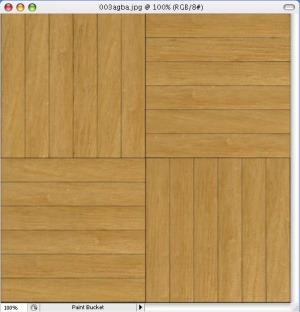
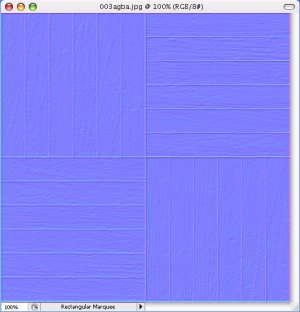
Bump map
If your texture is supposed to have depth to it, adding a normal map (aka bump map) will make the lighting on it far more realistic. (This is perhaps the main reason Doom3, FarCry, and HL2 are able to look so much better than previous games.) The normal map tells the game what direction each pixel would be facing if your texture were in 3D instead of being a flat image. A normal map is kind of useless for really flat surfaces like smooth concrete or metal. But even rough concrete sometimes has enough depth to it to make a normal map worthwhile. This is an old article but explains the concept well: Normal Maps
The normal map should be created in the same dimensions as the image texture (color map) it will go with. There are a few options for how to create one, depending on the quality you want, your skill with various programs, or your patience.
One-Step Normal Map Creation
If you have Photoshop or PaintShop Pro, you can use NVIDIA's normal map tools, available here. There are also tools for those who use the GIMP here, but we will focus on the Photoshop tools. To use them, open a copy of the texture and apply the Normal Map filter. Fiddle with the settings until you get something that you feel will be bumpy enough for your texture. The greater the range of colors, the greater the range of angles on the surface. A very flat surface will look that medium blue color all over. If you want to have more control over it, change the image to grayscale and fiddle with brightness and contrast to make certain details stand out before applying the filter. Be sure to change the texture back to RGB mode, or else the normal map tool will not work. Do this step multiple times to get different details to stand out, and then put the images together in layers with the blend mode set to overlay.
Normal Map from a Height Map
Normal Map from a 3D program
XSI
- ver 5.0: Ultimapper
- ver 4.x: GPU Surface FX2 (Note: You need XSI foundation or higher to take advantage of this feature, as the Mod Tool has a resolution limit.)
- ver 3.5: GPU surface FX
The name has been changing, but the basic usage is the same:
- Move the high resolution model over the low resolution model.
- Select the low resolution one.
- Select GPU Surface FX2 (or Ultimapper in ver 5.0) from Get>Property.
- In GPU Surface FX2 menu:
- Pick the high resolution model (or group).
- Make sure normal is checked.
- Change settings such as normal map resolution, path, sampling, as you want.
- If you are ready, click Regenerate button. XSI will make the normal map.
- To preview the result, set Preview Display and Hardware correctly and click Create Preview.
- Important: It is necessary to invert the green channel of the output file. If you don't do this, your up/down normals will appear inverted in the engine. The simplest way to do this in Photoshop is to open a channel window, (window:channel) select the green channel (which controls up/down), and press CTRL+I.
ZBrush2
Getting the Normal Map in the Game
1. Save your normal map as a TGA in the same resolution as the original texture. Give it a name that ends in _normal. Then convert it to a VTF. The _normal at the end of the name will affect how Vtex converts it. For the brick wall example, we would name the file brickwall_normal.tga. Place the new VTF in the same place as your original texture.
2. Add this line to the VMT somewhere between the braces:
"$bumpmap" "texture name"
and fill in the path and name of your normal map VTF. Here's an example VMT for a normal-mapped material:
"LightmappedGeneric"
{
    "$basetexture" "walls/brickwall"
    "$surfaceprop" "brick"
    "$bumpmap" "walls/brickwall_normal"
}
Also note that multiple materials can use the same normal map file.
3. When compiling your maps with vtex, Add this line to the <texture filename>.txt file in the same directory as your textures then compile with vtex.
"nocompress" "1"
"normal" "1"

