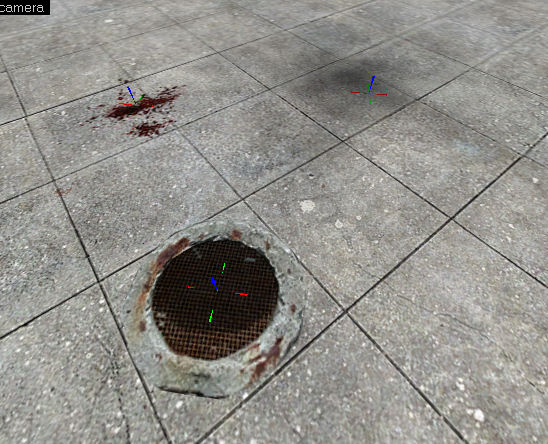
Hammer Decal Tool
The Apply Decals tool is used to place decals upon objects. A decal is a texture that can be placed on top of another texture, combining the two. Common examples include scorch marks or bullet holes. Use Apply Decals to place a decal in the 3D window. Each usage of Apply Decals creates a special decal entity that projects the decal texture onto other nearby solid surfaces. These decal entities can be moved around in the world, and will appear on any objects they cover.
Decal textures can be viewed and selected in the Textures window. Half-Life's decal textures are designated by the use of a "{" as the first character in the texture name. Decals are created by clicking on surfaces in the 3D view, and can be moved or deleted in the 2D views.
To place a decal:
- Selection the Selection Tool as the active tool.
- Activate the Apply Decals mode by clicking on the button.
- Click Browse on the Texture Toolbar and pick a material for the decal from the Texture Browser.
- Turn on 3D Texture Polygons mode, so you can see the texture you are placing the decal upon.
- Click a solid surface in the 3d view to place the decal.
- Click-drag the new decal object in any 2D view if you wish to move it.
- Deactivate the Apply Decals Tool when you are finished creating decals.
Now your familiar with decals you'll want to use them a lot. They're cheap to render and easy to do method of adding detail, breaking repetition, and creating effects you couldn't before. Decals however have a problem in the fact they are always the same size and you have no control over orientation as it is decided by the face underneath the decal. Overlays allow thoose features but have a higher cost to render, balancing between the two should simply be using decals whever you can and only using overlays if you need to for an effect.
