Creating an Observation Hallway: Difference between revisions
No edit summary |
|||
| Line 25: | Line 25: | ||
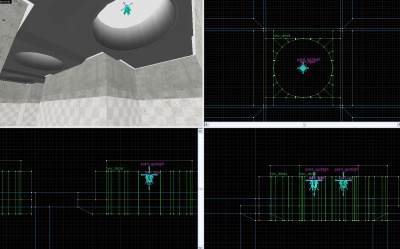
Image:Halltut_(12).jpg|Group the light and place in multiple locations{{clarify}}. | Image:Halltut_(12).jpg|Group the light and place in multiple locations{{clarify}}. | ||
Image:Halltut_(13).jpg|Cut away the roof where the light goes. | Image:Halltut_(13).jpg|Cut away the roof where the light goes. | ||
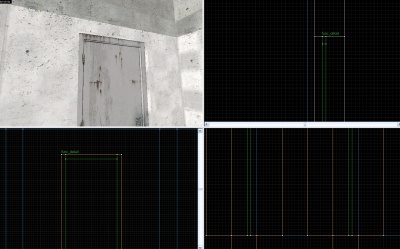
Image:Halltut_(14).jpg|Add the doors. (I grouped a detailed frame and door with a [[skip brush]] {{clarify}}. | Image:Halltut_(14).jpg|Add the doors. (I grouped a detailed frame and door with a [[Skip|skip brush]] {{clarify}}. | ||
Image:Halltut_(15).jpg|Copy and paste. Select only the skip, and carve. You may then delete the skip brushes.{{clarify}} | Image:Halltut_(15).jpg|Copy and paste. Select only the skip, and carve. You may then delete the skip brushes.{{clarify}} | ||
Image:Halltut_(16).jpg|Texture the walls where the door is. | Image:Halltut_(16).jpg|Texture the walls where the door is. | ||
Revision as of 15:54, 4 October 2010
For help, see the VDC Editing Help and Wikipedia cleanup process. Also, remember to check for any notes left by the tagger at this article's talk page.
This is a tutorial for Portal.
Introduction
Making bts (behind the scenes) style observation halls is a simple job. It takes little time, especially with prefabricated items.
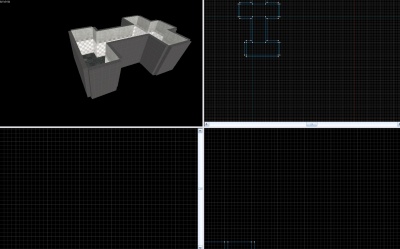
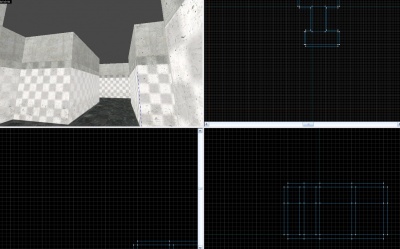
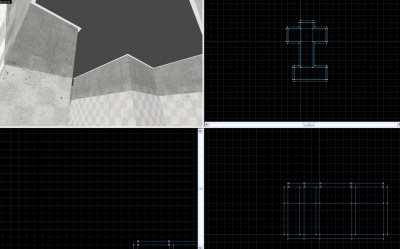
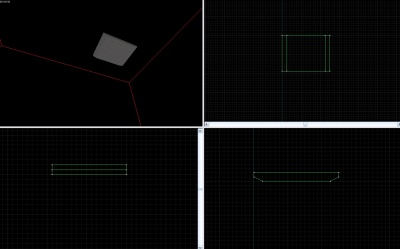
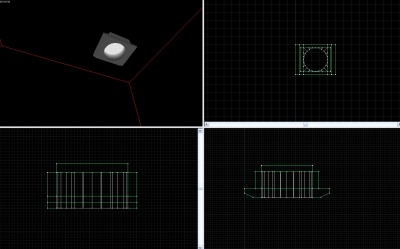
Due to the highly detailed nature of observation rooms, this tutorial will be provided in images. Reading order is left to right, then down.
Tutorial
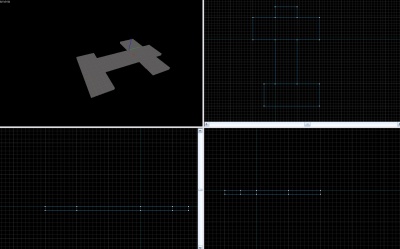
Texture the floor and walls, then copy the walls, resize to 64 and re texture (floor texture: tile/observation_tilefloor003a. wall textures: concrete/observationwall_001a for the wall that matches with the ceiling, concrete/observationwall_001b for the wall that matches with the floor. Typing only "observation" will show a more general list of observation hallways skins.)
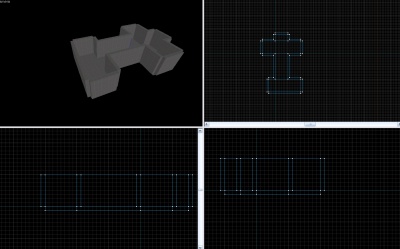
Select the whole arch, and clip it square. Make it a func_detail.
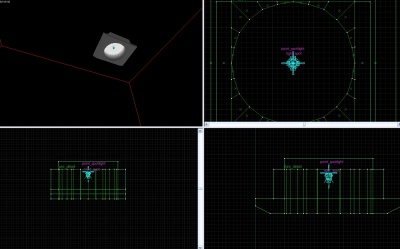
Add a light_spot and a point_spotlight. Default values will work.
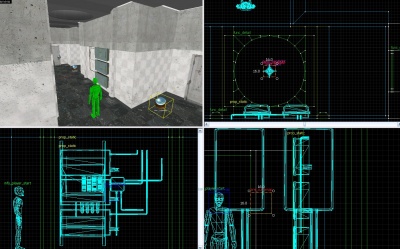
Add the doors. (I grouped a detailed frame and door with a skip brush [Clarify].
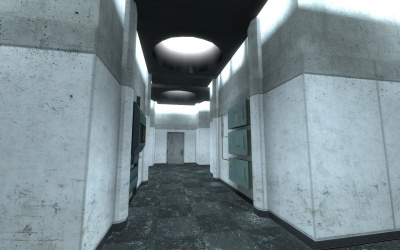
Final result. (Use expert compile for proper shadows)
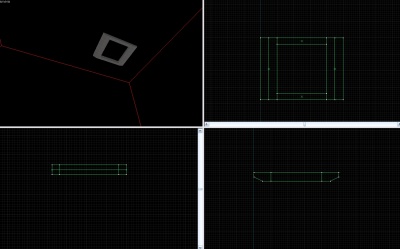
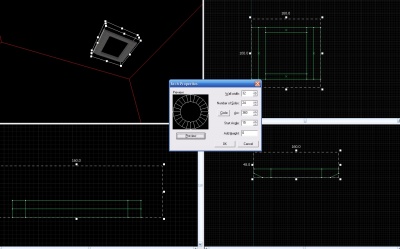
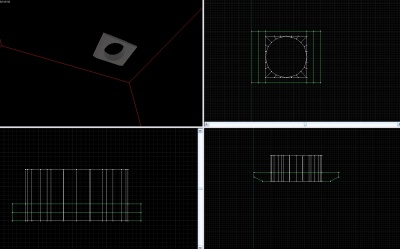
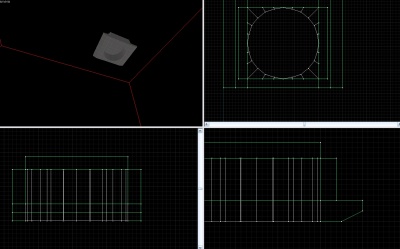
![Group the light and place in multiple locations[Clarify].](/w/images/thumb/b/b7/Halltut_%2812%29.jpg/400px-Halltut_%2812%29.jpg)
![Add the doors. (I grouped a detailed frame and door with a skip brush [Clarify].](/w/images/thumb/e/ea/Halltut_%2814%29.jpg/400px-Halltut_%2814%29.jpg)
![Copy and paste. Select only the skip, and carve. You may then delete the skip brushes.[Clarify]](/w/images/thumb/9/92/Halltut_%2815%29.jpg/400px-Halltut_%2815%29.jpg)
![Create the detailed fuse sets. Skip brushes will help you align them[Clarify].](/w/images/thumb/9/92/Halltut_%2817%29.jpg/400px-Halltut_%2817%29.jpg)
![Delete the skip brushes, and change the prop models[Clarify].](/w/images/thumb/a/ac/Halltut_%2818%29.jpg/400px-Halltut_%2818%29.jpg)
![Replace your dev textures for extra optimization[Clarify].](/w/images/thumb/1/18/Halltut_%2819%29.jpg/400px-Halltut_%2819%29.jpg)
