SteamVR/Environments/Importing Tutorial
Importing an FBX into Workshop tools
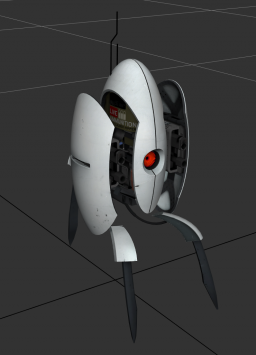
In this tutorial, we will walk through importing an FBX with animations and textures, and run them through the Model and Material editor.
- Export Model in FBX format from authoring package (Autodesk's Maya in this case).
- Export animations as FBX files.
- Import model into model editor.
- Import animations into model editor.
- Editing materials.
Authoring the model
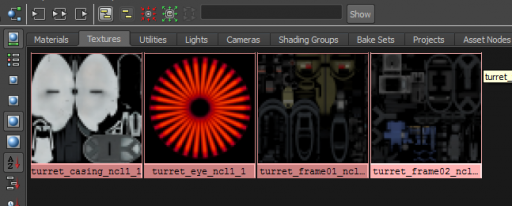
- In the case of this Turret model from Portal2, Maya was used to build the model and the animations. Maya was also used to assign textures to the meshes.
- Source2 only deals with skeletal animation. You cannot animate meshes or a group of meshes by themselves, you must either skin the geometry to a skeleton, or you can just parent geometry underneath the relevant bone.
- This model has 4 animations, and uses 4 textures.
Exporting FBX
- Exporting the model and materials (from Maya).
- Upon Exporting, there are many options in the FBX exporter, make sure Deformed Models and Skins are checked.
- You can export this FBX wherever you like. When you pull it into the workshop tools the importer will generate the correct directory structure.
- Make sure to check Embed Media as well - this will include the assigned textures and package them into the FBX files.
- In this case the four animations were authored in four separate Maya files, so there is an FBX exported for each animation. For, now export these animation FBXs to the same place you exported the model FBX.
- You only need the skeleton in this export, but it's ok to export the model too. If you do export the model as well, make sure you UNCHECK the embed media box, so you don't have duplicate textures.
Importing into Workshop tools
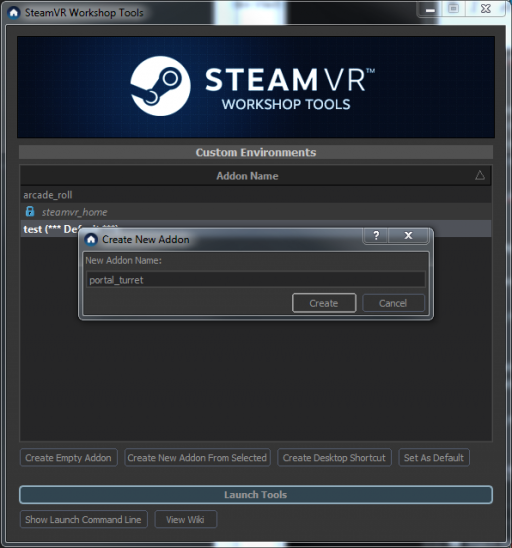
- If you haven't already, create a new addon where your model will be used.
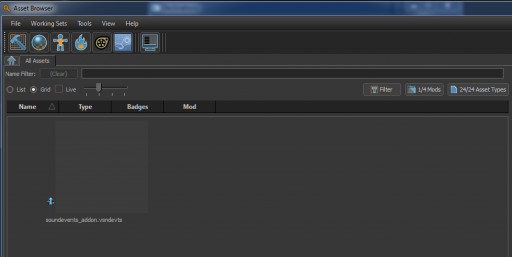
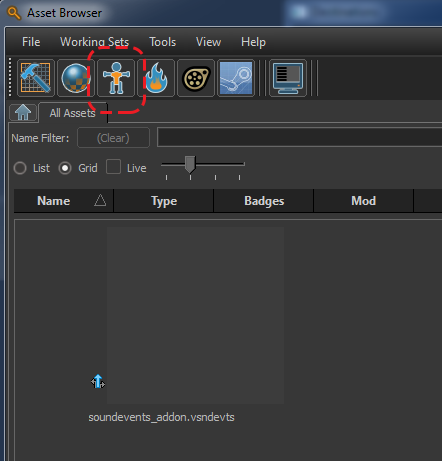
- Once created, click the 'Launch Tools' button. This will bring up the asset browser - if this is a new addon it will be empty apart from the soundevents file.
- Open the Model Editor, this is where we will import the FBX.
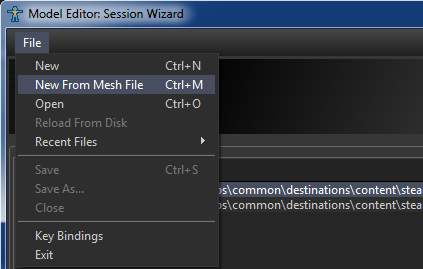
- Under file, select 'create New mesh from file'
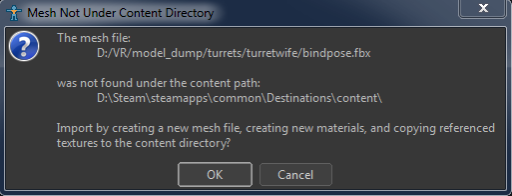
- This will bring up a warning about the directory structure. Click ok to let the tools create the directory structure for you.
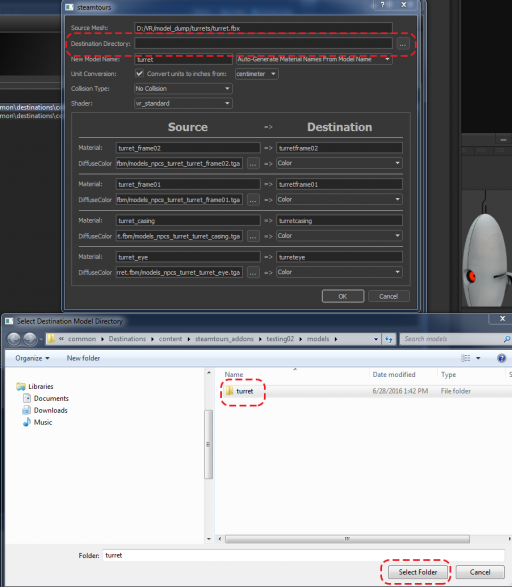
- It creates a folder under the addon name you gave, and also create a materials directory and unpacks the textures there.
- You are almost there, but you just need to create the folder all the files associated with this model will live under. This folder cannot use upper case letters, spaces or symbols - only lower case letters, numbers and underscores. (This may seem unnecessary, but if you have many different models in your addon, adding this named folder for each model definitely helps keep things tidy). You have to right click the window, create a new folder and name it. Here it is called turret_model, select it and click [Select folder]
Model Editor
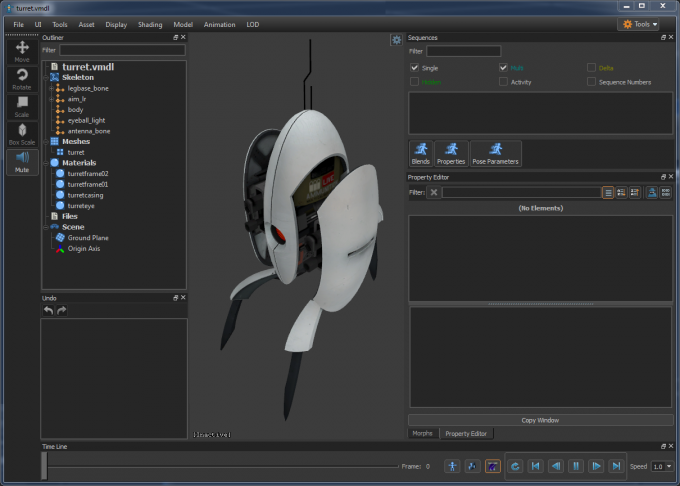
- Clicking OK opens your model in the model editor. If the Outliner and Property editor are not up by default, you can find them in the UI menu.
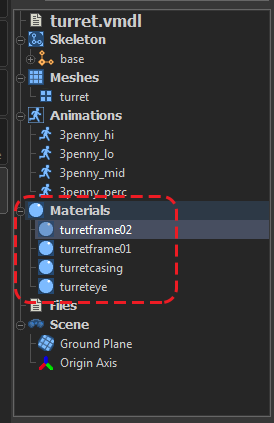
- If all has gone well, you will see the model with all its textures. The skeleton and the materials will be displayed in the outliner. You may run into a situation where the model is made out of glowy wireframes, this is most likely a problem with the FBX export. Make sure you have followed the preceding steps correctly.
Adding animations
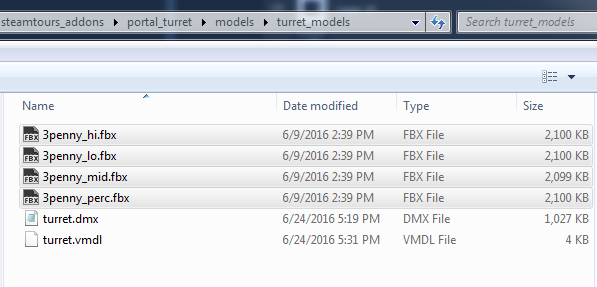
- Before we import them into the tools, we must copy the animation FBXs to the same directory under models you created earlier: steamtours_addons\portal_turret\models\turret_models.
You will see in this folder that the model editor has already created a DMX and a VMDL file.
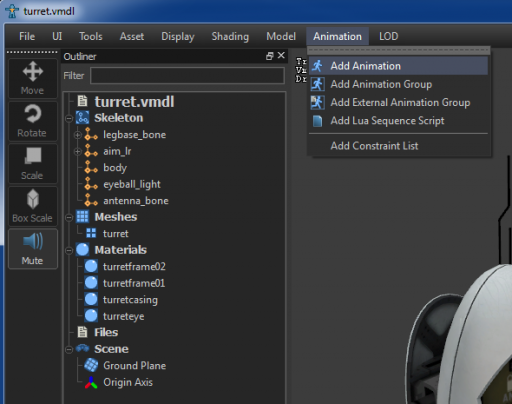
- Back in the Model Editor underneath animations pulldown, select "add animation". This may take a little while depending on the length of your animation.
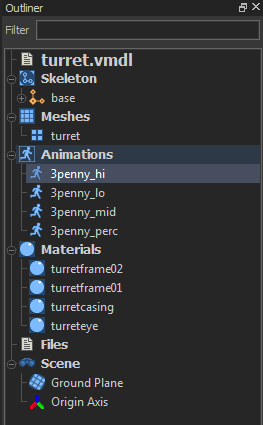
- You can see the animations here, so far I only added 3penny_hi.
If you select this animation in the outliner, you can play it using the play controls at the bottom right of the model editor.
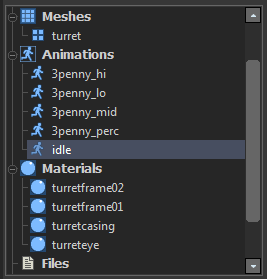
You can add as many animations as you like at a time. So I will grab the three remaining FBXs and add them all at once.
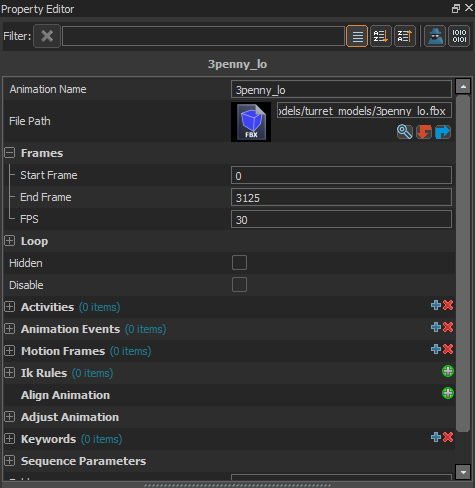
Here in the property editor you can see the length of the animation expressed in frames. You can start the animation later or end it early by altering the numbers in these fields. You can speed up or slow down the animation by changing the FPS, and make the animation loop, as well as other more advanced actions.
- You can also create new animation sequences from existing animation. It's often useful to have an idle animation, this can often be just a static animation. In the case of the turrets, their idle is them just sitting there with the gun foils closed. Since this state exists as the first frame of these animations, we can just create that here instead of having to export another FBX.
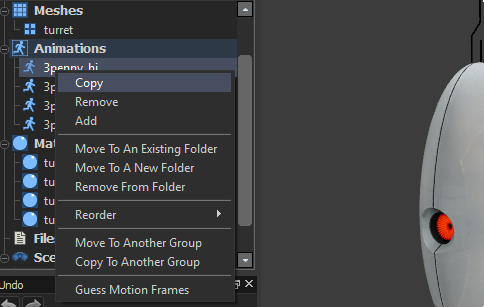
- To do this start by copying one of the animations. A dialog box will pop up asking for a name for this animation. I'm calling it “idle”.
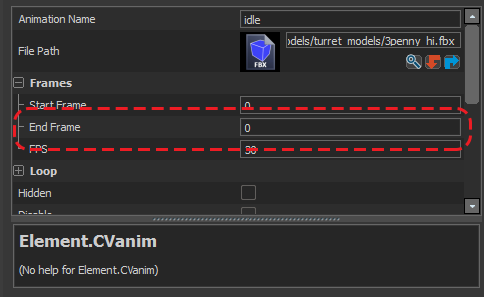
To create an idle animation of a static turret change the end frame to 0, effectively removing the rest of the animation.
‘’Instead of exporting 4 different animations, you could have also authored them as one big sequence, one animation after the other. You could have then make four copies of this long animation and clipped out the relevant frame ranges.’’
Remember to save the model.
Materials
When you imported the FBX with embedded media, the importer created basic materials for each texture according the shader you selected upon import. If you don't remember doing that the default is VR_standard, which is a fine choice.
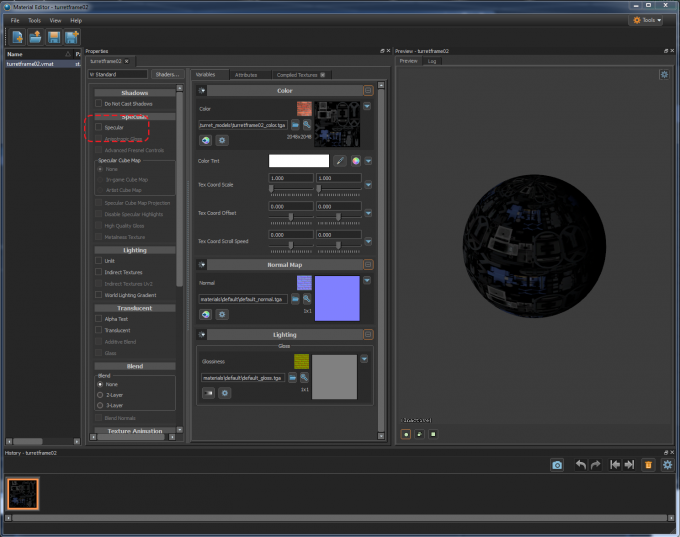
- To edit the material (vmat), double click one in the Model Editor outliner to open the Material Editor.
Alternatively, you can do this from the asset editor.
- Here you can assign other textures to different parts of the material. By default the Vr Standard shader has no Specular. Turn it on with the checkbox.
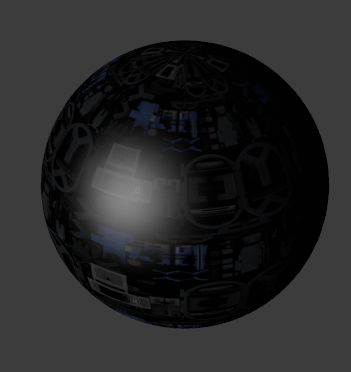
- This has created a reflectance component to the shader and you can see the highlight on the material.
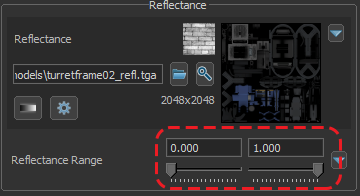
By default, the reflectance is looking for a texture, the material editor makes a simple grey texture for a placeholder. If you have authored a reflectance texture it must live in the same folder as the unpacked ones made during the import process. /content/steamtours_addons/portal_turret/materials/models/turret_models/
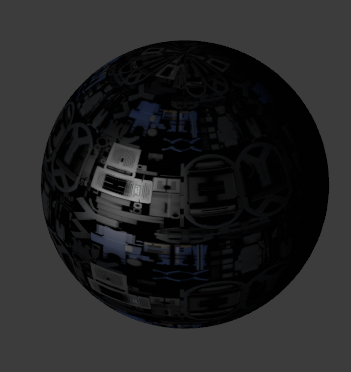
Now you can see the effect of the texture on the highlight.
- You can further tweak the effect of the texture with the reflectance range sliders below.
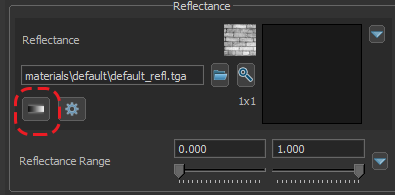
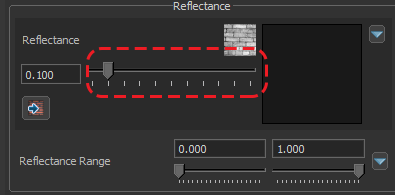
- If you just want a simple solid color to define the reflectance, you can hit the gradient button that switches the texture path to a slider.
Moving the slider to the right increased the strength of the highlight. Many shader components have this feature.
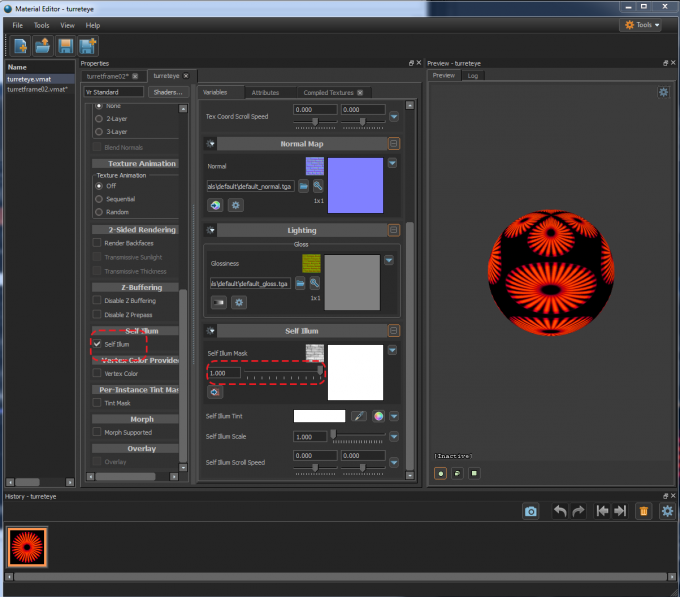
The eye material needs to glow. One way of doing this is to use self illumination. this looks at the color texture and makes it incandescent. Check the 'self illum' box in the left, which enables a slider to increase the effect.
Remember to save the material once you are done.
Congratulations! Now you have model with animations that you can use in Hammer. Learn how to hook these animations up with triggers in this tutorial.
