Advanced presets
Some advanced presets allow you to manipulate the timing of frames along a 3D motion path without changing the motion path itself.
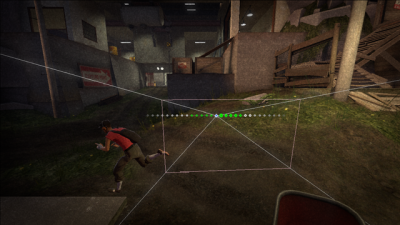
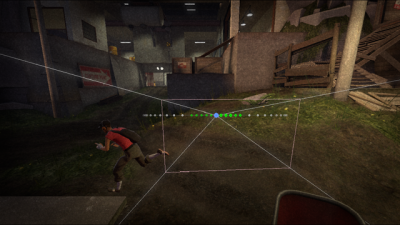
When you select a control that has a 3D motion path, you'll see the individual frames of the motion path represented as small green circles (white if they're in a falloff in the time selection). You'll also see a pulse go through the motion path periodically, to show the speed at which the object will travel during that animation.
The Stagger, Hold, Release, and Steady presets affect the timing of the motion path's frames (green and white circles in the preceding graphic). Some affect only the falloffs; some affect the entire time selection.
Visually, the timing of an individual frame is represented as its location on the motion path. When you use one of these presets, you move that frame—and the frames around it—back and forth on the motion path. You can think of this like sliding beads along a wire. The more tightly the frames are clustered together, the slower the animation, because the animated object is traveling a smaller distance in each frame. The more spaced out the frames, the faster the animation.


