Exporting displacements from Blender
Jump to navigation
Jump to search
Requirements
- Install Blender 2.90.1 or later. Or Install from Steam (AppID: 365670)
- SourceSDKMeshDisplacements addon
Installation
- Download or save the addon as mesh_disp.py
- Install the addon through Edit > Preferences > Addons > Install from file, selecting the addon's .py file.
- Activate the addon.
Setting up and exporting the displacement
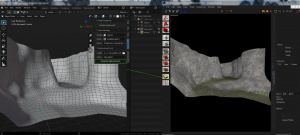
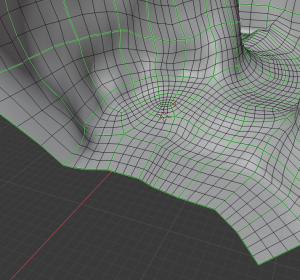
To set up the displacement, first denote the borders of your displacements by marking them with Freestyle edges.
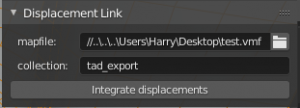
Then, in the Context menu ('N' by default to open), go to the Source SDKtab, and set up the export path and .vmf filename, and then the name of the collection the displacement mesh is in. After the fields are set up, press Integrate Displacements. A .vmf file with your exported displacements will now be exported to the specified directory.
- Each displacement may only be power of 2.
- The plugin uses a 1:32 Blender units to Hammer units scale when exporting. Scaling down your model before exporting is recommended.
- The UV is also used for exporting the displacement's brushes, so keeping a tidy, and separate UV island for each displacement is recommended.
- The material used on Blender will also be used in hammer. (Example: If the material is named Dev/dev_measureblend, this will be the texture used on hammer).


