Fr/Creating a wall light
< Fr
Jump to navigation
Jump to search
Introduction
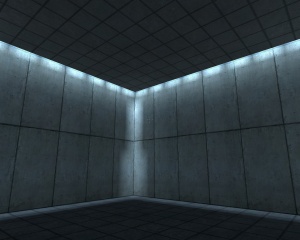
Dans ce guide, vous allez apprendre comment construire un mur éclairé, comme on en voit dans les chambres de test de Portal.
Etapes
Etape 1
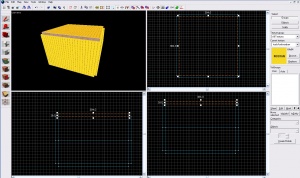
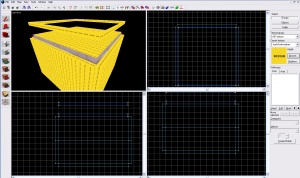
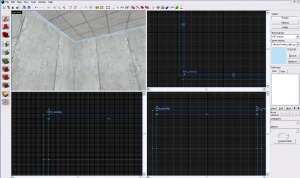
D'abord créer une salle, pour l'exemple du guide, nous allons utiliser une salle de 384*384*256 avec des murs de 16 unités. Assurez-vous que le toit touche les murs uniquement par les arrêtes.Etape 4
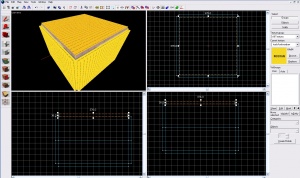
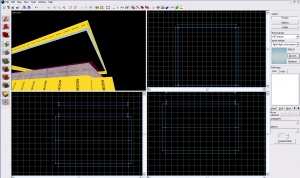
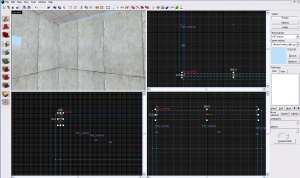
Create a 4*16 block with the invisible texture and put it right beside your newly shrunk roof. They should fit so there are no leaks.Etape 5
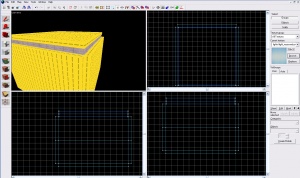
Copy the invisible blocks and re-texture them to have nodraw. Move them higher above the invisible blocks so you can easily preform step 6Etape 6
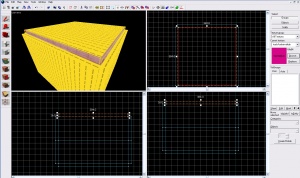
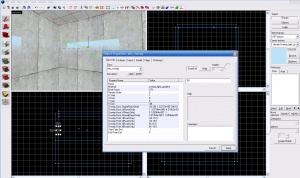
Texture the bottom of the nodraw 4*16 blocks to light_recessedcool002. Rotate the recessed texture with the face edit tool so it is parallel with the block, with the lighter side of the gradient facing the inside of the room. TIP: Change the light_recessedcool002 textures light map resolution to 8 to create a more constant glow. Also, you may choose to set the texture scale higher, so the light does not have the breaks in themEtape 7 (Optionnel)
You do not have to place the overlays, the differences are negligible.
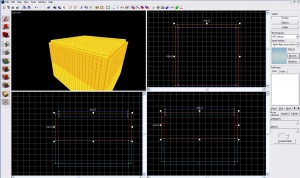
Move the nodraw blocks to sit on top of the invisible blocks.Etape 9
Add an overlay with decals/overlay_light_gradient, and change the vstart/end to .99 instead of 1.Etape 12
Compilez la map, et assurez-vous qu'elle ne comporte pas de leak.|}
