Detailing metal walls: Difference between revisions
Dillodude94 (talk | contribs) No edit summary |
(→Step 9: Fixed grammer and unclearness) |
||
| Line 136: | Line 136: | ||
=== Step 9 === | === Step 9 === | ||
Once your done with detailing, | Once your done with detailing, place env_cubemap's near the center of each distinct area in your map. Ensure they are no closer then 16 units near the wall. | ||
Start the game, go to Developer Console and type | |||
buildcubemaps | buildcubemaps | ||
After The | After The process is done, go back to console and type these in | ||
mat_reloadallmaterilas and mat_reloadtextures | mat_reloadallmaterilas and mat_reloadtextures | ||
and you can get the | and you can get the reflective effect you see in Portal | ||
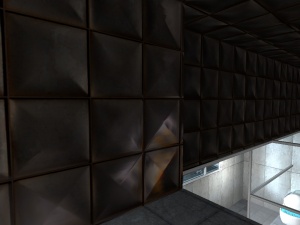
[[Image:Reflectivewall.jpg|right|thumb|]] | [[Image:Reflectivewall.jpg|right|thumb|]] | ||
Revision as of 19:36, 18 July 2010
For help, see the VDC Editing Help and Wikipedia cleanup process. Also, remember to check for any notes left by the tagger at this article's talk page.
Introduction
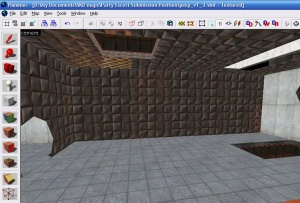
Detailed metal walls will make any standard room in portal look professional. They are more aesthetically pleasing than a standard repeated tile.
Step 1
Find the wall you wish to detail. It helps to turn off everything except world geometry.
Step 2
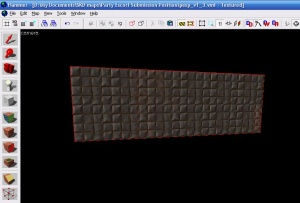
Cordon off the wall, that way you can move pieces of the wall around quickly and efficiently in 2D.
Step 3
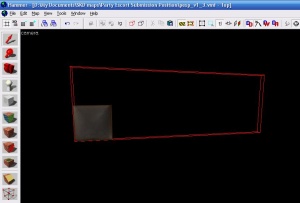
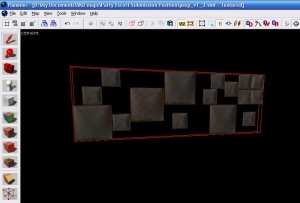
Resize the main block to 128*128 and then change it's material to the largest metal wall texture.
Step 4
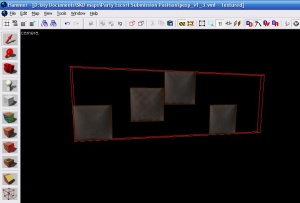
Duplicate the block and move it around in random places. Make sure they snap to a 32*32 grid to avoid problems later.
Step 5
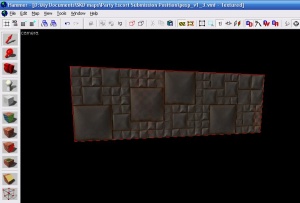
Resize a block and re texture it with the medium wall texture. Repeat step 4.
Step 6
Repeat step 5 for the smallest metal wall texture.
Step 7
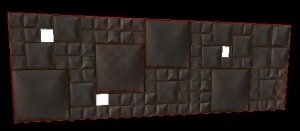
Move some of the blocks back 32 or 64 units and texture the block with white001. This will create the characteristic lighting seen in the chambers. Only use small blocks on the walls, so a player can't jump into it and cheat.
Step 8
Turn off the Cordon, and enable all entities. Check for problems and your done.
Repeat for each wall.
Step 9
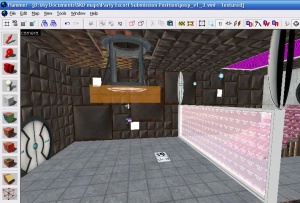
Once your done with detailing, place env_cubemap's near the center of each distinct area in your map. Ensure they are no closer then 16 units near the wall.
Start the game, go to Developer Console and type
buildcubemaps
After The process is done, go back to console and type these in
mat_reloadallmaterilas and mat_reloadtextures
and you can get the reflective effect you see in Portal
