Creating a wall light: Difference between revisions
Jump to navigation
Jump to search
 Tip: Change the light_recessedcool002 textures light map resolution to 8 to create a more constant glow. Also, you may choose to set the texture scale higher, so the light does not have the breaks in them
m (Added Russian page link) |
|||
| Line 77: | Line 77: | ||
* [[Portal Level Creation]] | * [[Portal Level Creation]] | ||
[[Category:Portal]] | |||
[[Category:Level Design]] | |||
[[Category:Level Design Tutorials]] | [[Category:Level Design Tutorials]] | ||
[[Category: | [[Category:Tutorials]] | ||
Revision as of 10:53, 15 April 2022
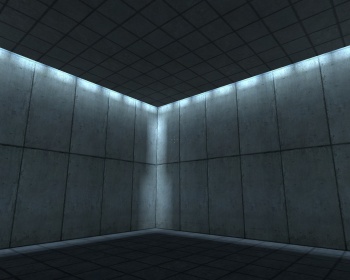
In this tutorial you will learn how to make a wall light that is seen in the Portal test chambers.
Steps
Step 1
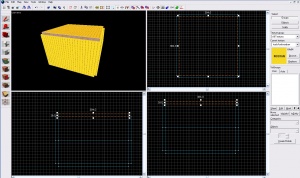
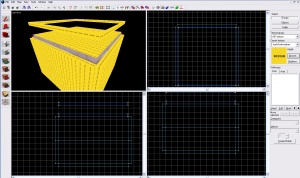
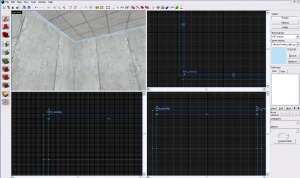
Create a room for the light to be in, for the sake of this tutorial we will use a 384*384*256 room with walls 16 units thick. Ensure the roof is touching the walls only by its edges.Step 4
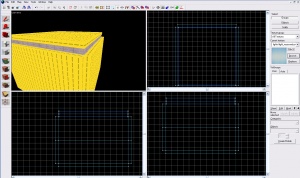
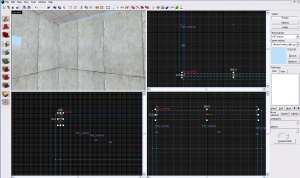
Create a 4*16 block with the invisible texture and put it right beside your newly shrunk roof. They should fit so there are no leaks.Step 5
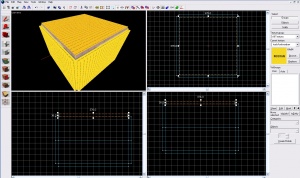
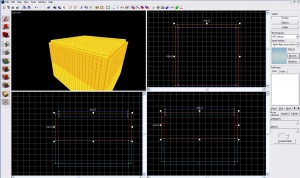
Copy the invisible blocks and re-texture them to have nodraw. Move them higher above the invisible blocks so you can easily preform step 6Step 6
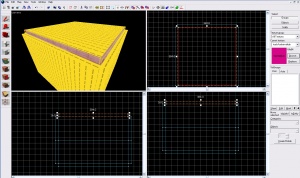
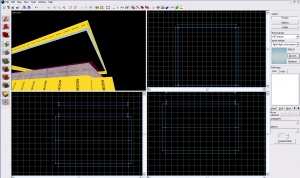
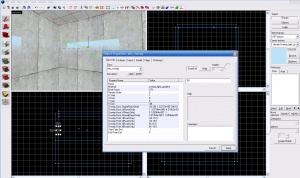
Texture the bottom of the nodraw 4*16 blocks to light_recessedcool002. Rotate the recessed texture with the face edit tool so it is parallel with the block, with the lighter side of the gradient facing the inside of the room.Step 9 (Optional)
You do not have to place the overlays, the differences are negligible.
Add an overlay with decals/overlay_light_gradient, and change the vstart/end to .99 instead of 1.