SteamVR/Environments/Precomputed Visibility
Contents
Precomputed Visibility
When building a large environment for SteamVR Home, you may find yourself wondering how much stuff the engine will render at any one time. Build too much, and you'll start running into performance issues - with your computer unable to keep up with the number of polygons, props or general details present at any one time.
The prototype Precomputed Visibility system was recently introduced to SteamVR Home as an additional tool to help boost performance in large environments. Useful for expansive, multi-room environments with lots of occlusion (solid walls, floors and similar), this new feature means the engine won't even attempt to render things that players can't see. Another room the other side of a concrete wall might as well not be there from a rendering standpoint.
There's a good chance your pre-existing environment won't benefit from this system - a single, highly detailed room or outdoors scene will have little if any suitable occluding geometry - but for particular cases it may prove itself a useful performance booster.
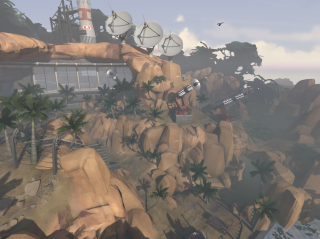
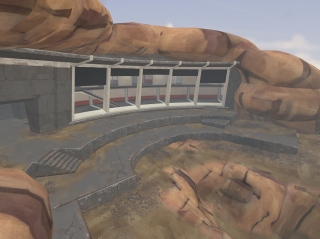
The Team Fortress 2-themed Supervillain Lair environment was recently upgraded to use the precomputed visibility system - containing many distinct rooms, underground caves and canyons, the map has many areas that aren't visible from each other and is an almost ideal example for our purposes.
This useful feature isn't without its drawbacks, of course. It involves an additional map compilation step which can take a fair amount of time - it dices the world into lots of voxels before determining which voxels are visible from other voxels. The map should also be designed with visibility determination in mind - throwing a few static props together before calling it a day is definitely not a good approach.
Map Setup
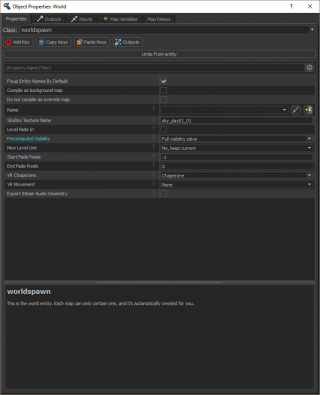
In Hammer, with your map open select the 'Map : Map Properties' menu entry. Then set 'Precomputed Visibility' to 'Full visibility solve'.
Showing geometry contributing to visibility determination
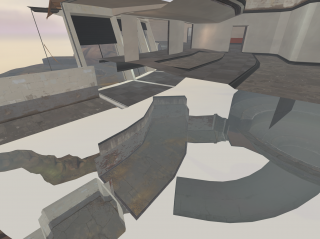
To see the geometry it will use to determine visibility, select the 'View : Show Vis Contributors Only' menu entry. Most of your map should disappear - by default, only static Hammer geometry will contribute to visibility determination. Ideally all this geometry should be nicely simple and chunky - with no holes you can see through, and with no unnecessary details to make the calculations more complicated.
Excluding Hammer meshes from visibility calculations
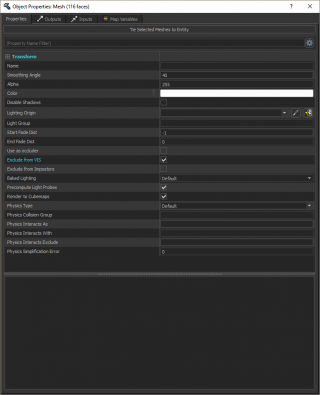
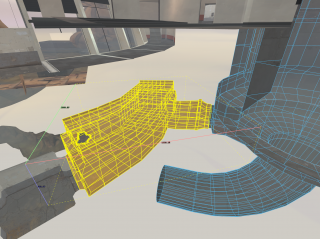
You can remove small and overly complex meshes from this set by selecting them and setting 'Exclude from VIS' in the Object Properties. If you can see straight past it (for instance, an ornate window frame, a narrow pillar or similar) then it's good to exclude it from calculations.
Static props
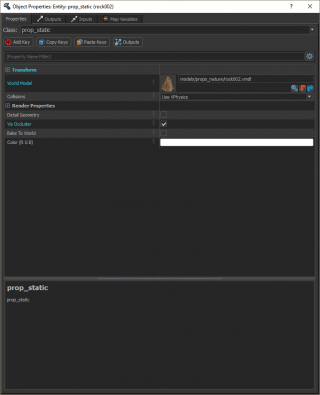
Static props can also be made to contribute to visibility determination - select them and set 'Vis Occluder' in the Object Properties. For the TF2 map, this was done for the large rock models.
Inside versus Outside the environment
To determine 'inside' versus 'outside' the map, the system looks at the proportion of fron-facing surfaces visible from a point versus back-facing ones. For general efficiency, it's good to build rooms as Hammer meshes with inwards-facing surfaces only, before detailing them with static props.
If your map is enclosed by a giant box or other large-scale geometry (for example, an old-style skydome model), the entire volume may be considered an interior space, thus it can take much longer for the system to perform the necessary calculations.
Map Building
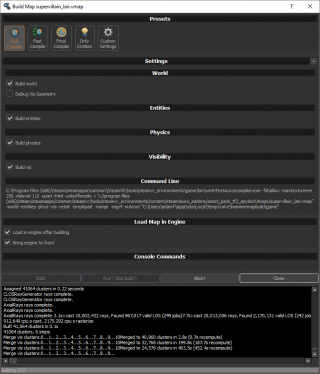
To perform the visibility calculations, once you've set the map to require a full visibility solve (see above) you simply need to start a Full Compile as normal. In settings, 'Build vis' should be checked by default.
Particularly large maps can take 30 minutes or more to process, so prepare to be patient!
Testing
Once the map has compiled and is running in VR, a super-simple method to check that the visibility system is working is to stick your head through walls to see how much the rest of the world is rendering.
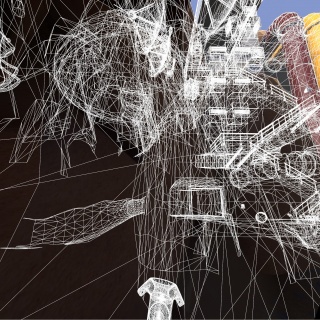
Another, more advanced mode is to set 'r_wireframe 2' in the console in tools mode to show the limits of what is being rendered - navigating around the environment should show additional areas appearing in the distance while other areas disappear.
You can enable and disable the visibility system with 'vis_enable 1 / 0' in the console - combined with SteamVR's Frame Timing graphs, this can be a good measure of rendering performance. Disable SteamVR Home's auto-fidelity system with 'vr_fidelity_level_auto 0' in the console, then set a fixed target level with 'vr_fidelity_level 0 to 7'.
