L4D Level Design/Getting Started
The first step is to launch Hammer, the map editor for Left 4 Dead and other Source games.
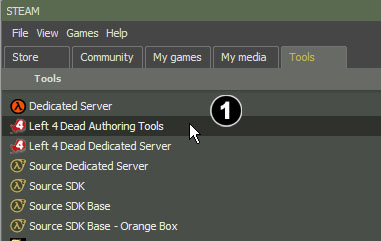
Open the Steam window, pick the Tools tab and double-click Left 4 Dead Authoring Tools.
If this is your first time launching the Authoring Tools, it will take a little time to download and install.
Double-click Hammer World Editor to start the Hammer level editor.
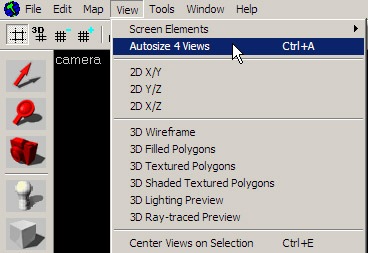
Once Hammer is loaded, you can start a new level by going to the New from the File menu.
A new window with four editing areas should appear.

Hammer Editor interface layout
Here is a basic description of the Hammer interface. You will learn how to use these items throughout this tutorial, so don't worry about learning about how they all function quite yet.
Map Views and Operations bars
These bars across the top of the window contain a variety of buttons to control the viewing of objects in the map, as well as controls for the grid and snapping tools.
Tools bar
The Tools bar switches the editor to different modes that allow you to select, build, place, texture, and manipulate different objects in your level.
Selection Mode bar
The Selection Mode bar switches between modes of selecting objects in the map:
- Groups — You will select the whole sets of objects that have been grouped together.
- Objects — You will select an entire object even if it consists of more than 1 component.
- Solids — You will select individual components even if it has been joined with others to make one object.
Texture bar
The Texture bar allows you to see the currently selected texture and to browse for other textures by going into the Browse... button.
Object bar
Used to place objects in your level that are not simple geometry. While brushes are the basic building blocks of levels, entities placed with the Object bar are pretty much everything else. You can place lights, props (models) and items using the Object bar.
VisGroups bar
VisGroups are a way to organize your level. You can place any type of object into VisGroups and label them so that you can hide them or reveal them as a group. This allows you to see what you're working on in a much cleaner way than leaving everything visible.
Status bar
The strip along on the bottom of the interface gives valuable information while you're editing, such as the size of the selected objects and the current grid settings.


