Doors
Introduction
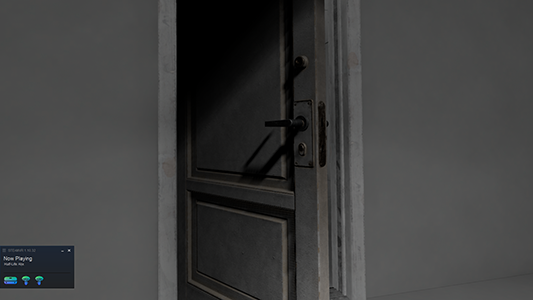
This tutorial will teach you how to create doors for HL:A based mods. These doors can be opened by grabbing the door knob and moving it forward or backwards.
Setup
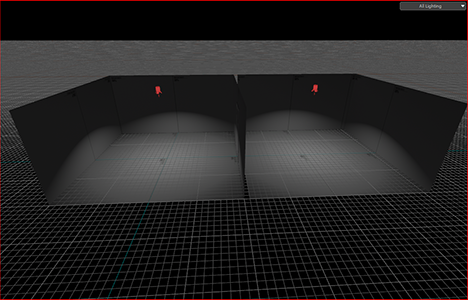
Create two rooms with a height of at least 128 units and separated by 8 units.
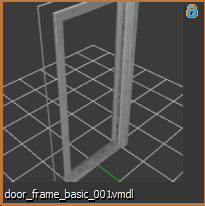
Insert a prop_static entity and, for this tutorial, select the model models/architecture/doors_1/door_frame_basic_001.vmdl.
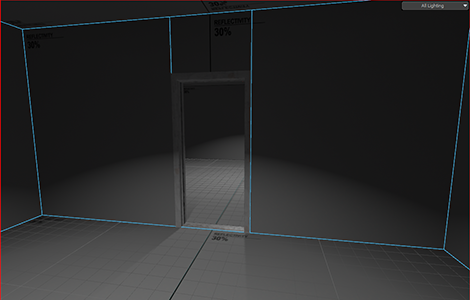
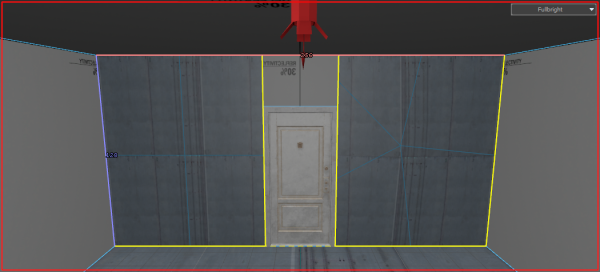
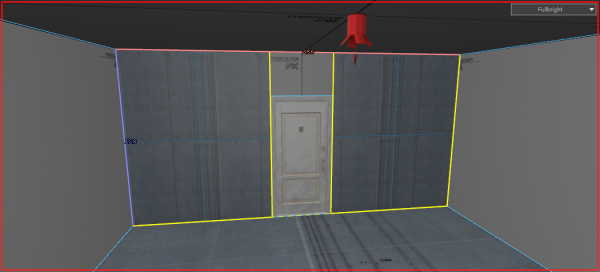
Select the two faces that connect the rooms and clip them using the door frame as a reference. Remove the faces inside the frame. (Note: If you want to prevent issues with texture alignment when subdividing later on, select the faces you plan on cutting holes in and separate them from the rest of the room with Alt+N. Then, when cutting, cut along the entire length and height of the face instead of just along the edge of the doorframe.)
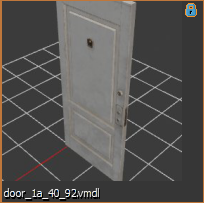
Insert a prop_door_rotating_physics entity and, for this tutorial, select the model models/architecture/doors_1/door_1a_40_92.vmdl.
Switch the grid size to 2 units and align the door with the frame. For realism, change the property Open Direction to either Open Forward Only or Open Backward Only, since real life doors don't open both ways.
Finishing up
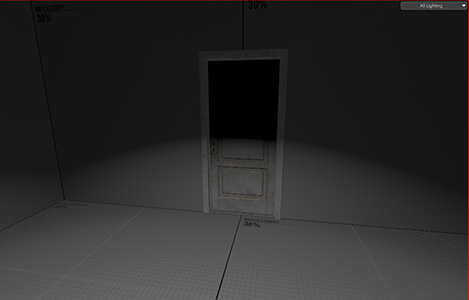
Compile and run your map and you should have a working door.
You can download the example map here [[1]].
Broken subdivisions and what causes them
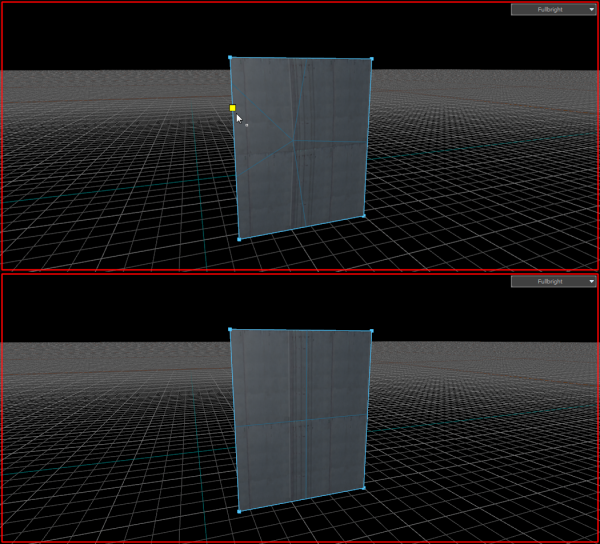
When you subdivide faces later on in development, (For example, if you want to use a texture that supports Blend Painting,) if faces were cut without being extracted first, you'll notice that the textures will be warped slightly. This is caused by extra vertices added to the affected face during cutting, turning it from a quad with four vertices to an n-gon that has five or more. You can fix this by deleting the extra vertices.
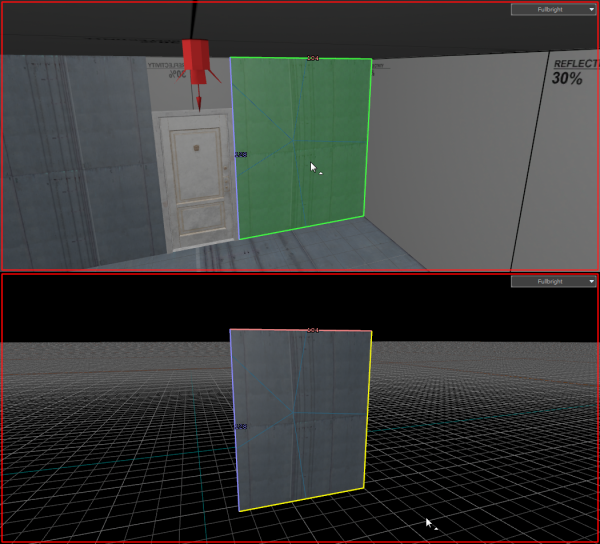
Select the face with broken subdivisions and extract it from the room (Either with the 'Extract Faces' button on the sidebar or by pressing Alt+N,) then do Ctrl+H to hide everything but the selected face.
Then, in the Vertices selection mode select and delete any vertices that aren't on the four corners.
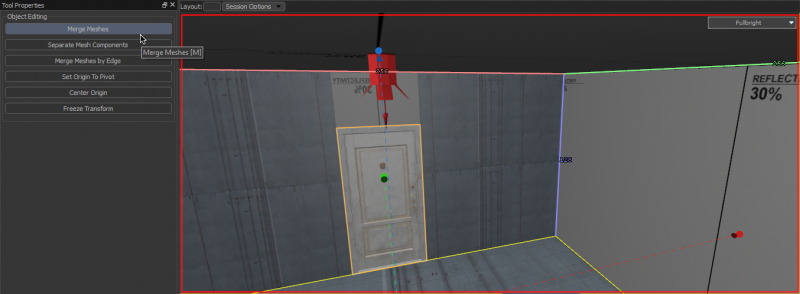
Press U to unhide the rest of the room. In the Meshes selection mode select both the newly fixed face and the room with Shift+Left-click, then press M (Or click on the 'Merge Meshes' button on the sidebar to the left.)
Repeat the process with any other affected faces, and your textures should be aligned properly again.
