L4D Level Design:ru/Versus Maps:ru
This page either contains information that is only partially or incorrectly translated, or there isn't a translation yet.
If this page cannot be translated for some reason, or is left untranslated for an extended period of time after this notice is posted, the page should be requested to be deleted.
Contents
The Versus or "VS" maps that shipped with Left 4 Dead are modified versions of the co-op campaign maps.
Basics
There are a few things that you'll need to change to make the level more suitable for VS gameplay.
- Players on the Infected team can spawn where Survivors can't go. You will need to block the infected team or cover up things that they shouldn't see.
- "Visual cues" for routes that are blocked off for the Infected team will need to be added.
- Infected ladders should be visible to players on the Infected team.
- Breakable walls need a visual cue for the Infected team.
- All Rescue Closets should be removed. You can't rescue a Survivor from a closet in Versus.
- Health Kits at the end checkpoints should be removed. Health counts toward scores in VS, so we remove the ones in the end checkpoint rooms.
- In Finales, the entity
env_outtro_statsshould be removed. - Triggers that should only be triggered by Survivors should have a filter so that Infected players don't trigger them.
You can open the "tutorial_standards_vs.vmf" map to see some examples of these.
Blocking the Infected Team
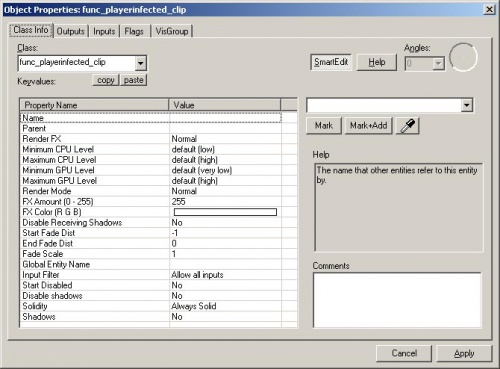
Brushes with the "Player Clip" texture on them are meant to block Survivor players. Brushes with the "Clip" texture on them are meant to block everyone. There's a brush entity called "func_playerinfected_clip" that you will need to use to block players on the Infected team.
To create a func_playerinfected_clip, create a brush with the Block Tool.
Assign the "tools/toolsnodraw" texture to the entire brush.
Select the brush and press Ctrl+T to turn it into a brush entity.
Change the Class to "func_playerinfected_clip".
Click Apply.
Typically, these are placed to block hunters from leaping out of the map. We also may add some fences or walls to keep the infected players inside.
If there are areas where you block the infected players but they're essentially running into an invisible wall, you'll need to place some kind of visual cue so that the players don't keep trying to get past it.
Create another brush using the Block Tool.
Apply the "tools/tools_nodraw" texture to it.
Go into Texture application mode.
Select the front face of the brush.
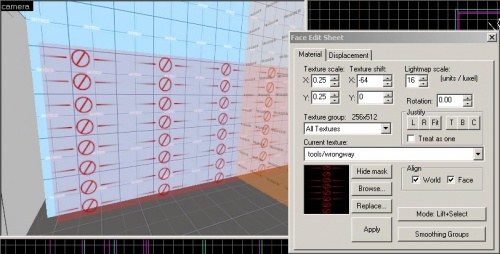
Click on the Browse button in the Face Edit Sheet dialog box.
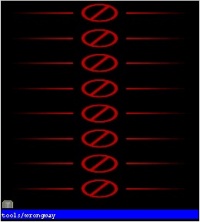
Select the "tools/wrongway" texture.
Double-click it to make it the current texture.
Click Apply in the Face Edit Sheet to apply it to the front face.
Go to Selection Mode and select the entire brush.
Press Ctrl+T to turn it into a brush entity.
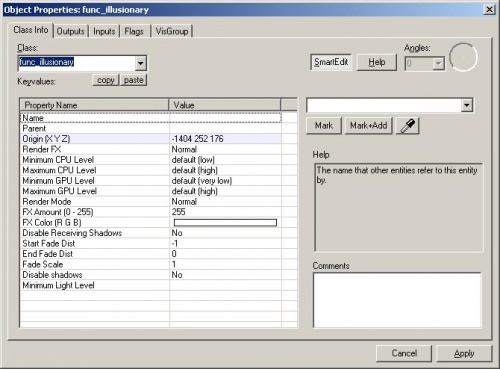
Change the Class to "func_illusionary".
This will show the "wrongway" texture when the player walks up to it.
func_illusionary brush entity can be expensive on low end machines. Use it sparingly rather than covering every part of the level that is blocked for Infected players.Making Infected Ladders Visible
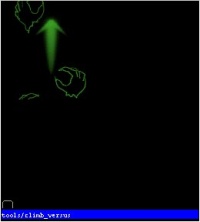
The VS maps in Left 4 Dead have an animated texture to show the infected players that they can climb in certain areas.
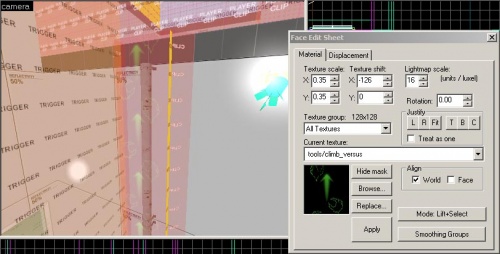
Select the front face of your func_ladder in Texture application mode and click on the Browse button.
Select the texture "tools/climb_versus".
Double-click on it to make it the current texture.
Click Apply in the Face Edit Sheet to apply it to the front face of the func_ladder.
func_ladder face. This example has been scaled to 0.35 x 0.35. The Justify L button was also used, which aligns the texture on the left edge of the face.Making the visible cue for breakable walls
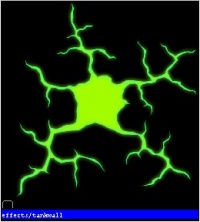
The infected sometimes spawn behind breakable walls or maybe they want to find another way to get to the survivors. We place a func_illusionary brush entity wherever there is a breakable wall so that infected players know where they can pass through in ghost mode or where they can strike to break the wall.
Create a brush with the Block Tool.
Shape it and position it so that it is slightly thicker than the breakable wall brush entity.
Apply the "tools/tools_nodraw" texture to the entire brush.
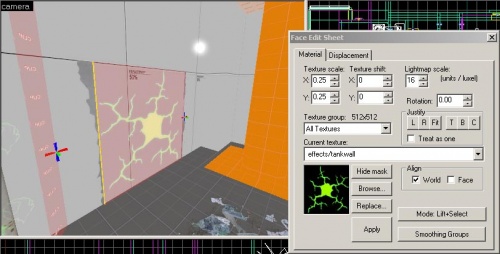
Go into Texture application mode and select the front and back sides of the brush. (You can select multiple faces by holding down the Ctrl key when you left-click).
Click on the Browse button in the Face Edit Sheet.
Select the texture "effects/tankwall".
Double-click on it to make it the current texture.
Click on the Apply button in the Face Edit Sheet to apply it to the front and back faces of the brush.
Go into Selection mode and select the entire brush.
Press Ctrl+T to turn the brush into a brush entity.
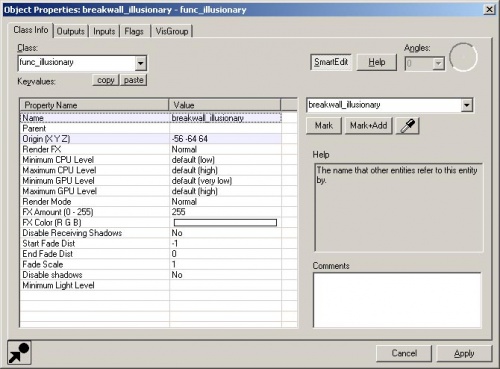
Change the Class to "func_illusionary" and click Apply.
Change the Name to "breakwall_illusionary".
Click Apply and close the properties window.
Go to the breakable wall and double-click on it to open its properties.
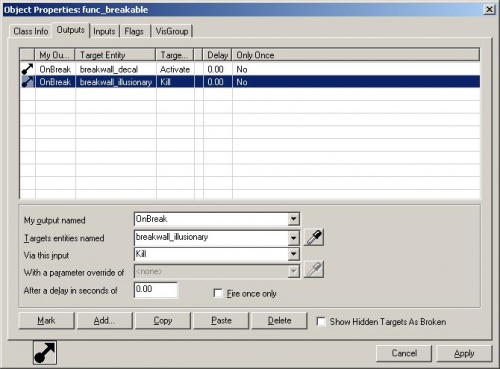
Switch to the Outputs tab.
Add an output with the following:
- My output named: "OnBreak"
- Targets entities named: "breakwall_illusionary"
- Via this input: "Kill"
This will get rid of the breakwall visual cue once the wall has been broken.
Adding Filters to Trigger Brushes
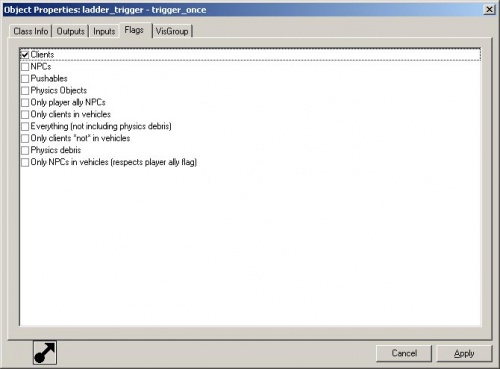
If you have any trigger brushes in your level, such as a trigger_once brush, and you have the flag set to "Clients", you will need to add a filter so that only survivors will trigger them.
If you open the properties on a trigger brush and switch to the Flags tab, check to see if it has the Clients box checked.
If you only want the survivors to be able to trigger this brush, then you'll need to follow these steps.
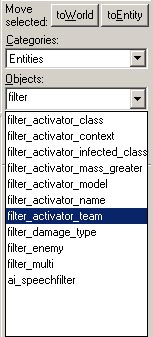
Go to the Entity Tool and select "filter_activator_team" from the Objects list.
Place the filter_activator_team near your trigger brush.
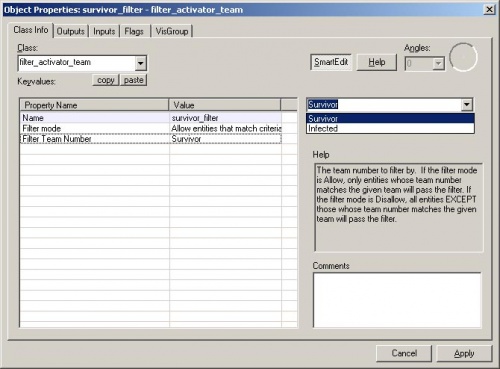
Open up its properties.
Change the Name to "survivor_filter".
Change the Filter Team Number to "Survivor".
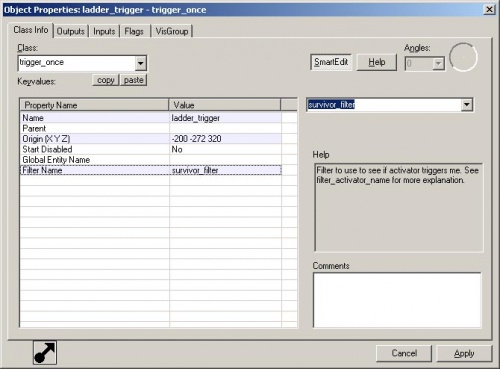
Open up your trigger brush properties.
Change the Filter Name to "survivor_filter".
Removing non-versus entities
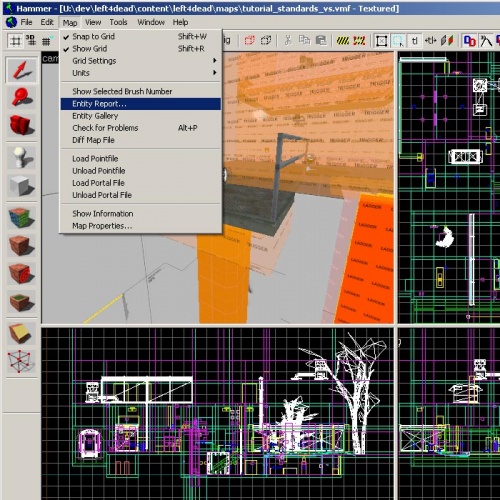
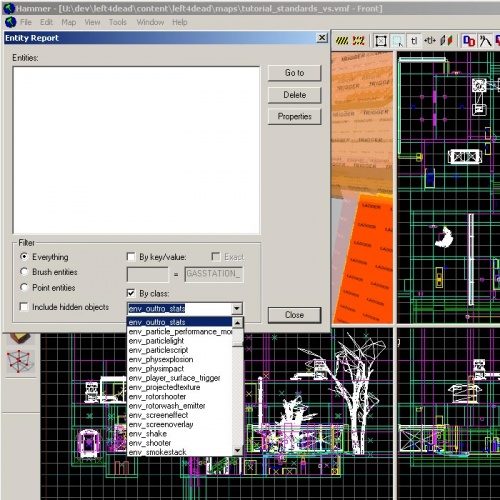
An easy way to find entities in Hammer is to use the Entity Report tool.
Under the Map menu, pick Entity Report...
You can search for specific classes of entities.
Click on the box next to "By class:".
Select "env_outtro_stats" from the list.
This will create a list of entities in your map that match the class. You can then select on the entity in the list and go to it, delete it, or open up its properties.
Delete the env_outtro_stats entity.
Find and delete all the "info_survivor_rescue" entities from the map. There are no Survivor rescue points in Versus maps.
nav_analyze if you remove the info_survivor_rescue entities so that the nav mesh attribute of "RESCUE_CLOSET" will be removed.