L4D Level Design:ru/Additional Finale Components:ru
This page either contains information that is only partially or incorrectly translated, or there isn't a translation yet.
If this page cannot be translated for some reason, or is left untranslated for an extended period of time after this notice is posted, the page should be requested to be deleted.
Creating a Rescue Closet
Rescue closets can be placed anywhere in Left 4 Dead levels, not just finales. It's basically a room with a closed door and 3 info_survivor_rescue entities in it. The nav mesh can be marked with the RESCUE_CLOSET attribute, but this usually happens automatically when you analyze the nav.
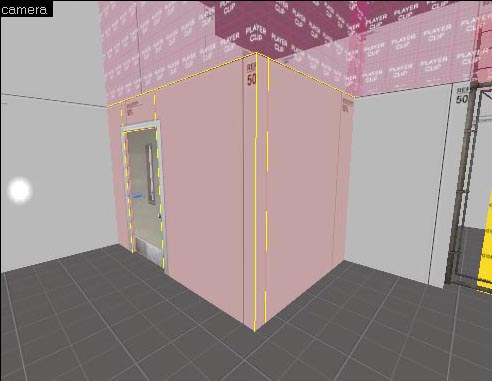
Start by creating the room.
The room doesn't have to be any specific size or shape. It can even have more than one doorway. Most of the rescue closets in Left 4 Dead are closets or bathrooms.
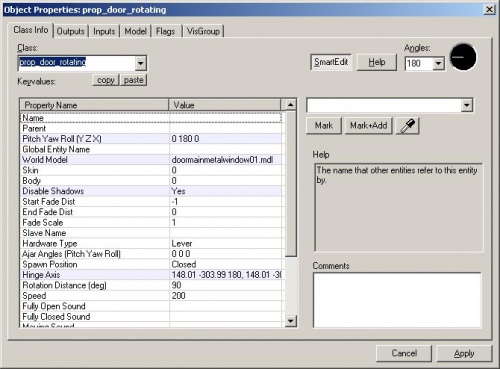
Now, place a prop_door_rotating in the doorway. Open up its properties.
The only thing to note is that the Spawn Position should be "Closed".
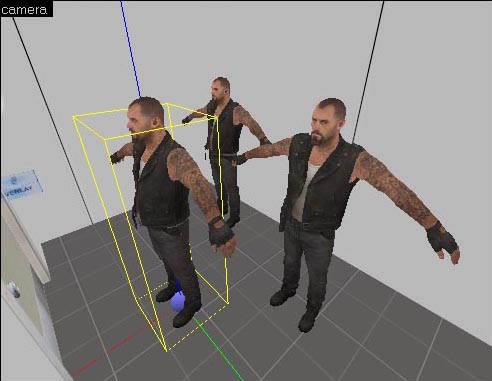
Inside the closet, place 3 info_survivor_rescue entities. A maximum of three Survivors can be rescued at once.
Go to the Entity Tool and select "info_survivor_rescue" from the Objects drop-down menu.
Place 3 of these inside the closet.
info_survivor_rescue at a time so it's important to place 3 in case a player needs to rescue all 3 of his teammates at the same time.Save and compile your level and run it in the game with F9.
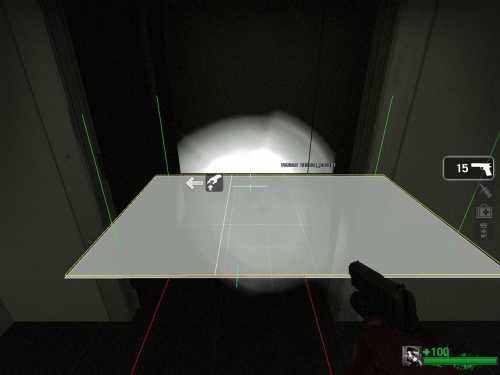
Create the nav mesh for the rescue closet area.
Select the nav mesh inside the rescue closet (Z) and use "mark RESCUE_CLOSET" to mark it with the RESCUE_CLOSET attribute.
Adding a Minigun
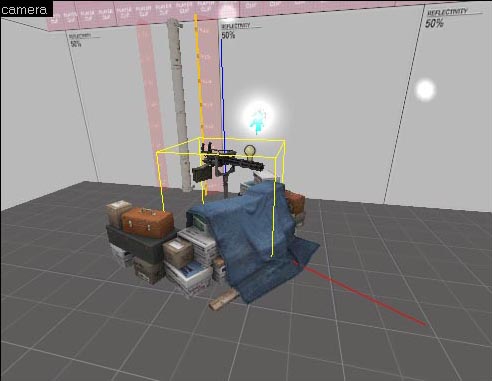
Go to the Entity Tool and select "prop_minigun" from the Objects list.
Place it in the Camera viewport.
Done.
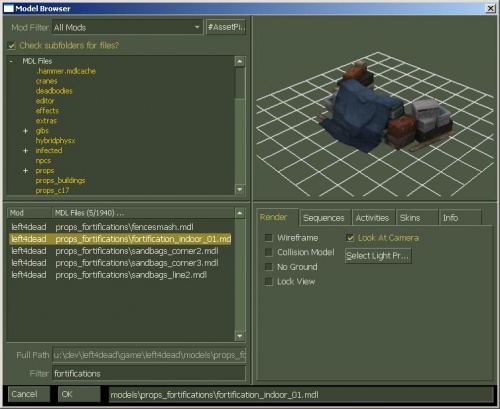
The optional fortification model is a prop_static with the World model called "props_fortifications/fortification_indoor_01.mdl". You can find it if you type "fortifications" in the filter.
Don't forget to modify the nav mesh where the minigun is placed.
