Half-Life: Alyx Workshop Tools/Modeling/Simple Static Prop
This tutorial demonstrates how to create a simple static prop from an existing .fbx or .dmx. Static props are models which are used decorate a level, they have no gameplay functionality and cannot be moved, but they may have collision.
Contents
Select the static prop archetype
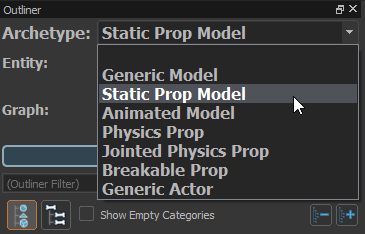
From the Archetype drop down at the top of the outliner, select Static Prop Model.
Selecting a model archetype isn't required, but it allows the editor to provide error checking relevant to the specific model type.
Add a reference to a mesh file
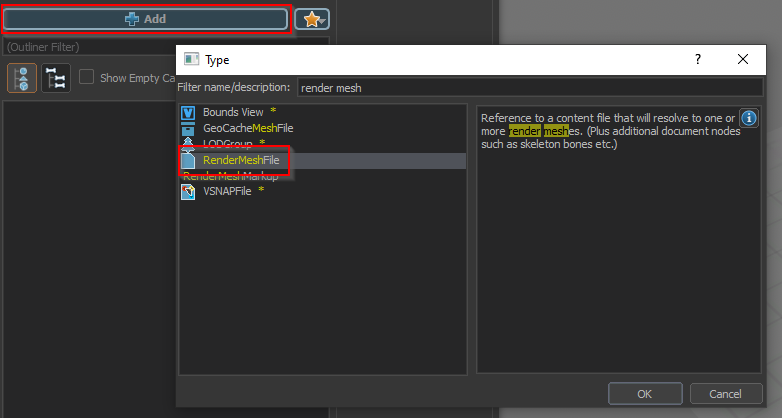
Click the add button, select the RenderMeshFile node and click OK.
Use the open file dialog to select your input mesh file (fbx or dmx).
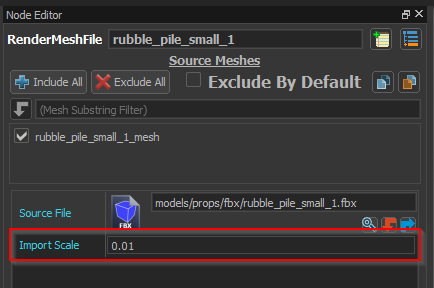
If needed, adjust the scale of the model using the Import Scale property in the node editor.
If your model wasn't built at the correct scale or units you may need to adjust the scale of the model to compensate.
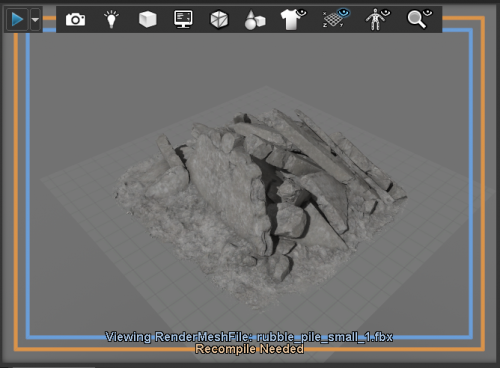
You should now see the model in the 3d viewport.
Add a physics representation
Your model is usable as is, but it will have no collision and the player will be able to pass through it.
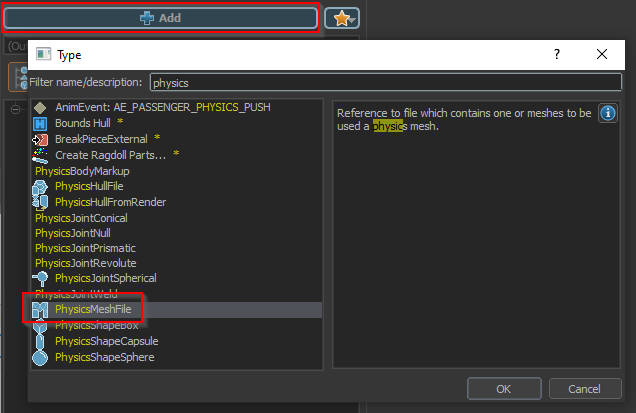
To add a physics representation to your mesh click Add and select the PhysicsMeshFile node.
Use the open file dialog to select your input mesh file (fbx or dmx).
Note that the file can be the same file as your render mesh. However, for performance this is not recommended, it is much better to create a low resolution version of your mesh to use for collision.
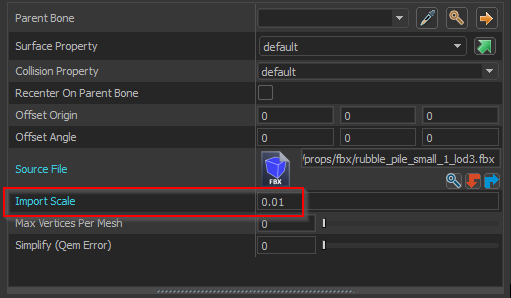
As with your render mesh, you may need to adjust the import scale.
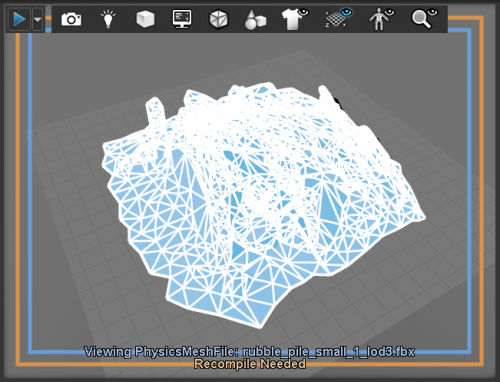
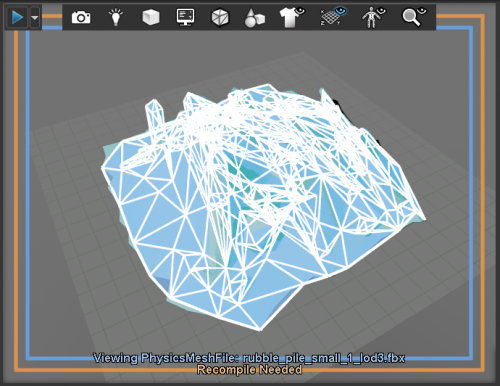
You should now have a preview of your physics mesh. Since we didn't select a specifically authored physics mesh in this case, the result is more complex than ideal. In the next step we will simplify the mesh.
Simplify the physics representation
If you didn't build a custom physics mesh you can simplify the mesh directly in ModelDoc.
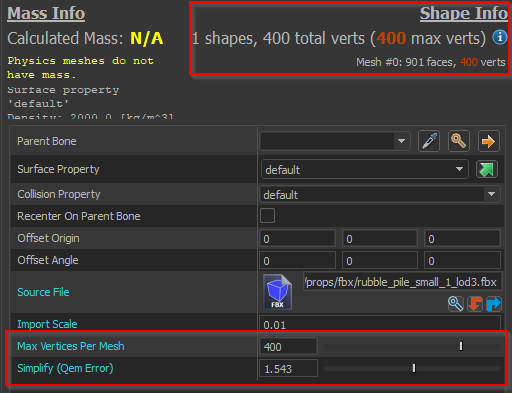
Adjust the Simplify and Max Vertices Per Mesh parameter to reduce the triangle count of the physics mesh..
As you adjust the parameter the Shape info in the upper right will show the current number of vertices.
The Simplify parameter will attempt to reduce the mesh in a way that doesn't change the overall shape, while the Max Vertices will put a hard limit on the vertex count but may dramatically change the shape.
The results here are still not ideal. If you cannot get good results with the automatic simplification you can either author a simpler input mesh, or use other physics node types to specify the physics for your model.
- See the Physics Prop and Jointed Physics Prop tutorials for examples of other methods of creating physics shapes.
Compile Your Model
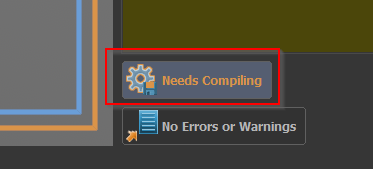
Press the Needs Compiling button to compile your model.
This will prompt you to save your model if you haven't already.
Your model should now show up in the asset browser and can be placed as prop_static entity in Hammer.
