Visibility
It's important to ensure that you have the correct geometry going to the visibility processor in order to compile an efficient "vis" solution for your maps. The vis solution in Source 2 works on an inside/outside algorithm and tries to figure out what's "inside" the map when doing visibility calculations. Effectively anything inside will render and anything outside will be dropped.
Inside vs outside
The visbuilder will attempt to automatically determine which spaces are inside and outside the level. The primary factor it uses to do this is visibility of front-facing and back-facing geometry. In general, spaces with direct view of sufficient front-facing geometry and limited enough view of back-facing geometry will be marked inside. Then as visbuilder runs, any lines of sight passing through outside space will be eliminated. This is done to compensate for not having any constraints on how levels are constructed. Levels will often include geometry that isn't closed or have geometry that overlaps in some way. These cases should be handled without forcing the system to store visibility info below floors or terrain just because some valid geometry is poking through those surfaces. When this algorithm fails it is most often due to unintended holes in the input geometry. It's important to check the input geometry before looking for other problems (use vis preview in Hammer). In general, you should think of Source2 visibility as two-way. Every visible space should also look like a valid space to put the camera.
Basic usage
World geometry built in Hammer by default will block visibility. This can be disabled with the Exclude from VIS option in the Object Properties of the mesh object.
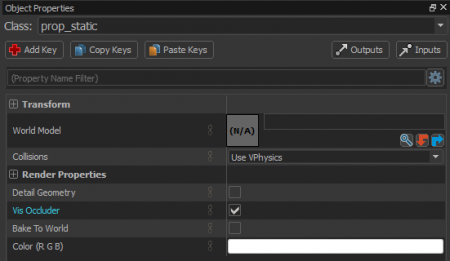
Conversely, every entity type will not block visibility calculations by default, including the "prop_" types. This includes prop_static models which are often too small to block any reasonable amount of visibility so it is skipped entirely. Any prop_static geometry that you wish to be included in the vis solution must by marked as Vis Occluder.
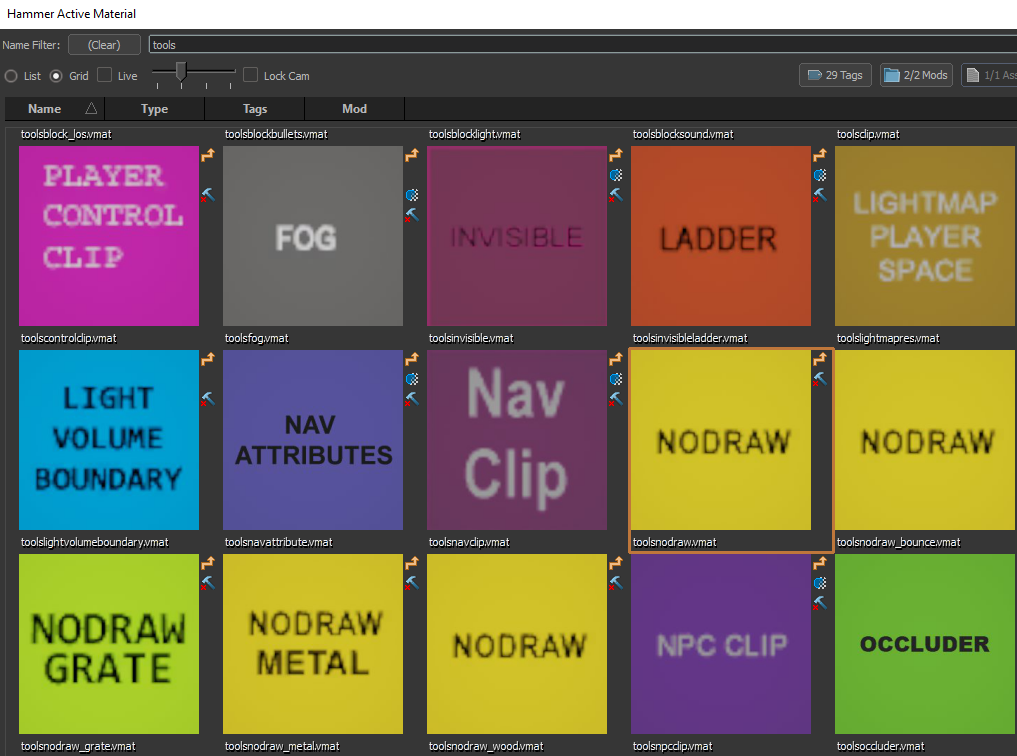
Various material types, mostly tool textures can also modify behavior of the geometry it is applied to.
Some of the most common tool materials that effect on visibility are:
- tools/visblocker - Surfaces textured with this tool texture will delete any lines of sight when they hit the surface. This is useful to block unwanted (but real) lines of sight due to holes in the map. If you see a case where some hole in the level is actually allowing visibility to some other part of the map file that shouldn't be visible you can use visblocker to block those lines of sight. It does not have to perfectly seal the hole.
- tools/toolsskybox - Surfaces textured with this tool texture will form valid lines of sight. When voxelizing the world, voxels get subdivided when they contain geometry. If the only geometry in a voxel is toolsskybox, the voxelization will stop at a more coarse resolution. This improves performance of the visibility compiler.
- tools/toolsnodraw - Surfaces textured with this tool texture function similar to normal visible surfaces, except that they will not block light, and are effectively ignored by the inside/outside test. So if there aren't other bits of visible geometry from a volume, that volume may be eliminated from the PVS.
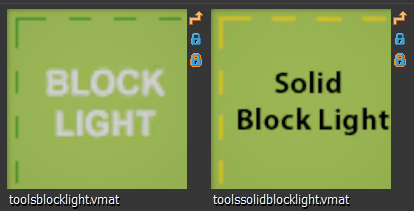
- tools/toolssolidblocklight - Surfaces using this tool texture behave identical to normal visible geometry. They block Vis, light, and have collision. Use this material on any unseen surface that represents a normal part of the world.
- Example: rooftops or areas only accessible to NPCs and props; walls intended to seal the map behind oversized props or vis-excluded mesh.
 Note: to block light that enters into the map from the outside (e.g. light_environment), use the "tools/toolsblocklight" material instead. Unlike ToolsSolidBlockLight, these surfaces don't contribute to vis...they affect baked lighting only (and are removed during compile).
Viewing vis in game
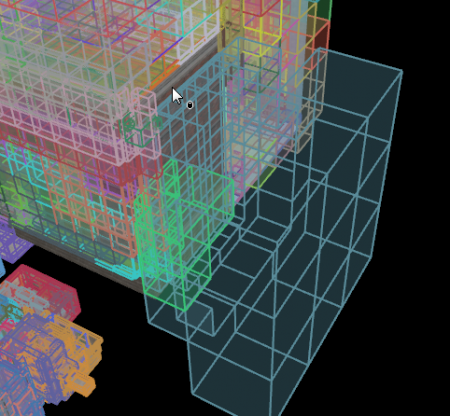
The engine can perform a recording of the camera position for visibility debugging. When the recording is played back, the PVS debug visualization will animate that recorded camera and update the visualization in real time. For example, you can use this to see what happens to your vis as you walk down a corridor. You can then fly out and examine the PVS from a different perspective.
The following console commands can be used:
| vis_enable 0/1 | Toggle the precomputed visibility system. vis_enable 1 is the default, vis_enable 0 disables the PVS. |
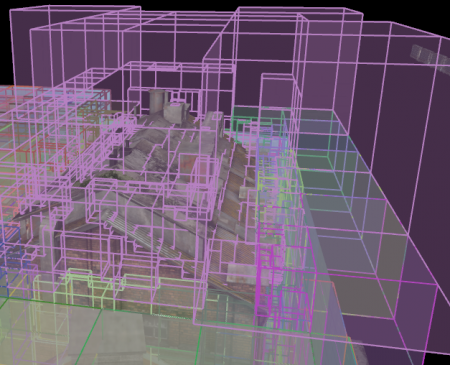
| vis_debug_show | This will show the PVS debug visualization. The camera position is rendered as a red sphere, the frustum is rendered in white and visible clusters are rendered as green wireframe outlines. You can independently move your camera and spectate the recorded PVS debug visualization. |
| vis_debug_record_start | Starts recording the camera frustum for playback. |
| vis_debug_record_stop | Stops recording the camera. |
| vis_debug_find_los | This will find any lines of sight between the current position of the recorded camera (the cluster containing the recorded camera is draw in red) and the position of the actual camera (that cluster is drawn in blue). The lines of sight connecting these two cluster volumes will be drawn in yellow. This tells you why the PVS thinks the recorded camera position can see another position. |
| vis_debug_tracelos | Use this to fix things that should be visible from the current camera position, but aren't. It will trace a grid of rays covering the current screen and update the vis to include any new lines of sight found. These lines of sight are recorded in your los.bin file for future map compiles. |
| vis_debug_lock | Toggle locking vis LOS origin to current camera position on/off. |
| vis_debug_currentcluster | Prints the current cluster number to the console. |
| vis_debug_dumpvisibleclusters | Prints the list of visible clusters to the console. |
| vis_debug_drawcluster | Add cluster # to visualization, (-1) to clear. |
Viewing vis in Hammer
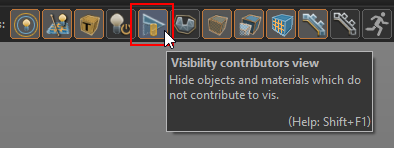
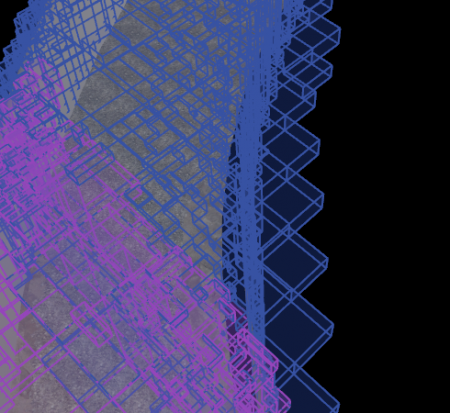
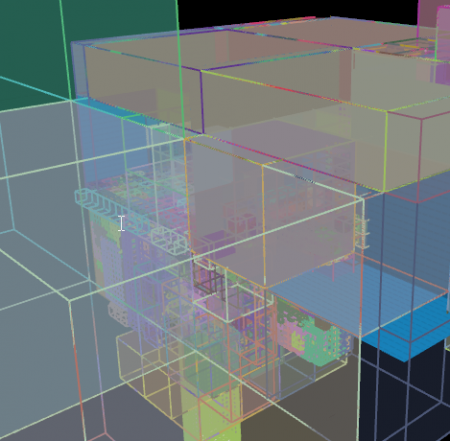
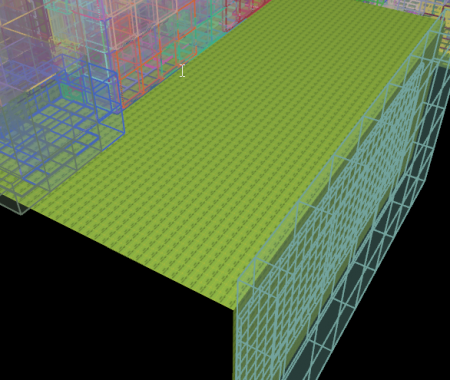
Use Visibility contributors view to toggle any geometry that does not contribute to vis. This mode hides any geometry that will not block vis and make it easier to spot errors in your levels. For further examples, load up the released maps from the game that shipped with the tools.
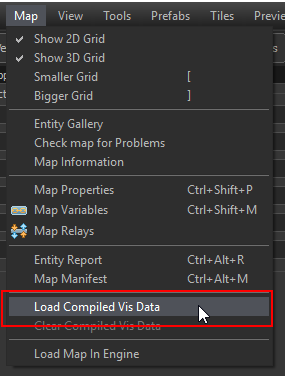
See Load Compiled Vis Data to load vis cluster data in Hammer.
Best practices/common issues
The rest of this article will focus on some of the more common issues and also best practices.
Avoid holes in vis contributing geometry at the level boundary
Although its not completely necessary, vis will produce the best results if there is a sealed shell of vis contributing geometry around the level that cleanly defines the boundary of the level. Holes in this geometry may cause vis to enclose extra empty space around the hole. Typically the Toolsskybox material is used to define the boundary of the level where it would otherwise be open to the skybox.
Do not use SkyVisBlocker
The material skyvisblocker is deprecated and should not be used. You must use toolsskybox texture to enclose parts of the level which are considered "open" to the the skybox, and visblocker should be used to block lines of sight without otherwise effecting the vis results. As an optimization, the skybox will not render in scenes that do not use toolsskybox.
Use Solid Block Light carefully
The "Solid Block Light" material, or toolssolidblocklight is a solid but invisible surface that also blocks light. Effectively this is functionally the same as toolsnodraw but also blocks light. For example, a location where a roof over a building should block sunlight from casting light into the interior but a player can also throw grenades onto the roof.
It should not be used in empty space where no vis clusters should be generated. The toolsblocklight material can be used to block light (cast shadows) without adding vis clusters.
Avoid outward facing geometry at level bounds
Geometry making up the outer shell of the level should always be facing inwards. If parts of the outer shell are facing outwards it will not only have similar effects as a hole, but may also generate additional undesired lines of sight and cause vis to further fill empty space.
Avoid vis contributors extending through the level bounds
Geometry which contributes to vis shouldn't poke through the outer shell of the level. Similar to outward facing geometry this can result in undesired lines of sight and cause vis to fill empty space.
Avoid placing objects outside the level
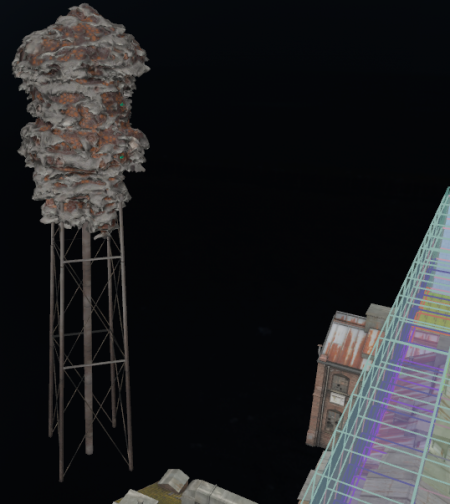
If you have created a sealed level boundary, ideally all geometry which is not part of the 3D skybox should be within the shell of the level even it it does not contribute to vis. Objects that are outside the shell will be culled by vis in an undesirable manner with part or all of the object being removed.

